Chapter 4 Net Guardian
This chapter contains the following sections:
• AI QoE
AI QoE
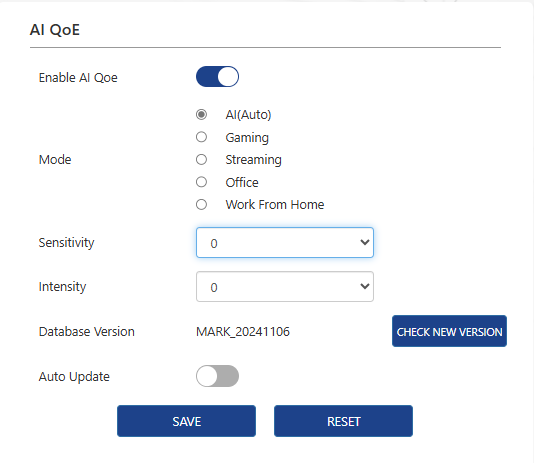
The AI-based Network QoE (Quality of Experience) engine integrates three core AI technologies - packet classification, traffic prioritization, and bandwidth detection. These technologies work seamlessly together to maximize critical throughput, minimize latency, and automatically prioritize traffic.
-
Navigate to More > Net Guardian > AI QoE.
-
Click Enable AI Qoe.
-
Select an operating mode. It is recommended to select AI Mode, or you can also select a mode that best fits your usage scenario: Gaming, Streaming, Office, Work From Home.
-
Set the Sensitivity and Intensity parameters according to your needs.
Parental Control
Parental Control allows you to set unique internet access restrictions for each family member. You can block inappropriate content and set daily total online time limits, restricting internet access to specific times of the day.
1 . Navigate to More > Net Guardian > Parental Control.
2 . Click NEW PROFILE to create profiles for family members.

3 . Add Basic Info.
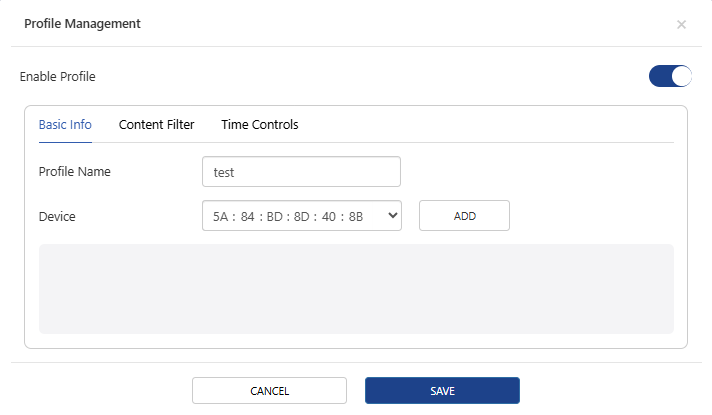
1)Enter the Profile Name.
2)In the device dropdown menu, select or manually enter the MAC address of the family member's device, then click ADD.
- Note: Only devices currently connected to the router’s network are listed here. If you cannot find the device you want to add, connect it to your network and try again.
4 . Set Blocked Content.
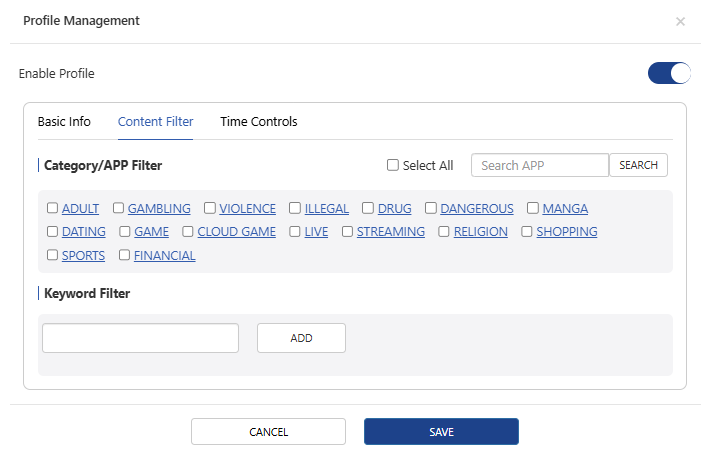
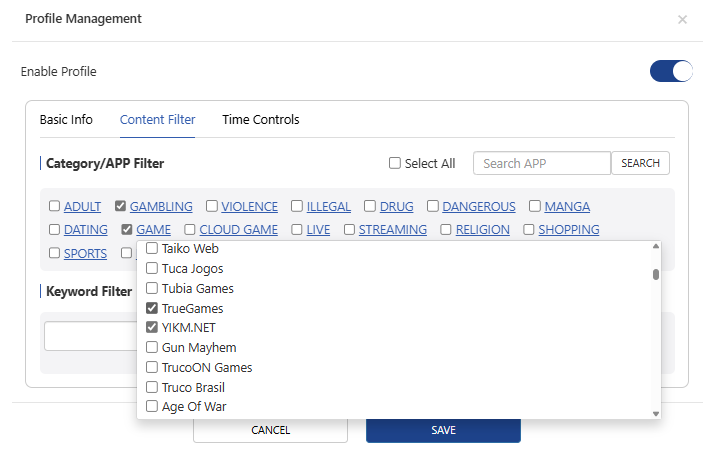
1)Click Content Filter.
2)In the Category/App Filter list, check the content categories you want to block.
3)You can also block specific websites. In the Keyword Filter, enter keywords (e.g., “Amazon”) or URLs (e.g., “www.Amazon.com”) and then click ADD.
5 . Set time rules for Internet access restrictions.
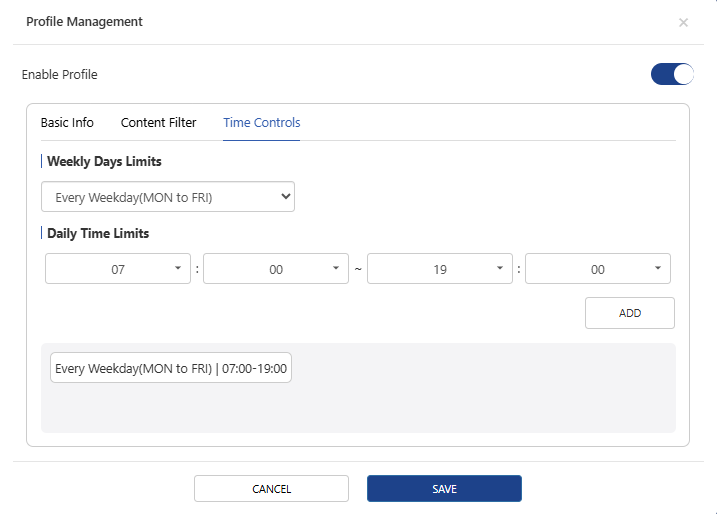
1)Click Time Controls.
2)In Weekly Days Limits dropdown list, select the days of the week when the rule will repeat.
3)In Daily Time Limits, select the start time and end time.
4)Click ADD to generate the time rule.
6 . Click SAVE to complete the configuration.
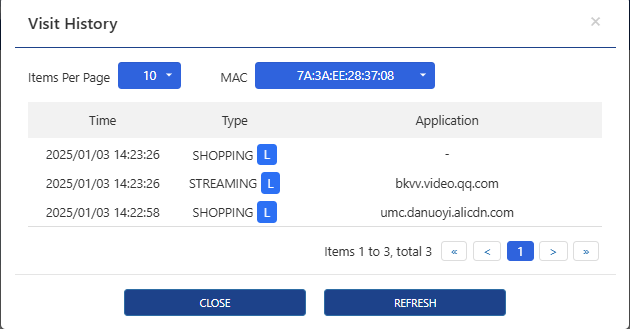
7 . After adding the profile, you can check detailed access history by clicking Visit History and modify the profile’s restrictions at any time by clicking Edit.

Secure DNS
This feature encrypts your DNS traffic to enhance security and privacy, preventing DNS leaks and DNS hijacking.
-
DNS Navigate to More > Net Guardian > Secure DNS
-
Click to enable Secure DNS.
-
Set the DNS Protocol and Server Provider.
-
Click SAVE to complete the configuration.

AdGuard Home
AdGuard Home acts as a global DNS blocker to filter harmful content from the network, such as ads, malwares, trackers, and more.
AdGuard Home also offers advanced functions such as parental control, statistics, custom rule, and more so you can better manage network traffic and protect privacy. By running AdGuard Home on your router, you can have one-stop ad blocking and privacy protection for your entire network without installing separate software or browser plug-ins on each device.
Initial Settings
1 . Access More> Net Guardian > AdGuard Home.
2 . Open AdGuard Home.

3 . Click the URL behind Manage Page or enter http://192.168.20.1:3000 manually on the browser. Access the AdGuard Home manage page and enter the installation guard page.
If your router IP is not 192.168.20.1, please change 192.168.20.1 to your router IP.
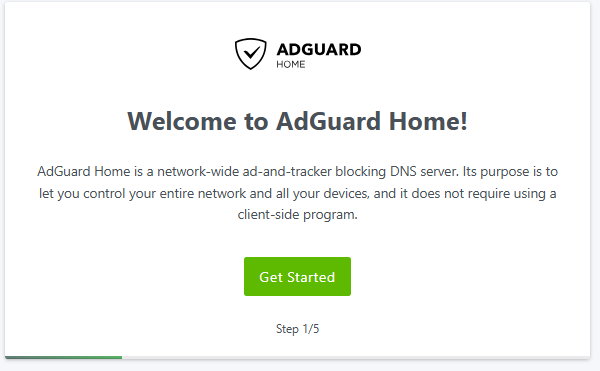
1) Enter the AdGuard Home manage page, and click Get Started.
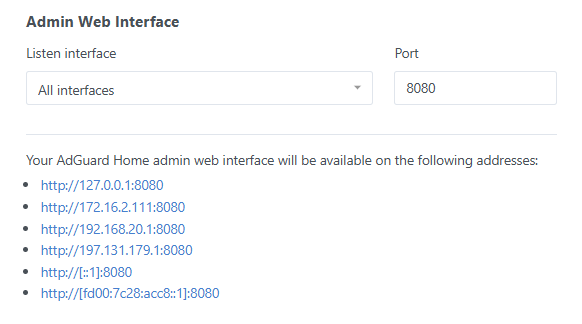
2) Select the Listen interface and bind Port on the Admin Web Interface.
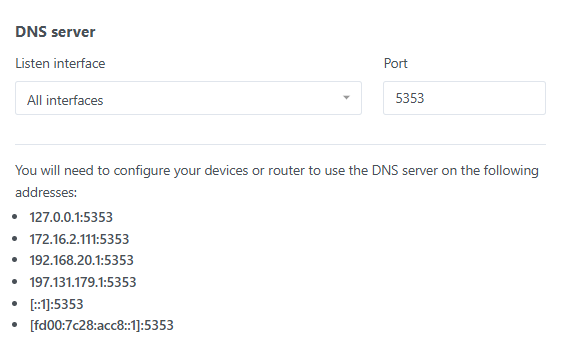
3) Select the Listen interface and bind Port on the DNS server.
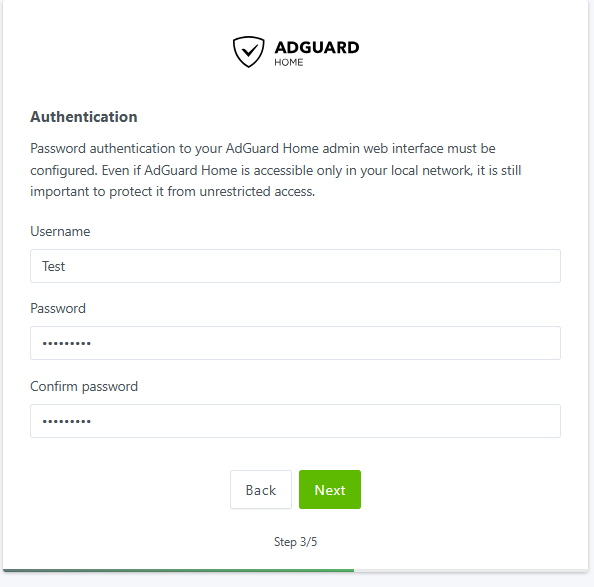
4) Set the username and password for AdGuard Home login. Click Next.
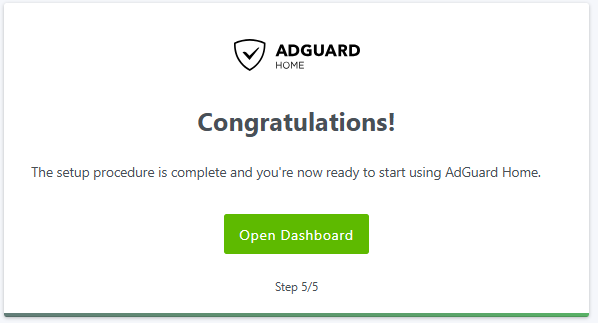
5) Click Open Dashboard.
6) Enter your Username and Password to log in to the dashboard.

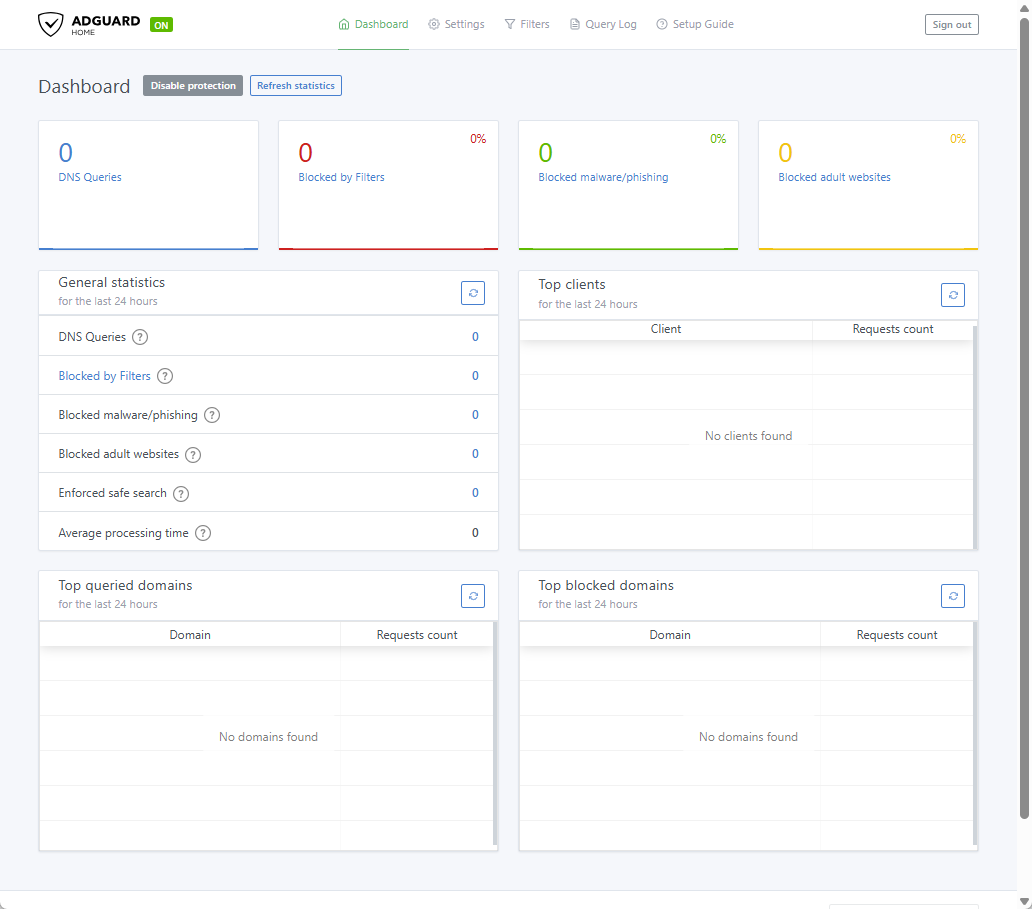
7) In the dashboard, you can monitor the number of DNS blocks and some lists in real time.
8) If you can not use a default DNS server, you can add a new DNS in Settings.
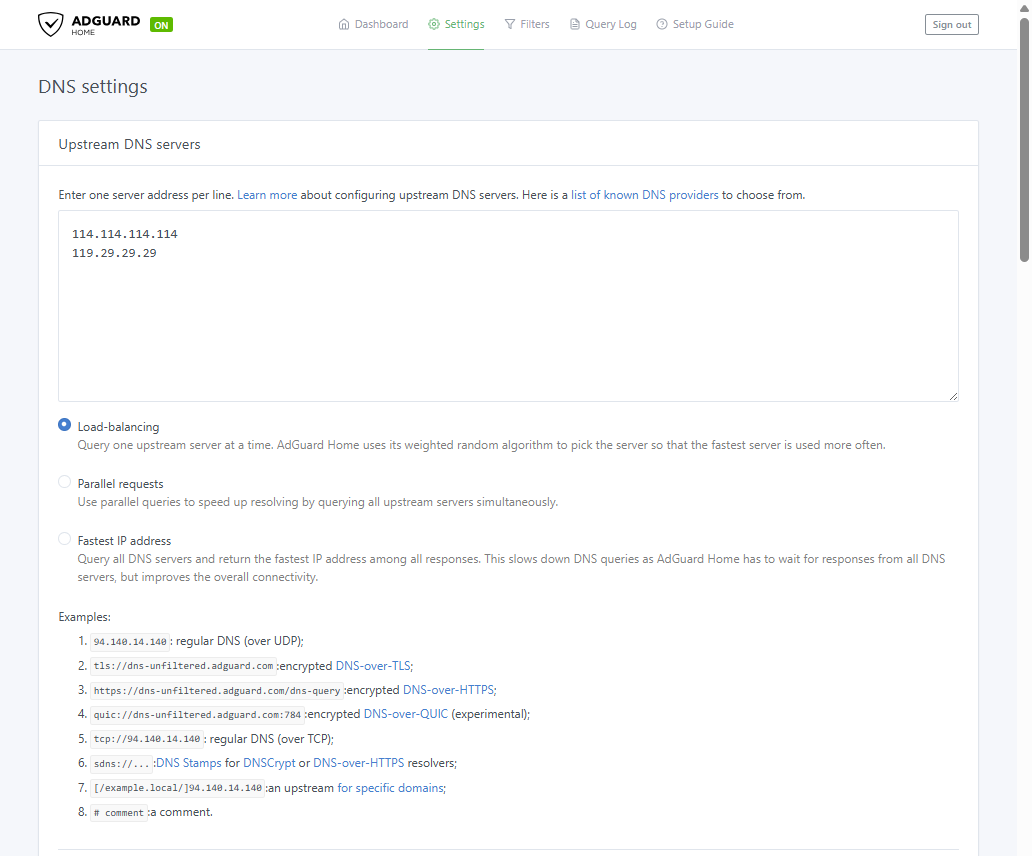
9) If you set DNS blacklists, please access Filter>DNS blocklists.
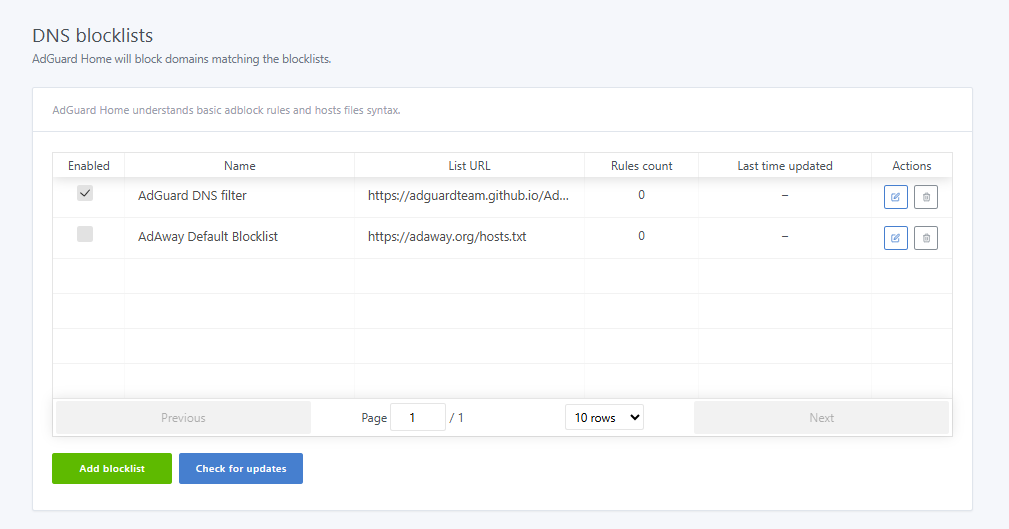
10) Click New blocklist>Add a custom list.

11) Enter the name and URL of the new blocklist. Click Save.
