Chapter 3 Partition and Format
This chapter contains the following sections :
• For Mac
To use the product initially, please create a new partition as the system-specific instructions:
Note: If the SSD is brand-new and unformatted, please perform partition installation so that the computer can read the data normally; lf the SSD is formatted and has stored data, you have no need to perform partition installation because the computer can read the data normally. The following method is for reference only and may vary depending on the computer system version.
For Windows
-
Right click This PC icon and select Manage, choose Storage then go to Disk Management, select MBR(Master Boot Record) or GPT(GUIDE Partition Table), click OK.

-
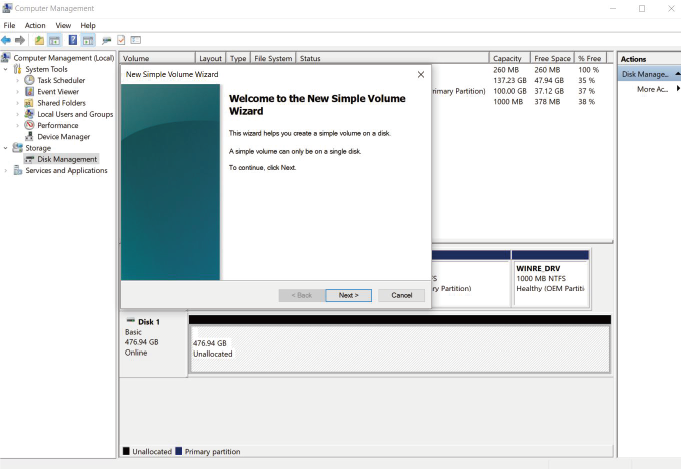
Right click your disk, choose New Simple Volume and select Next to proceed.
-
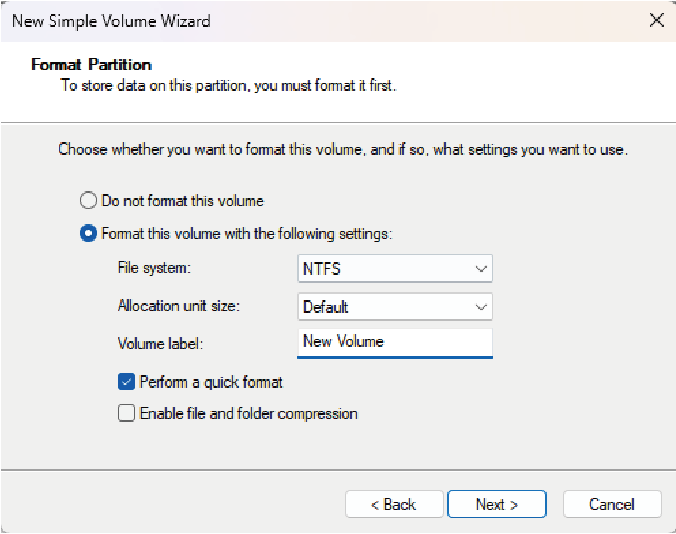
Select the File system, Allocation unit size and Volume label from the Erase or use the default one.
-
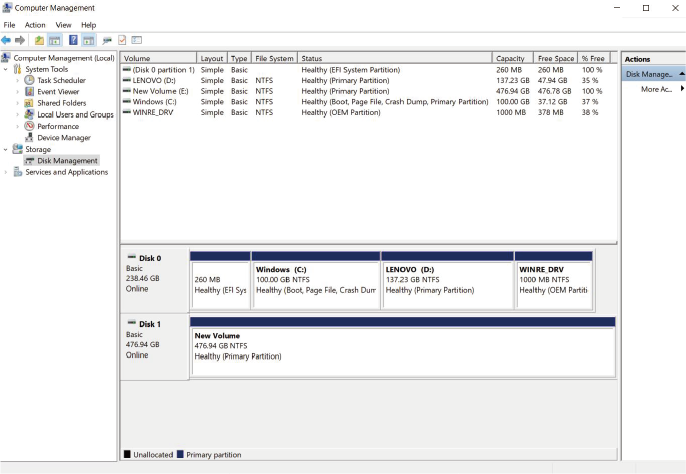
Follow the instructions step by step to complete format installation.
Note: For Windows computer, the maximum speed of the disk is achieved by selecting Better Performance from the Policies in the Windows Drive Properties. We do not recommend doing this if you are not aiming for ultimate performance.
For Mac
-
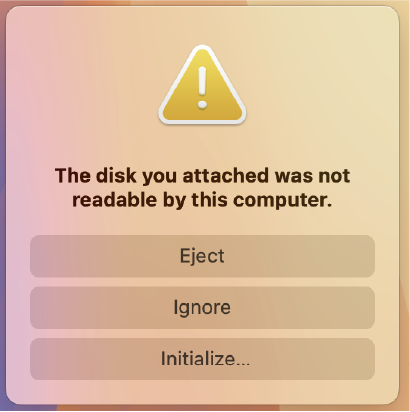
After connecting to the product, there is a prompt window The disk you attached was not readable by this computer popping up.
-
Select Initialize... in the pop-up prompt window.
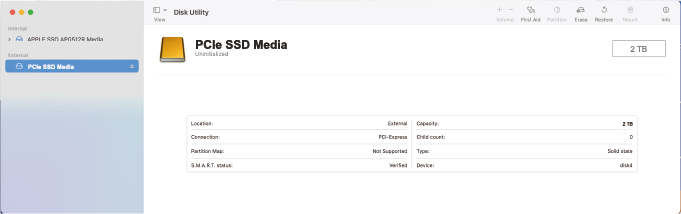
- Select External storage from the left of Disk Utility, then select Erase from the top of the Disk Utility.
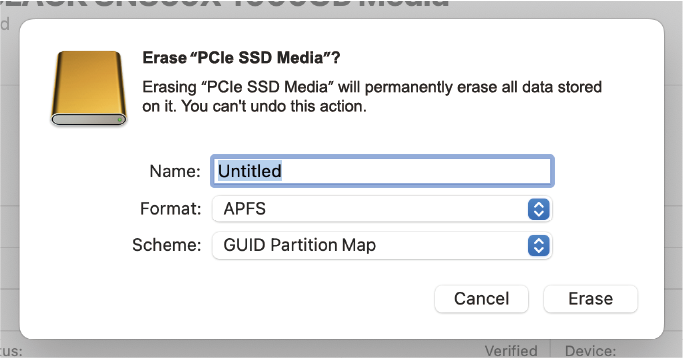
- Select the Name, Format and Scheme or use the default one, then click Erase.
- Click Done to finish the configuration.
