Chapter 2 Access to the Internet and Configuration
This chapter introduces the steps to configure this router.
Access to the Internet
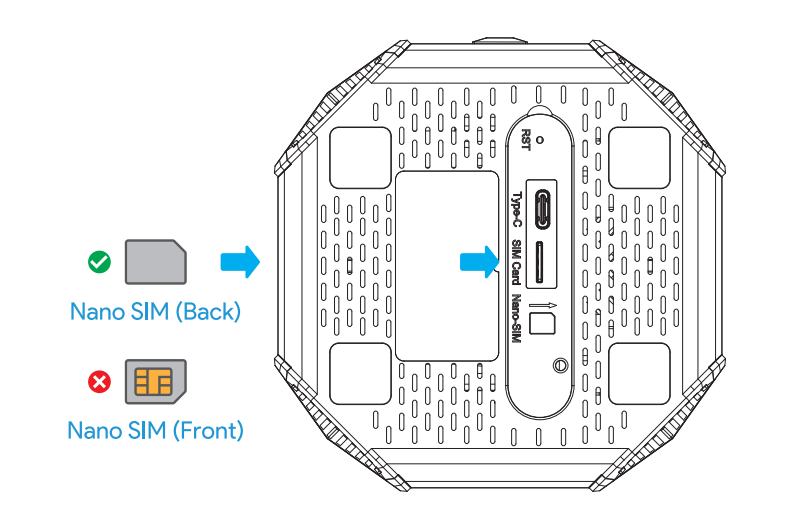
Option l: 5G/4G Mobile Network
- Insert the nano-SlM card in the bottom slot.
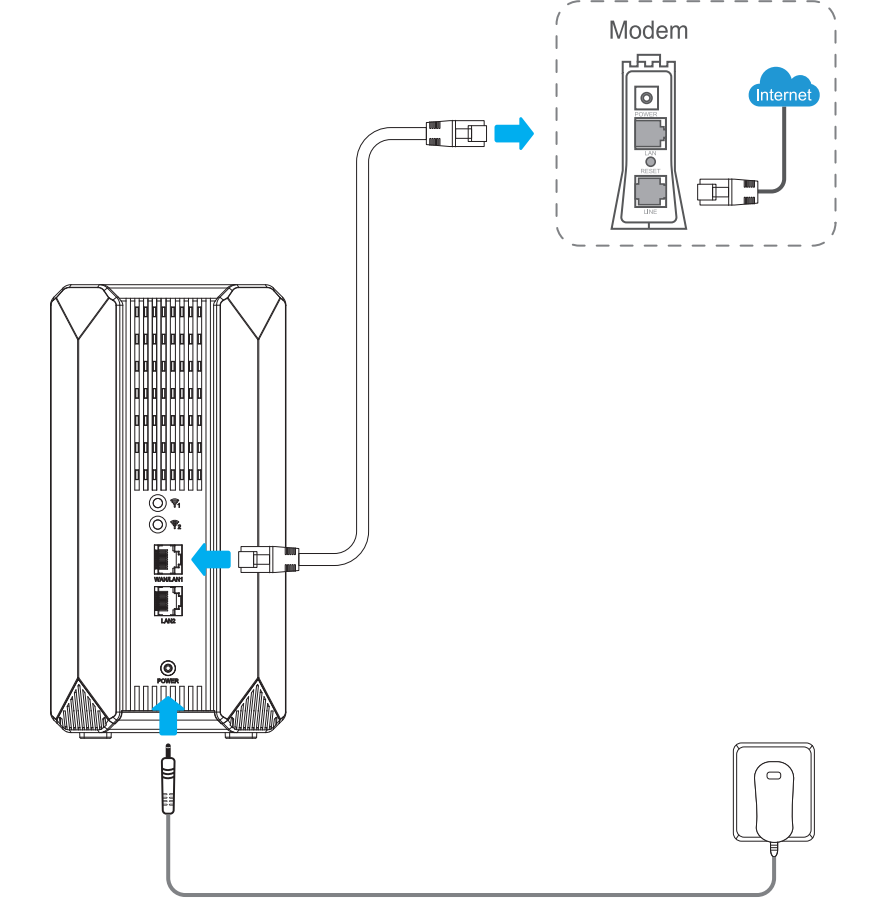
Option ll: WAN Wired Network
- Connect to the network with a network cable through the WAN/LAN1 port of the device.
Configuration
1.Connecting the Router
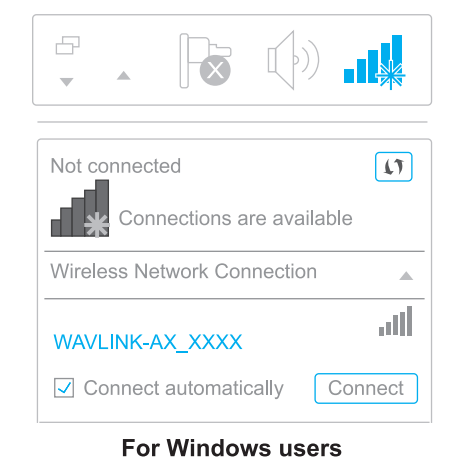
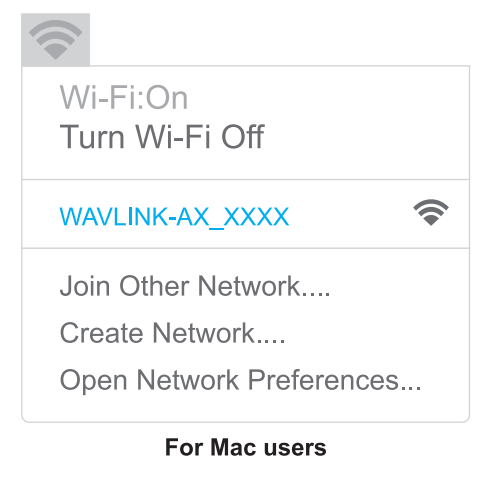
- 1.1 Wireless Connection
On your laptop or smartphone, connect to the default SSID printed on the router: WAVLINK-AX_XXXX.
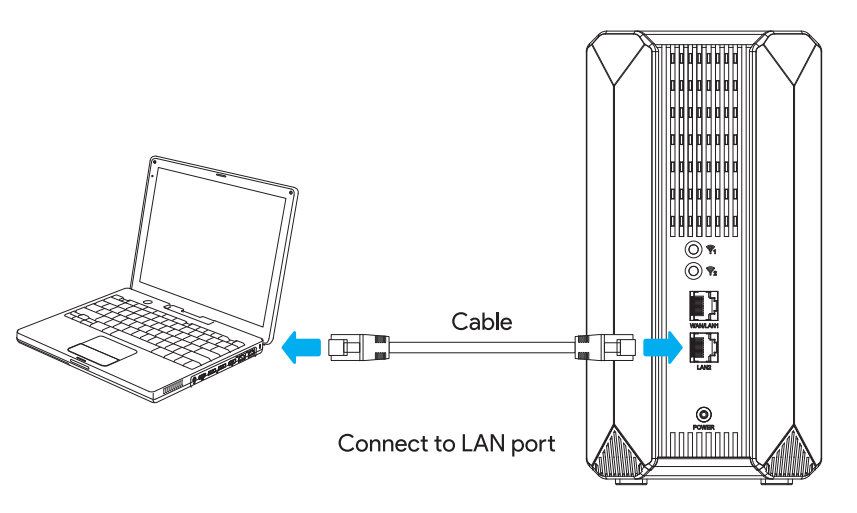
- 1.2 Wired Connection
Use an Ethernet cable to connect your computer to the LAN2 port on the router.
2.Software Configuration
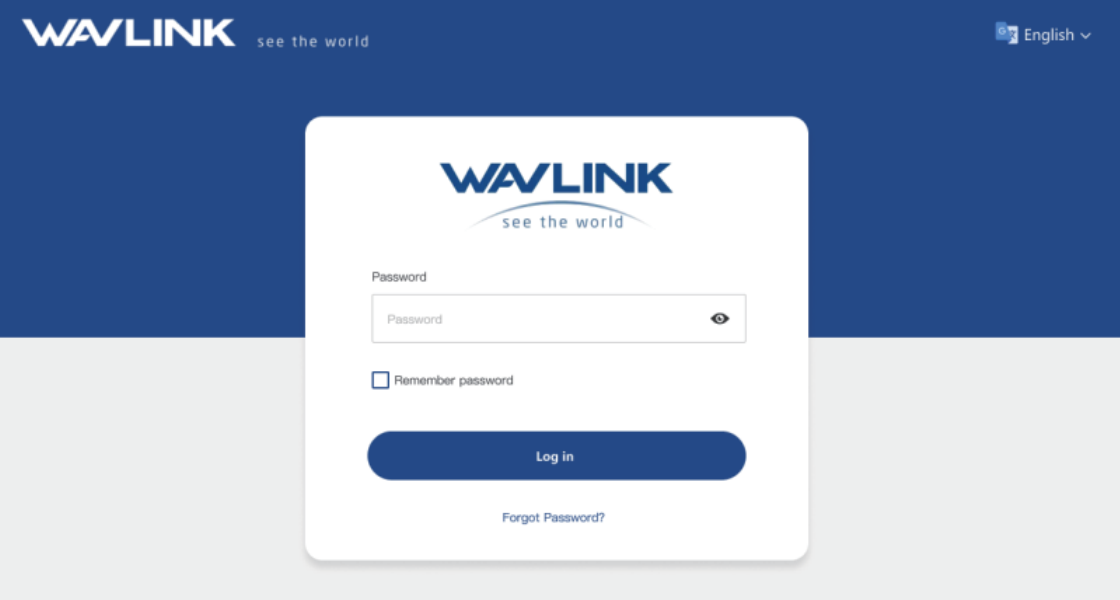
- 2.1 Open a web browser (via wired or wireless connection) and enter http://wavlogin.link in the address bar. You will automatically enter the Wavlink router initial setup page. If not, manually enter 192.168.40.1 in the browser’s address bar.
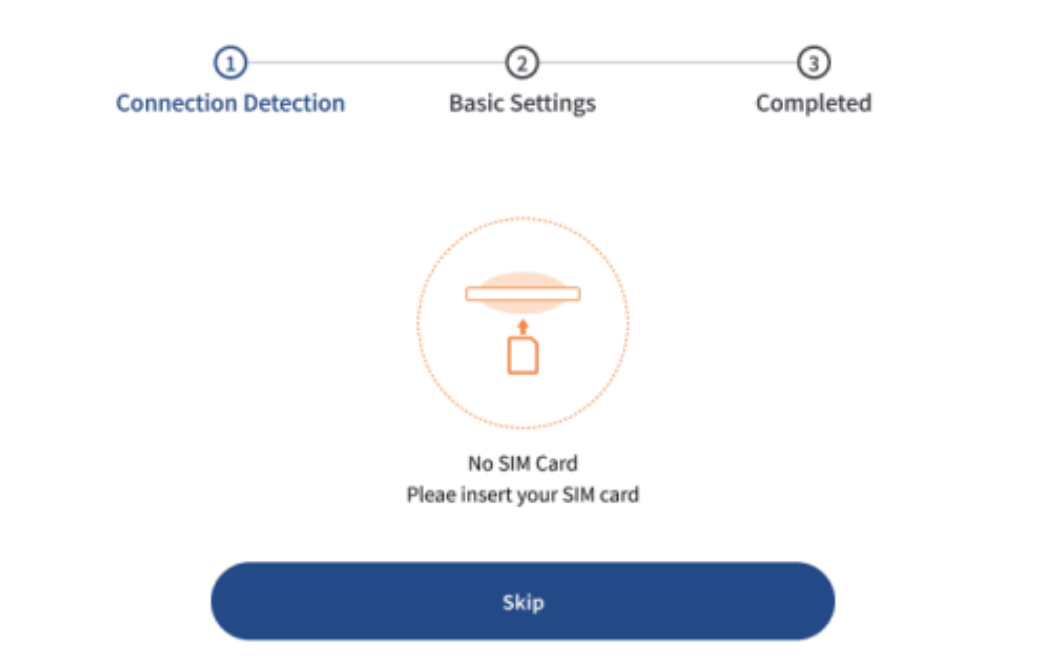
- 2.2. Click “Start Using”.
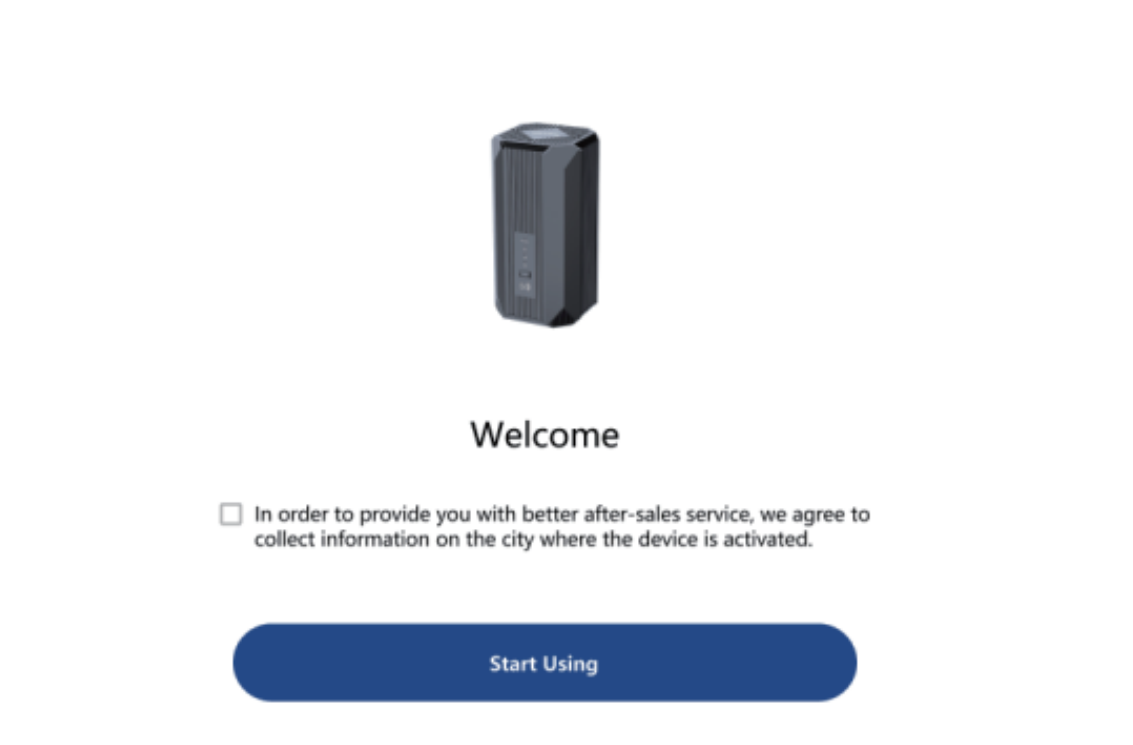
- Note: If the SIM card is not inserted, this page will appear. Click "Skip". The device automatically uses a WAN wired network. Otherwise, please insert the SIM card and refresh the page.
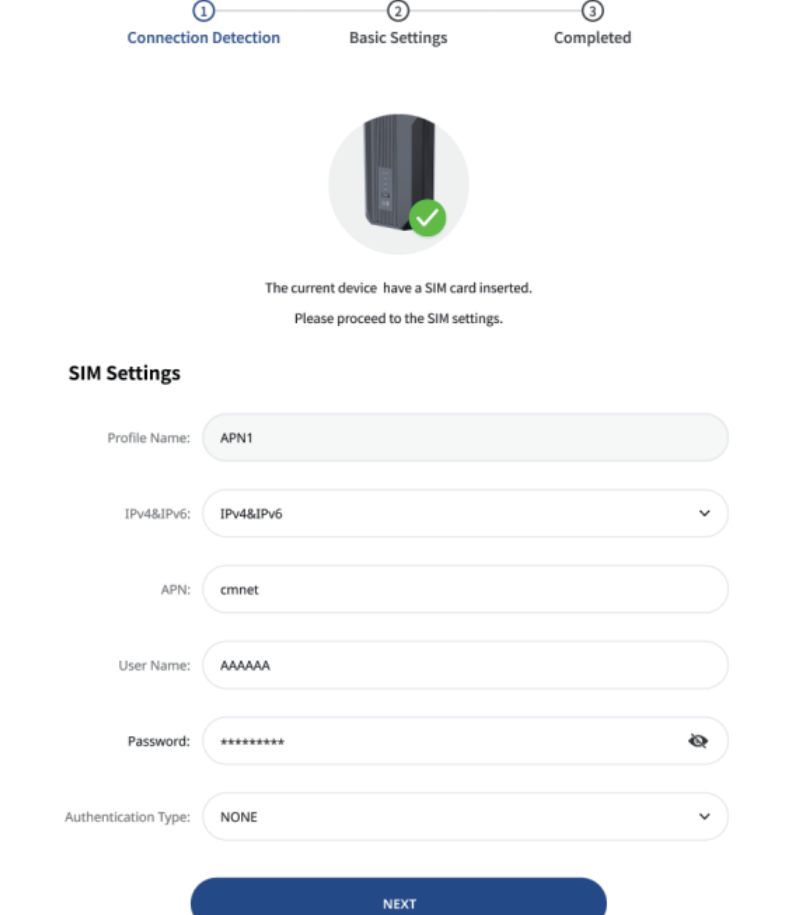
- 2.3 If the SIM card is inserted smoothly and recognized, the interface will jump to this page. Enter “SIM Settings". The settings you can make are shown below.
- 2.4 Enter “Basic Settings". Select “Time Zone" respectively. For your network security, please set Wi-Fi password and login password.
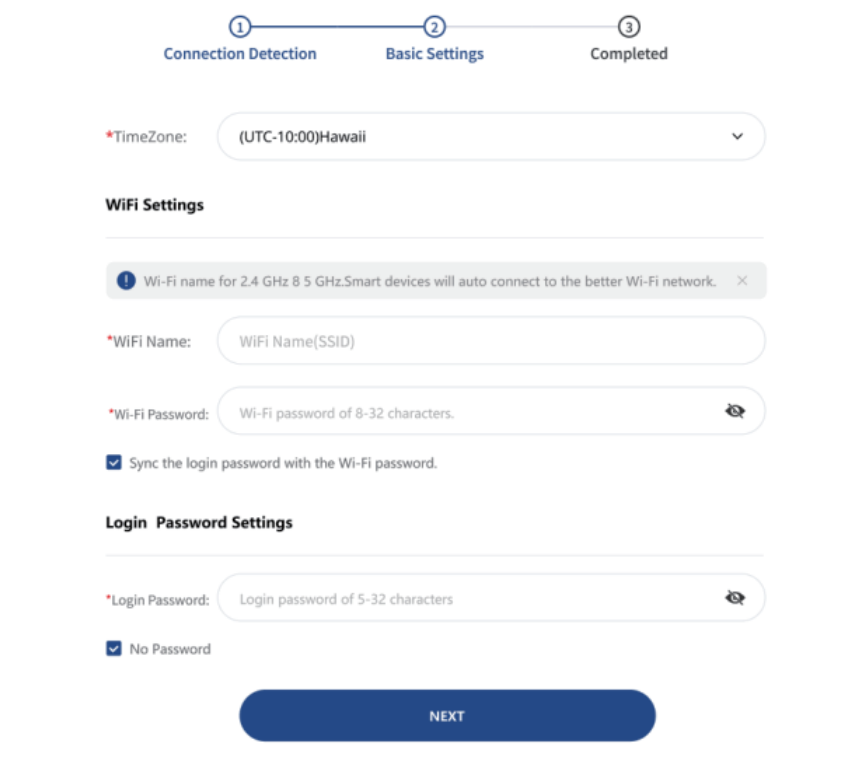
-
Note: If the SIM card is not inserted or is not recognized, it will cross over 4 to this page.
-
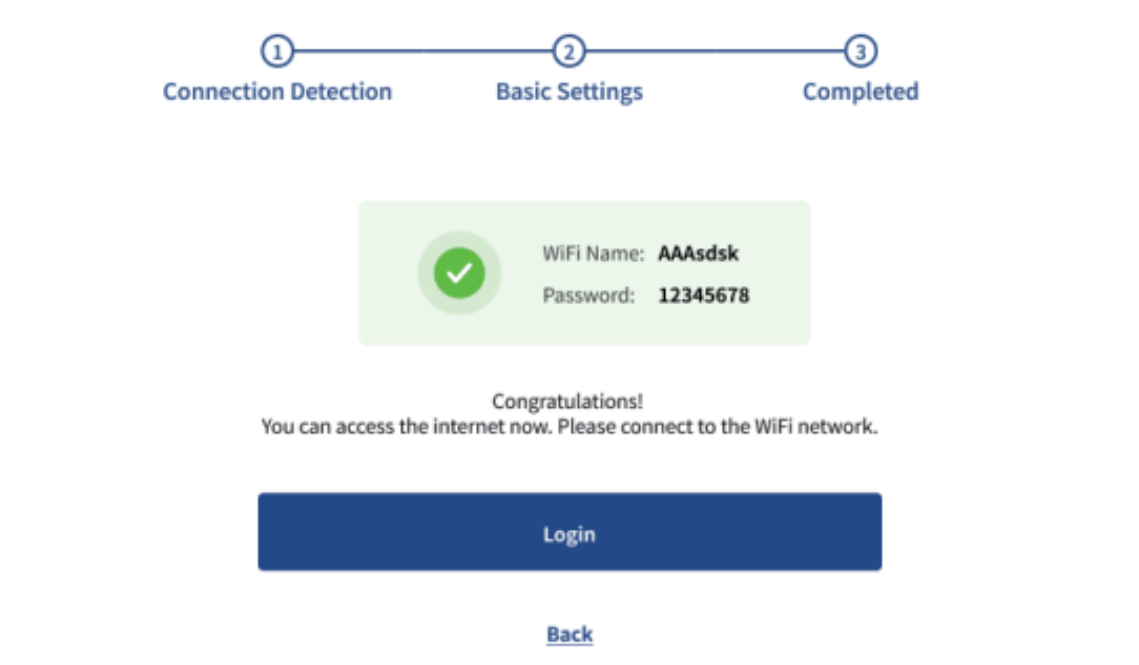
2.5 The setup is successful, and you can access the network.
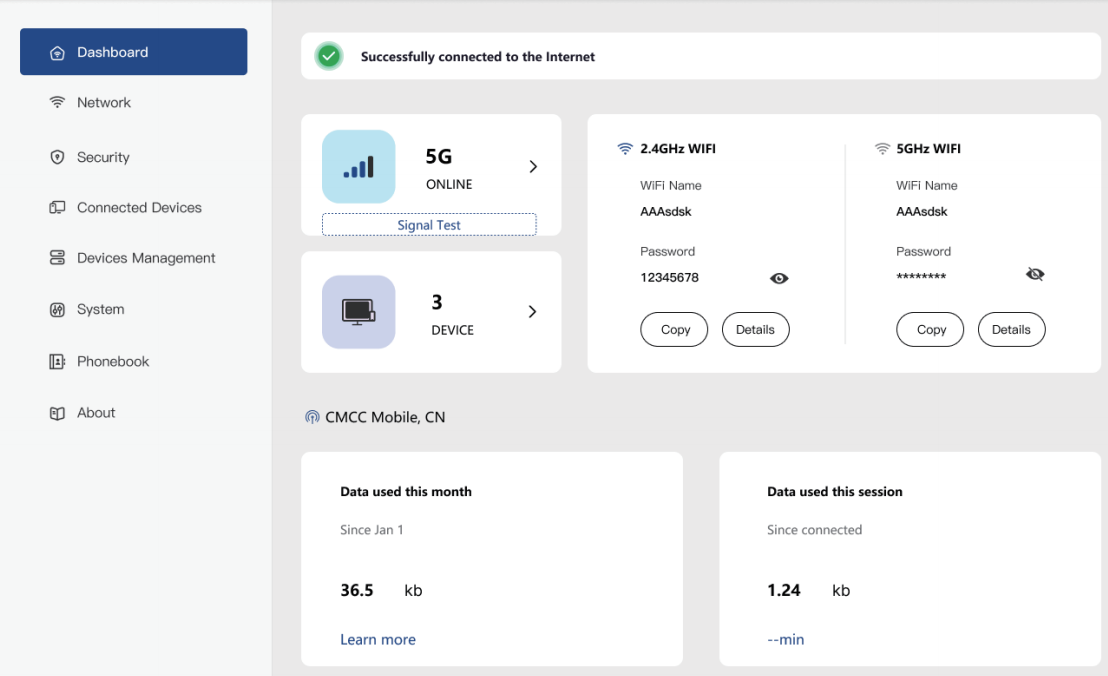
- 2.6 This is the Dashboard page, which displays basic information about the device, including the modem basic information, wireless basic information, attached end-user and traffic usages.
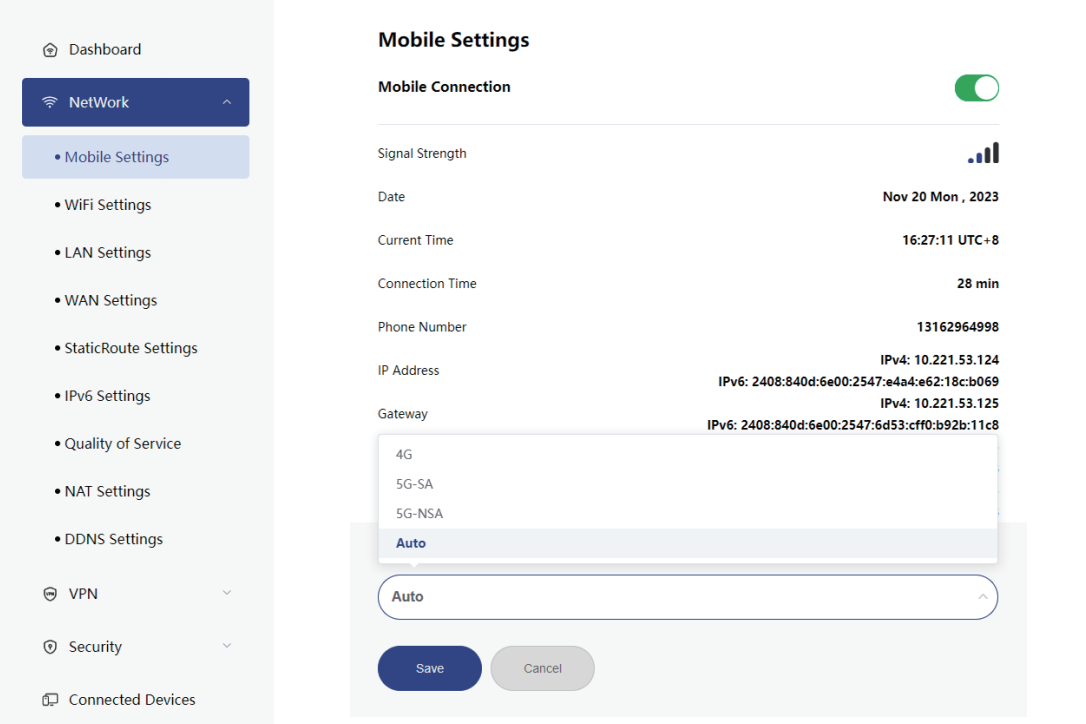
- 2.7 Click Network and select Mobile Settings to change modes. Auto is the default setting.