How to Connect
This chapter introduces the steps of connecting the docking station.
Ensuring the driver has been installed before using this Docking Station, and you have located and toggled the WiFi/USB-C Mode Switch to the desired position.
For Windows/Mac USB Mode
Step 1: Connect HDMI 1 and HDMI 2 to the monitors.
Step 2: Connect other USB peripherals such as a keyboard, mouse or storage devices to the USB ports(optional).
Step 3: Connect Power Adapter to the DC IN port, and plug the Power Adapter into the power outlet.
Step 4: Connect the host PC to the USB-C host port and switch the mode switch to the USB position.
For Windows WiFi Mode
Step 1: Connect HDMI 1 and HDMI 2 to the monitors.
Step 2: Connect other USB peripherals such as a keyboard, mouse or storage devices to the USB ports(optional).
Step 3: Connect Power Adapter to the DC IN port, and plug the Power Adapter into the power outlet.
Step 4: Switch the mode switch to the WiFi position.
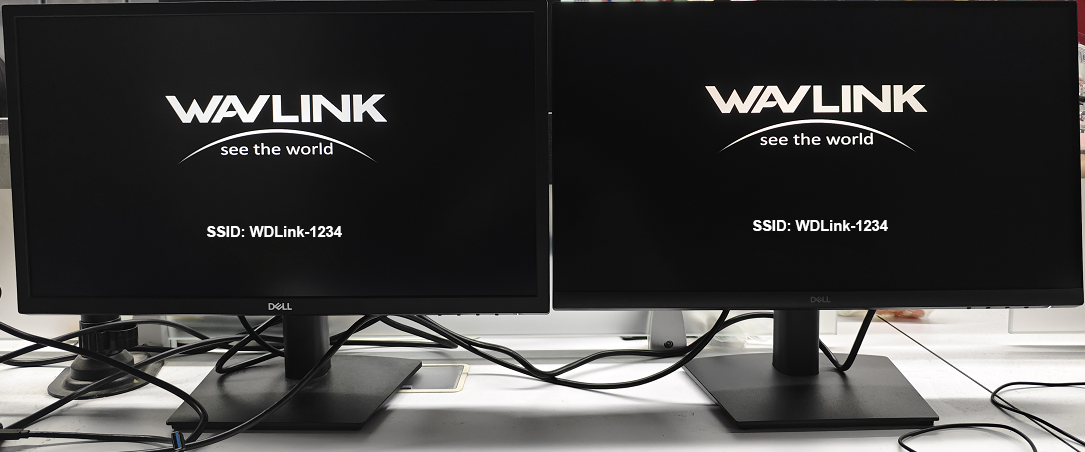
Step 5: Please check if the docking station’s SSID is shown on the connected displays.
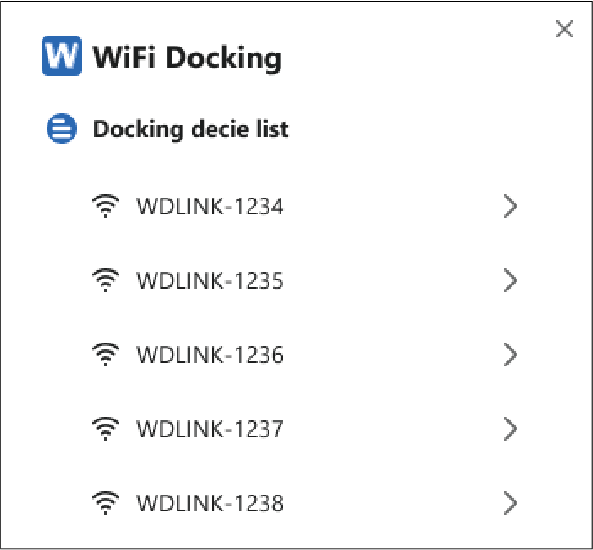
Step 6: Click on the WiFi Docking APP on the computer desktop, a window will pop up to search for the Dock's WiFi.
For best performance, we recommend that you
-
use an HDMI 1.4 or higher cable to connect HDMI ports to the monitors.
-
maintain a distance of 10m in WiFi mode.
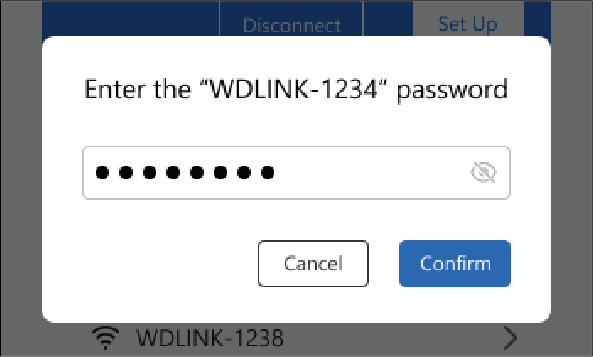
Step 6: Enter the APP, then find your Device from the Docking device list, click it and select Connect.
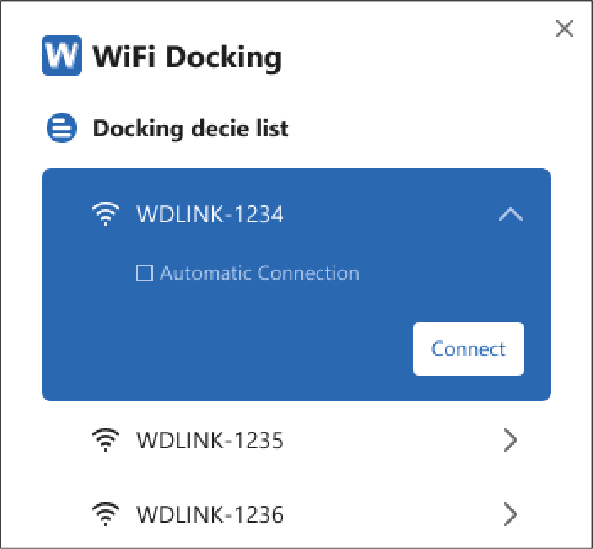
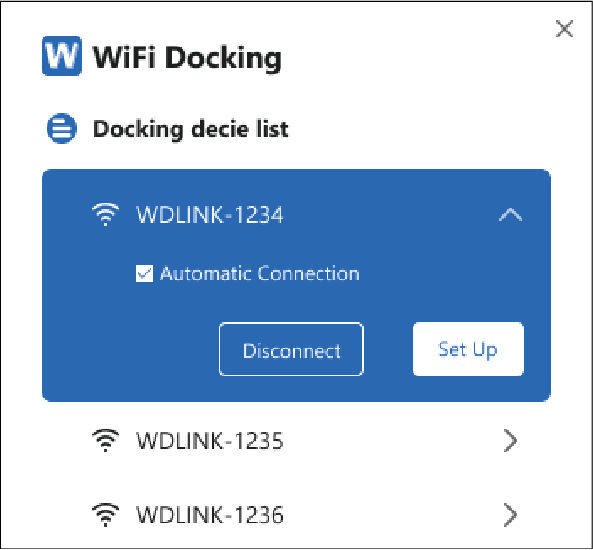
Step 7: You don't need to enter the password the first time you use it or after the factory settings, but it is recommended that you set the password you want on the APP page after a successful WiFi connection, and you need to enter the password you set the second time you connect.
Please scan the QR code or visit the link to watch the installation video.
- For YouTube: https://youtu.be/I4lOEjUs6VI
- For WAVLINK Official Website: https://www.wavlink.com/en_us/video/5bb819da9b.html