Chapter 2 Driver Installation
This chapter introduces the steps of driver installation.
The device is plug and play; however, if you experience reduced speed or the device is not detected, please install the driver manually. Please visit www.wavlink.com/en_us/WL-NWU341G or www.wavlink.com > Support> Driver > PC Peripherals > USB Network Card > WL-NWU341G to download the driver file and manually install it.
For Windows
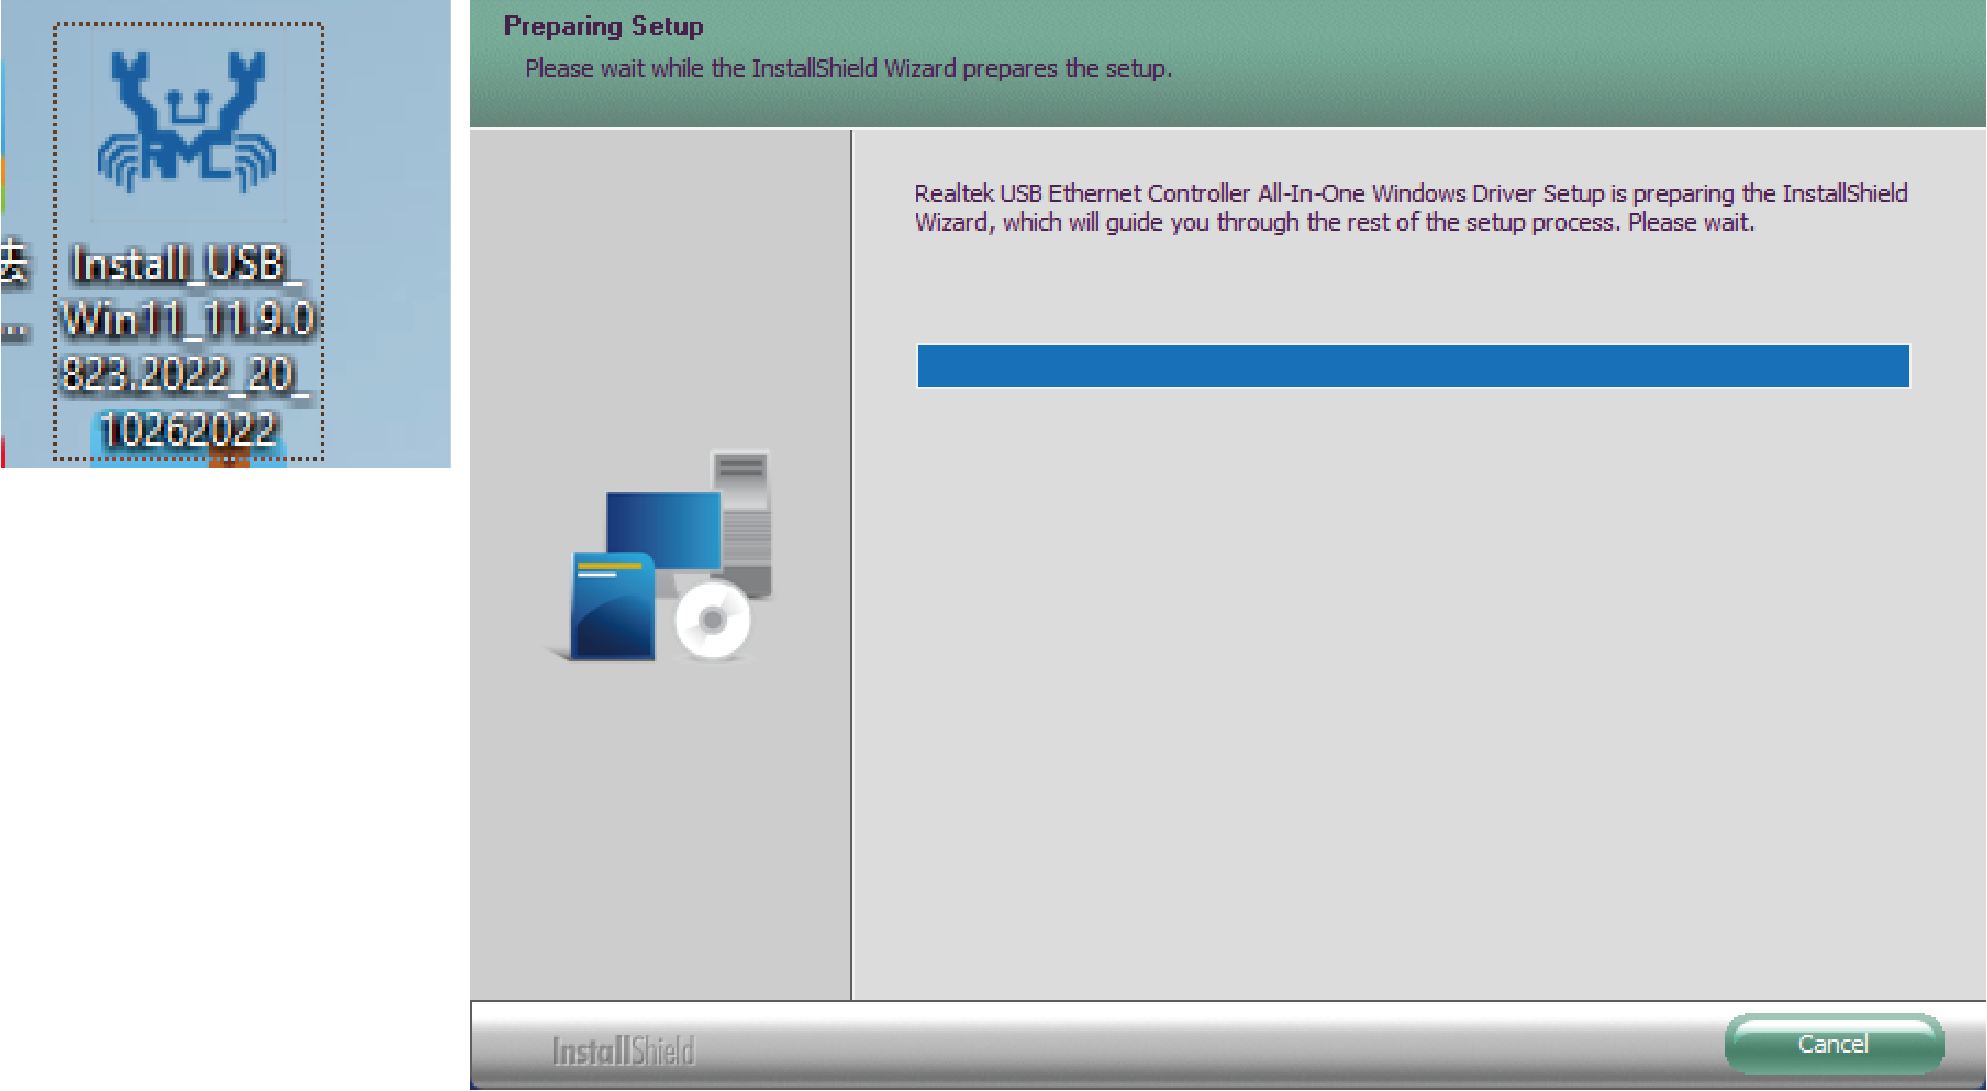
- Locate the downloaded folder and unzip the file to the desktop, please select Yes if your computer asks your permission, then double-click the Driver icon on the desktop.
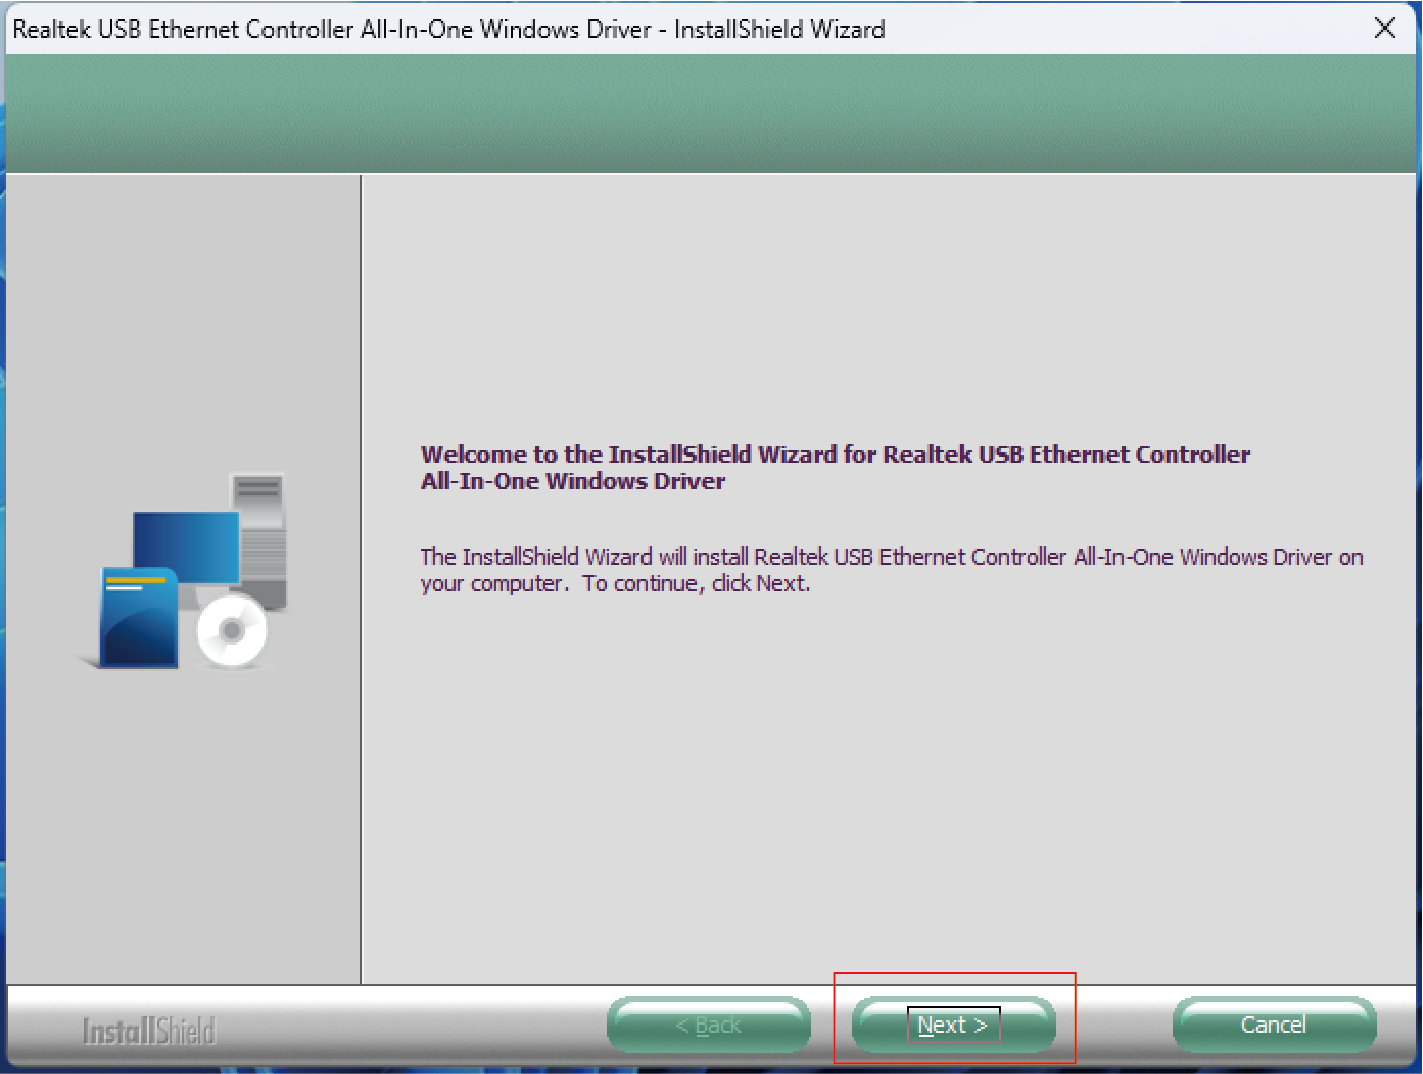
- Click Next to continue the installation process.
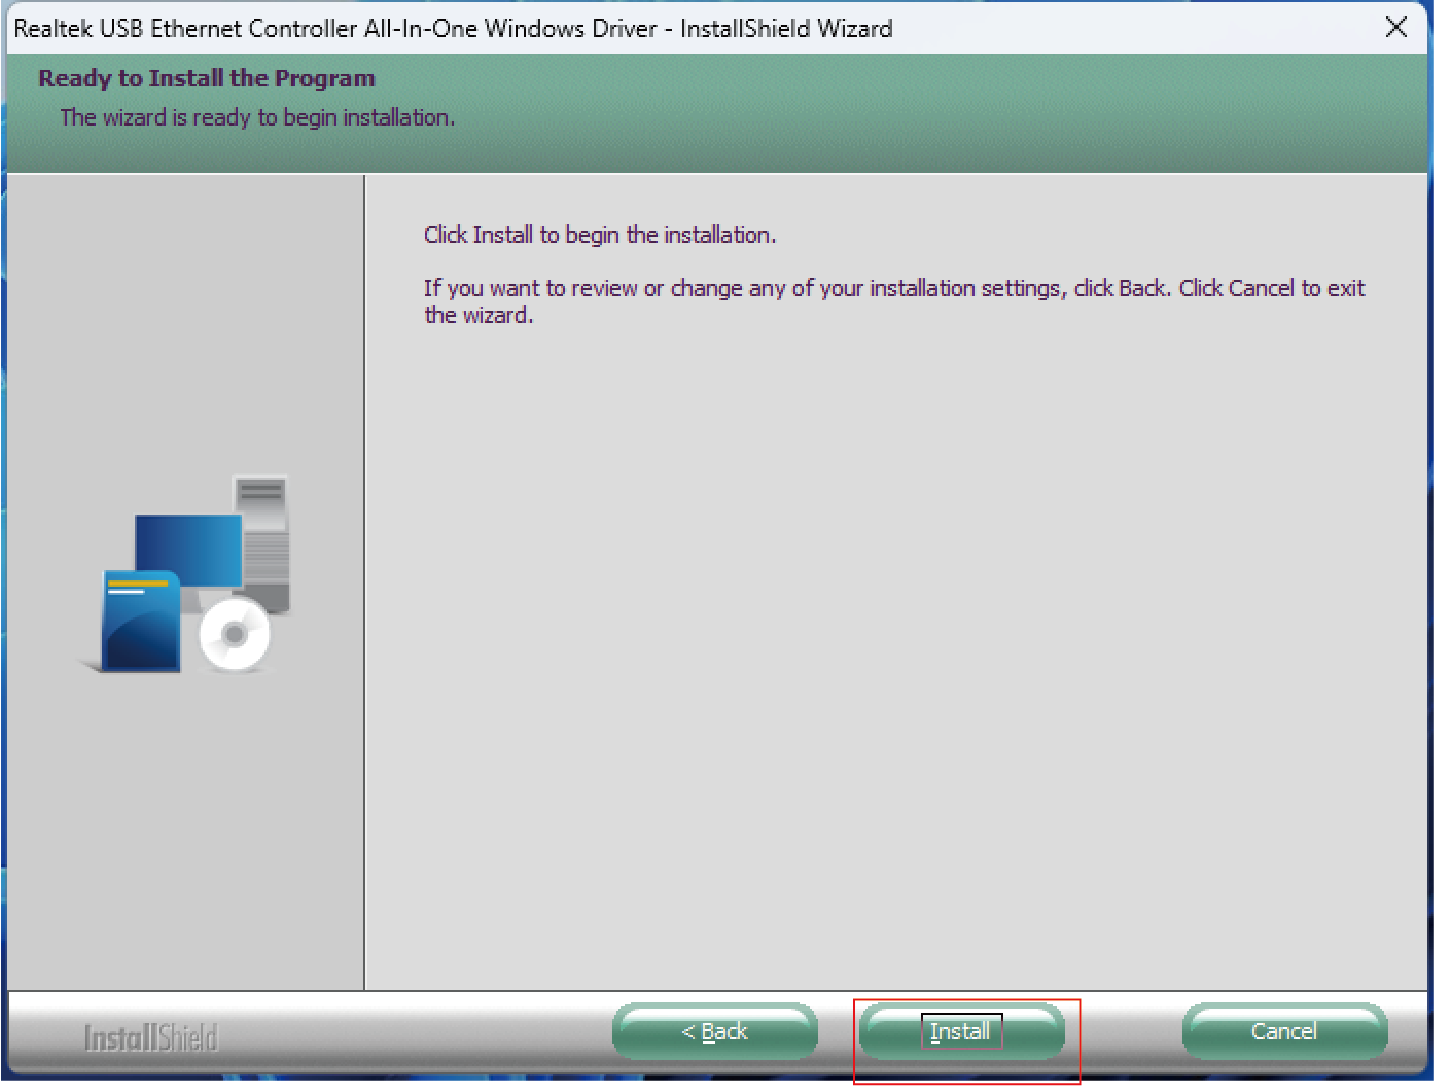
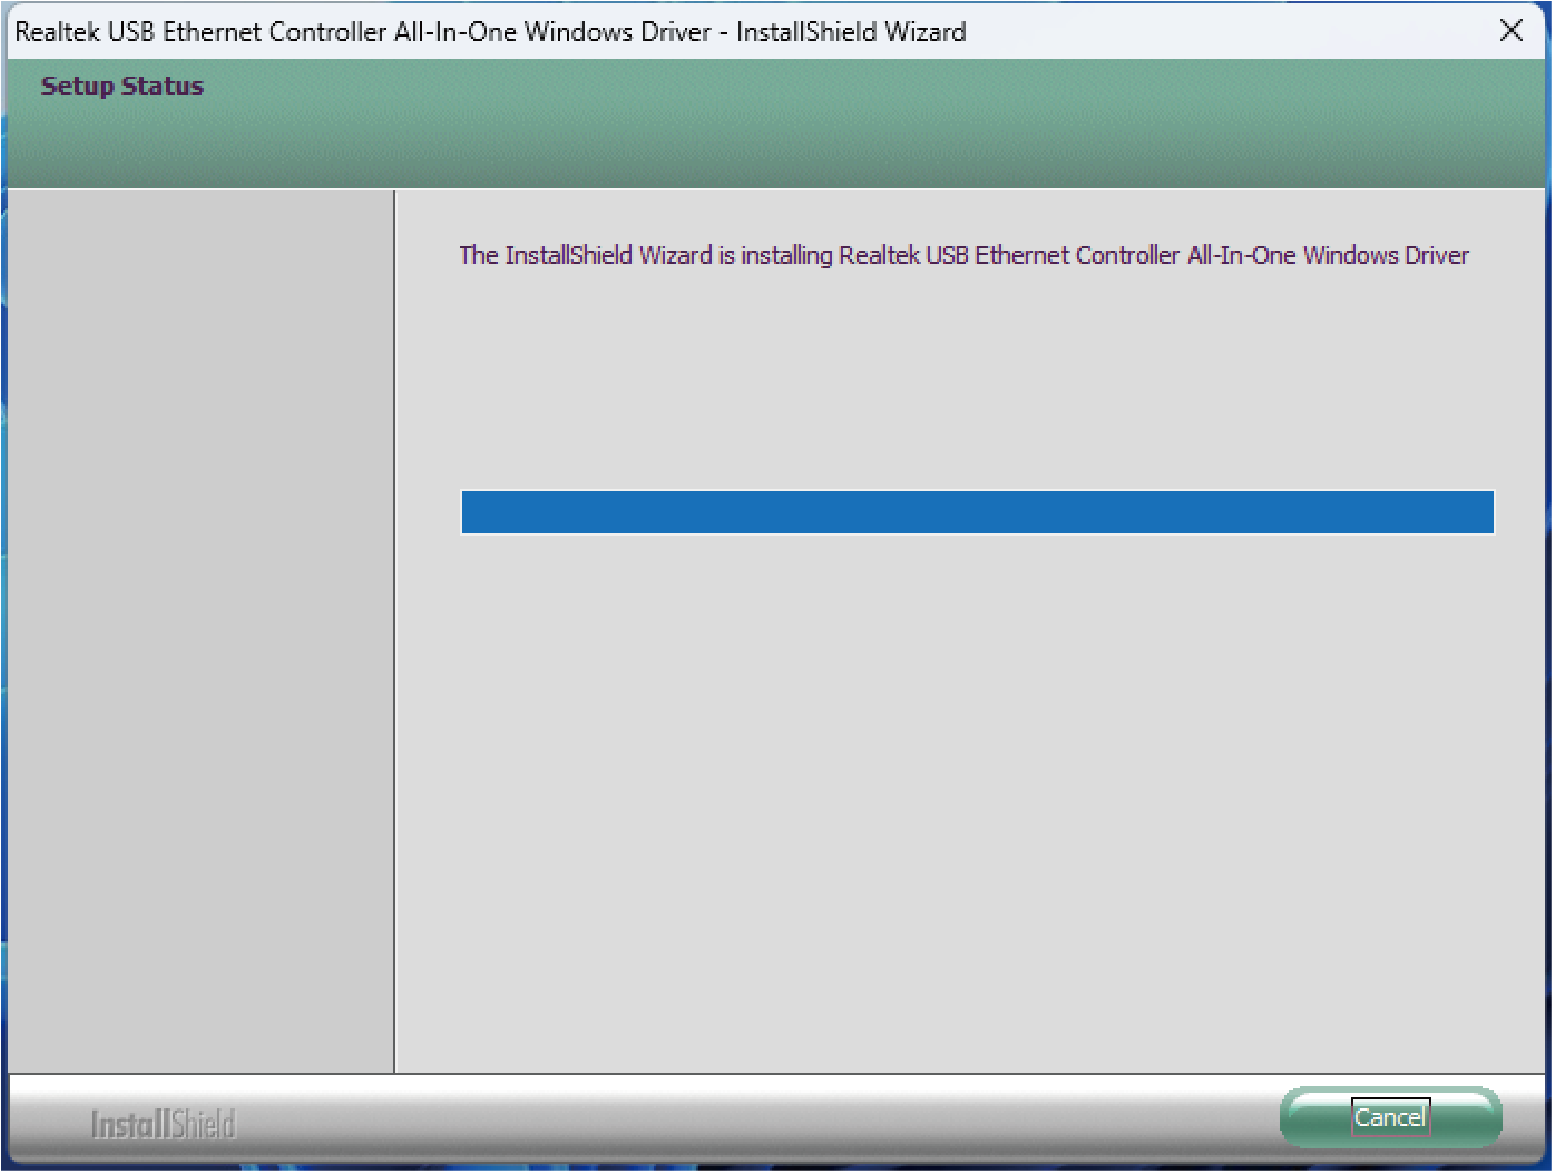
- Select Install to begin the installation. If you want to review or change any of your installation settings, click Back or Cancel to exit the wizard.
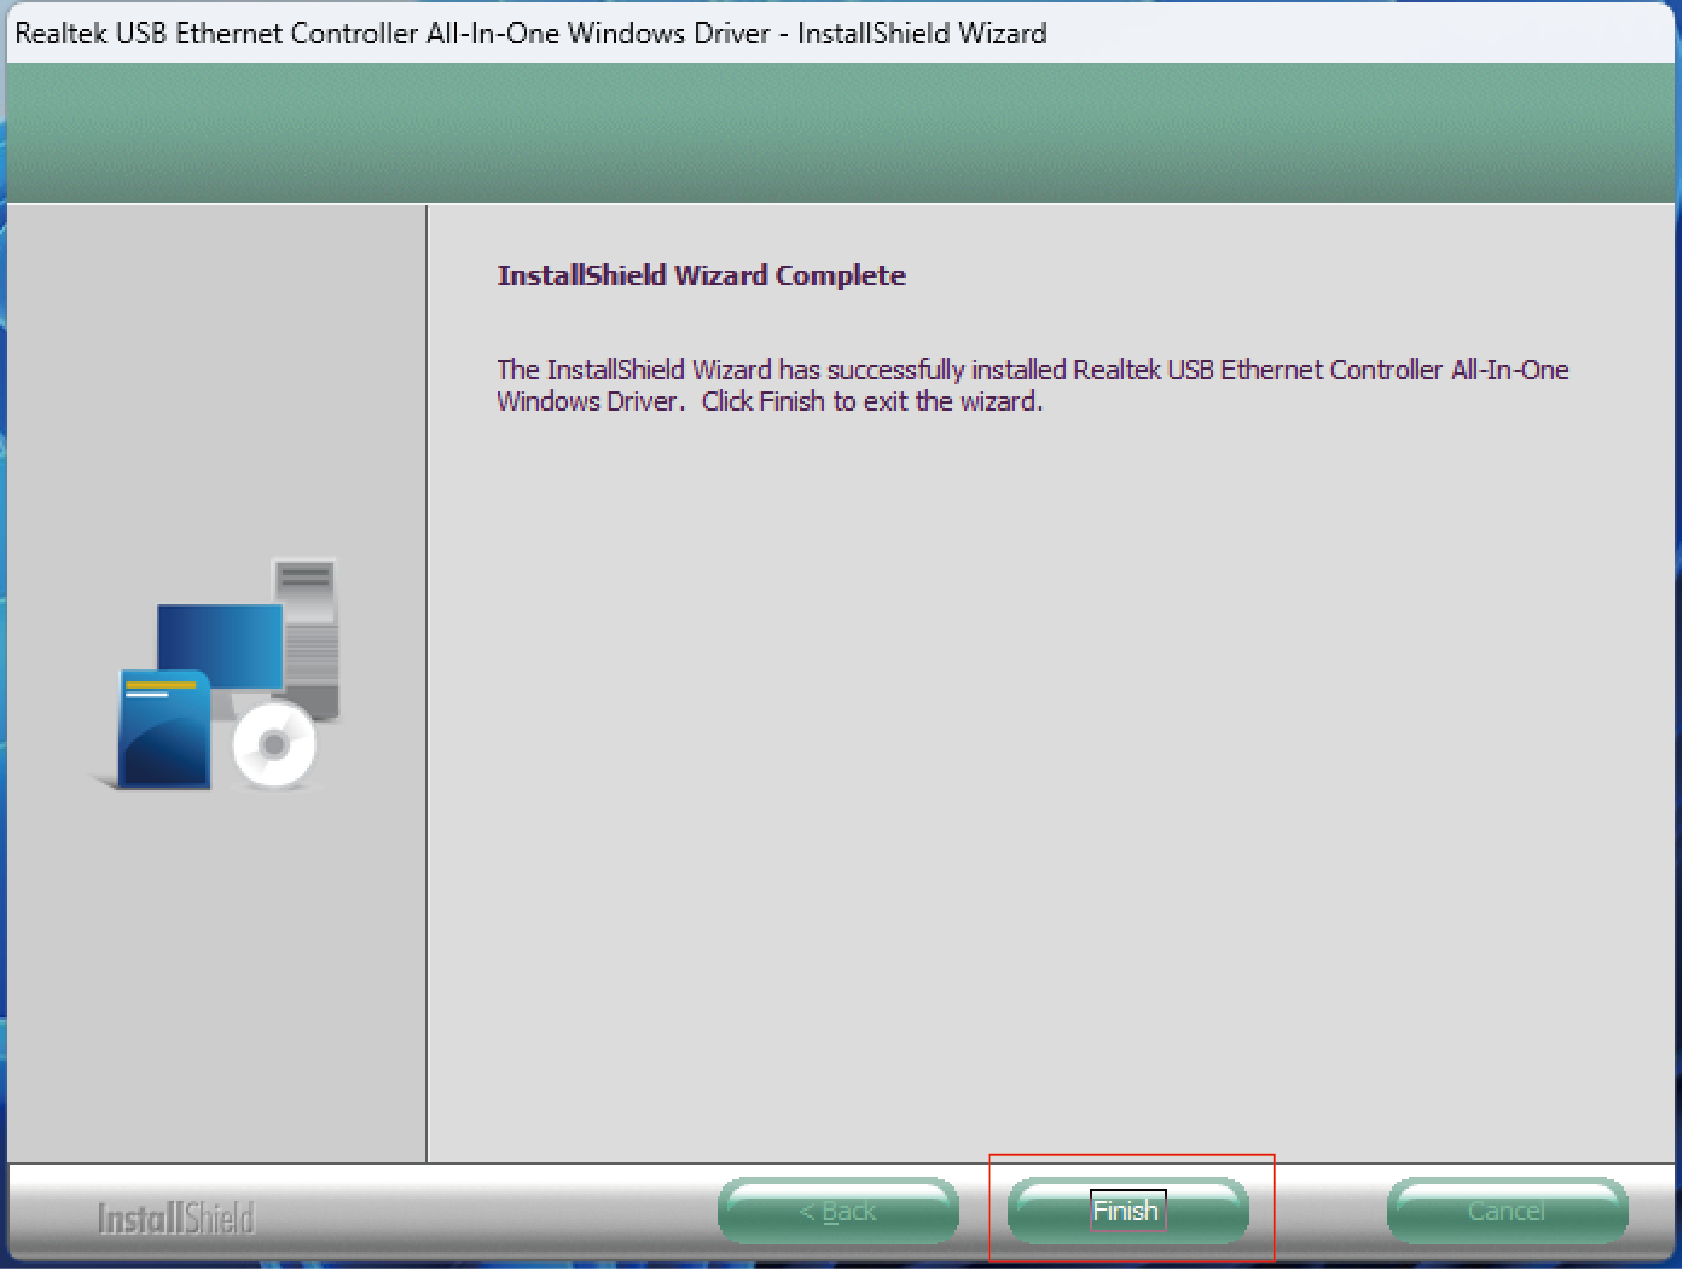
- After the Driver is successfully installed, select Finish to exit the wizard.
For MacOS
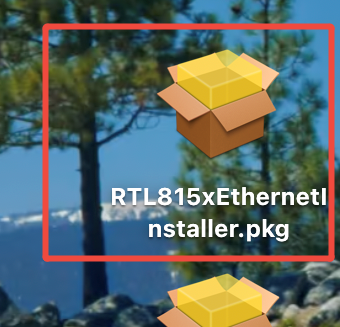
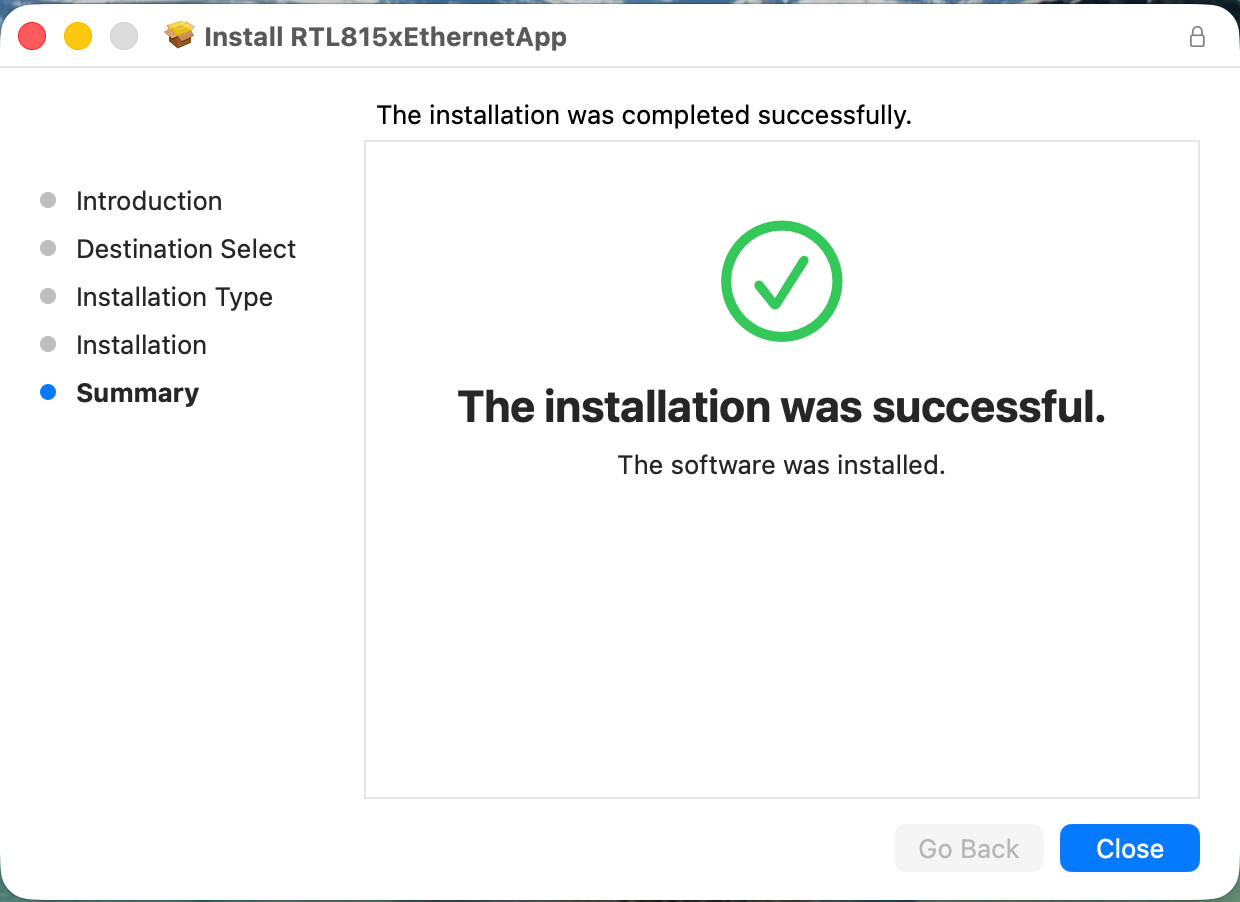
- Open the downloaded driver installation package.
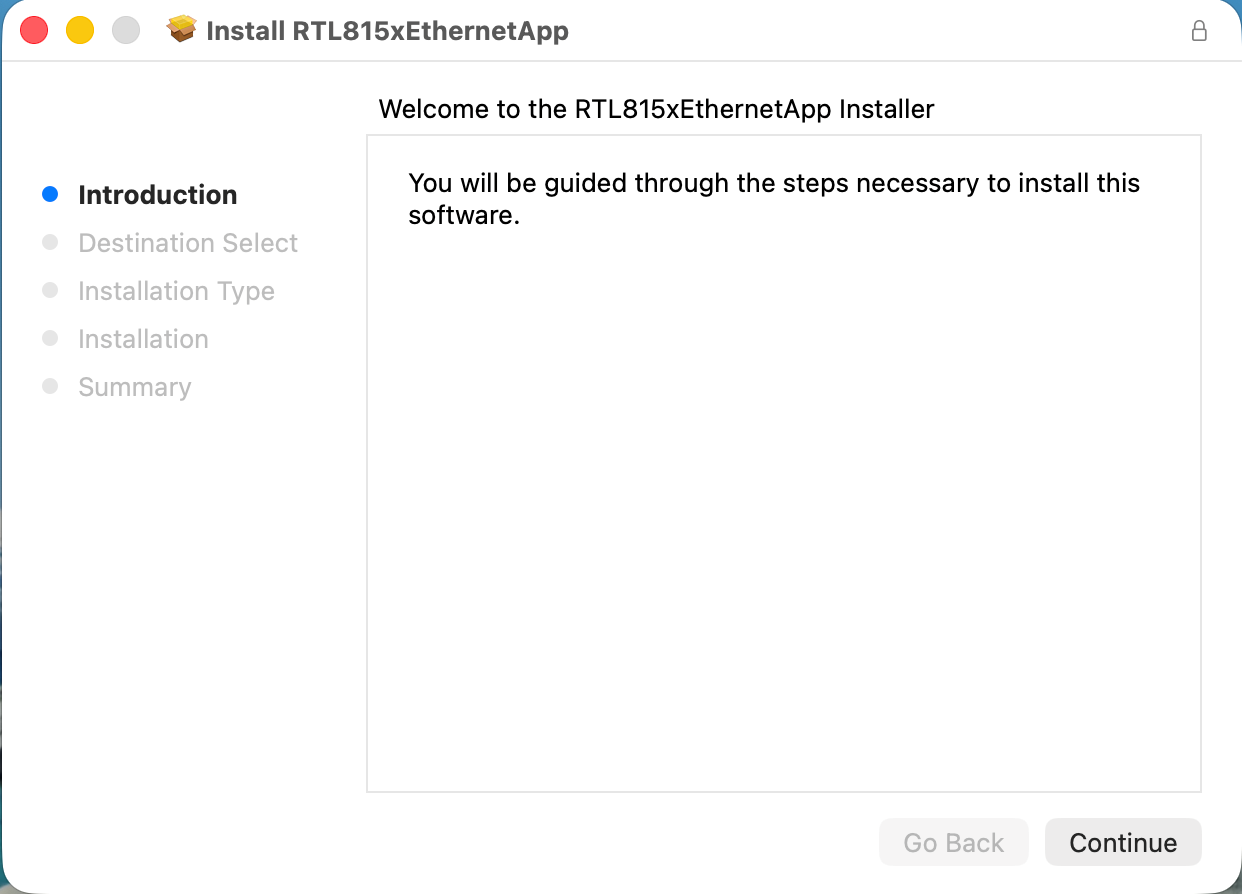
- Click “Continue” to complete installation.
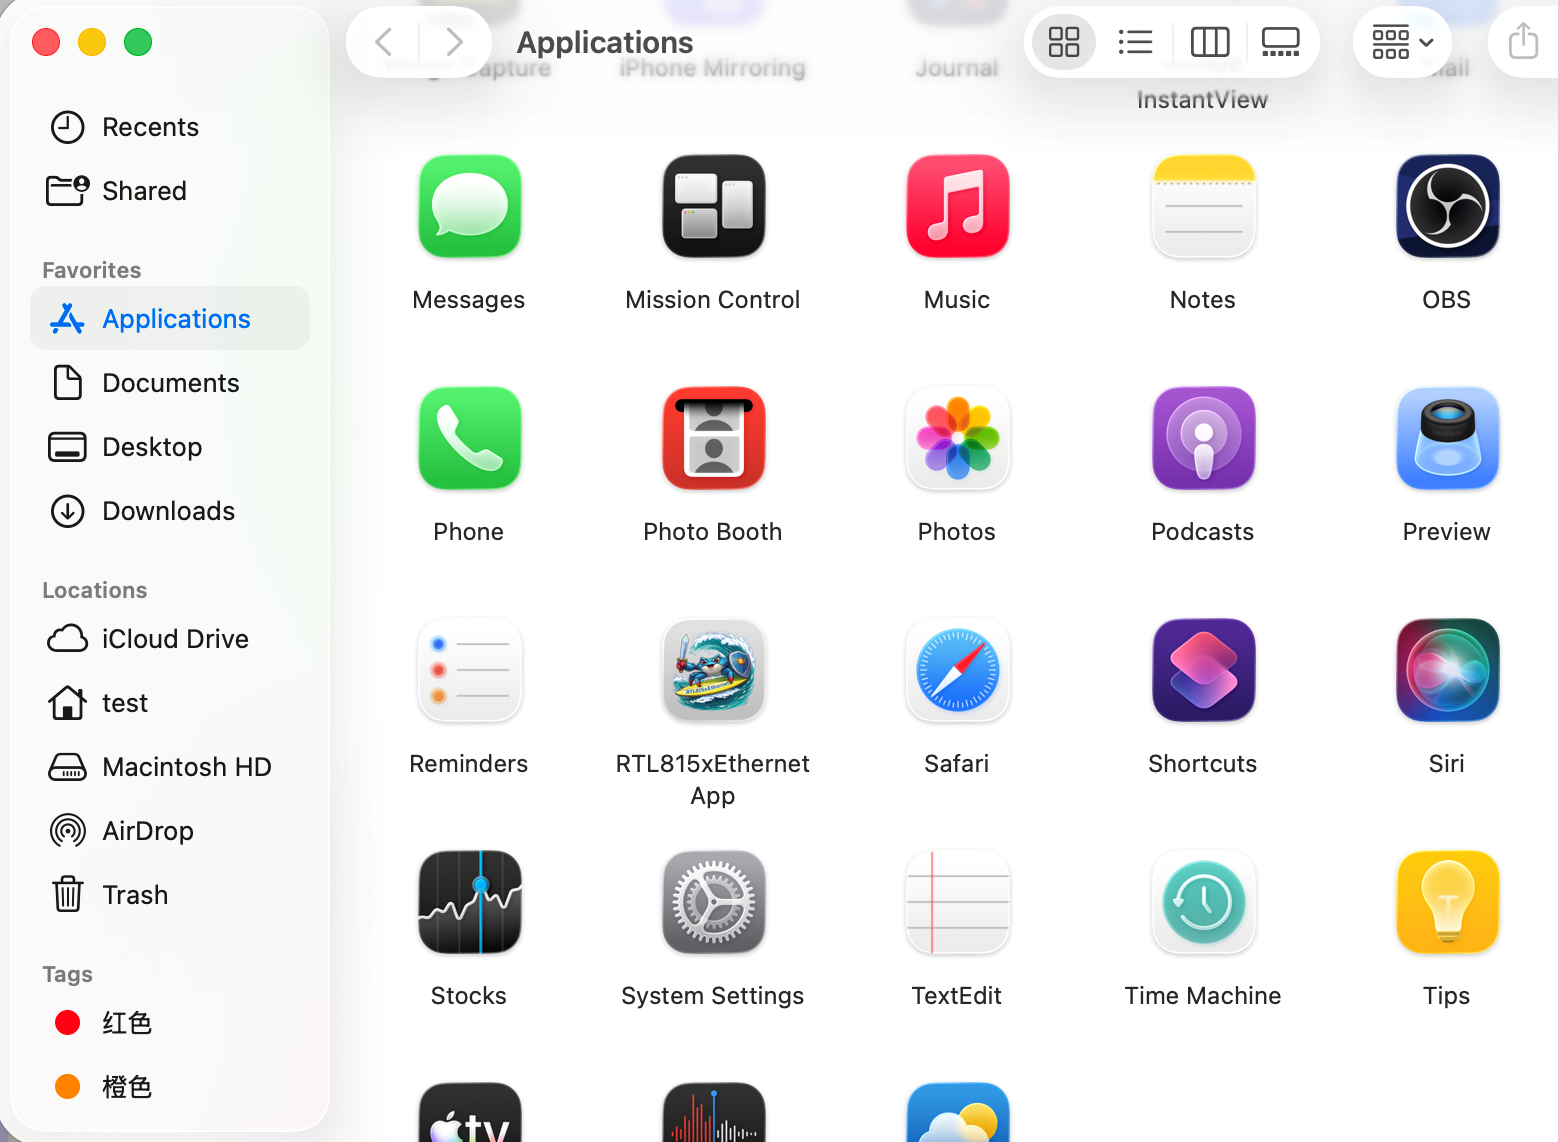
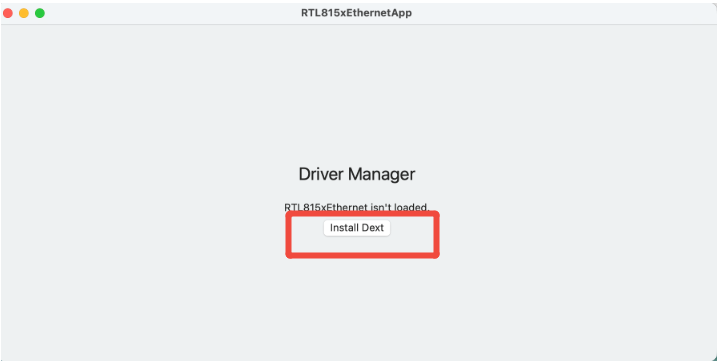
- Open “RTL815xEthernet App”in Applications, click “Install Dext”, and then click “Open System Settings”.
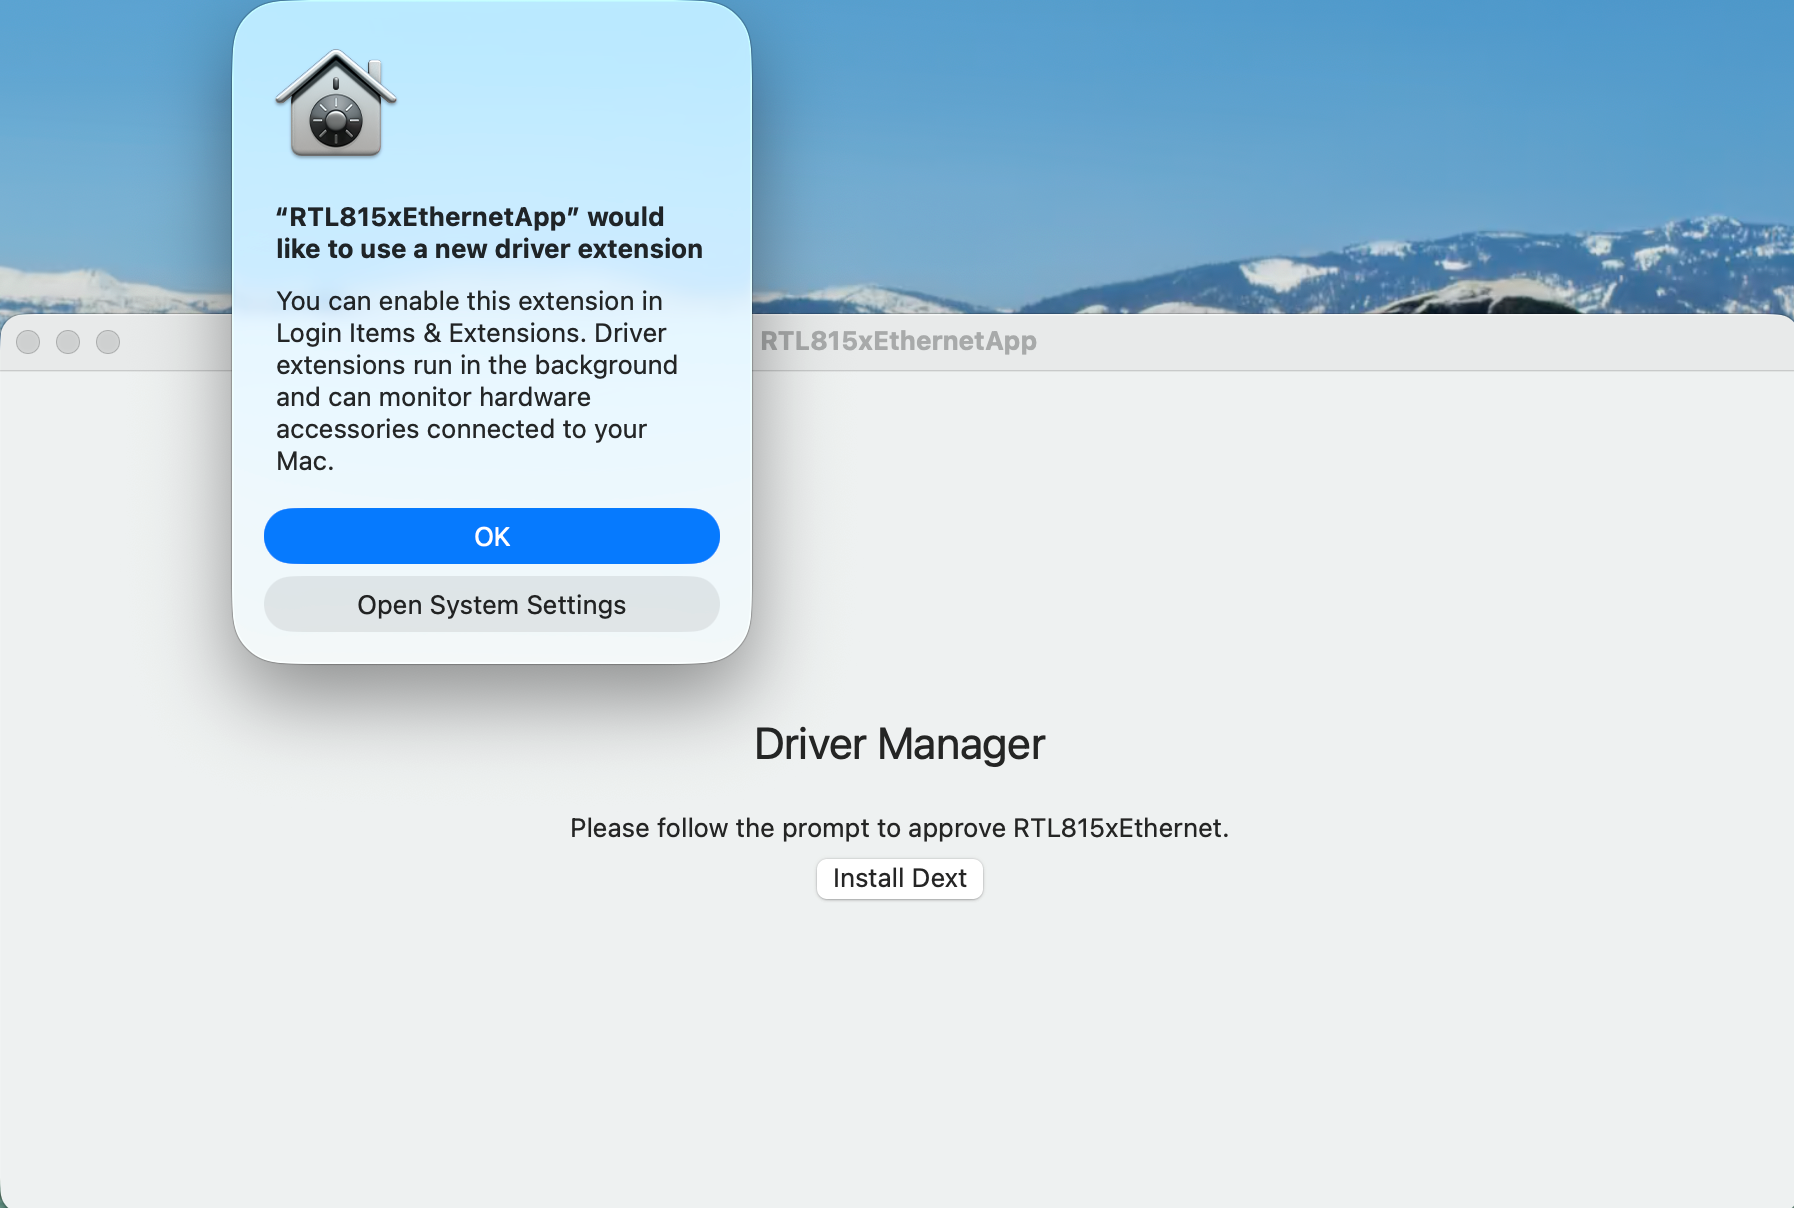
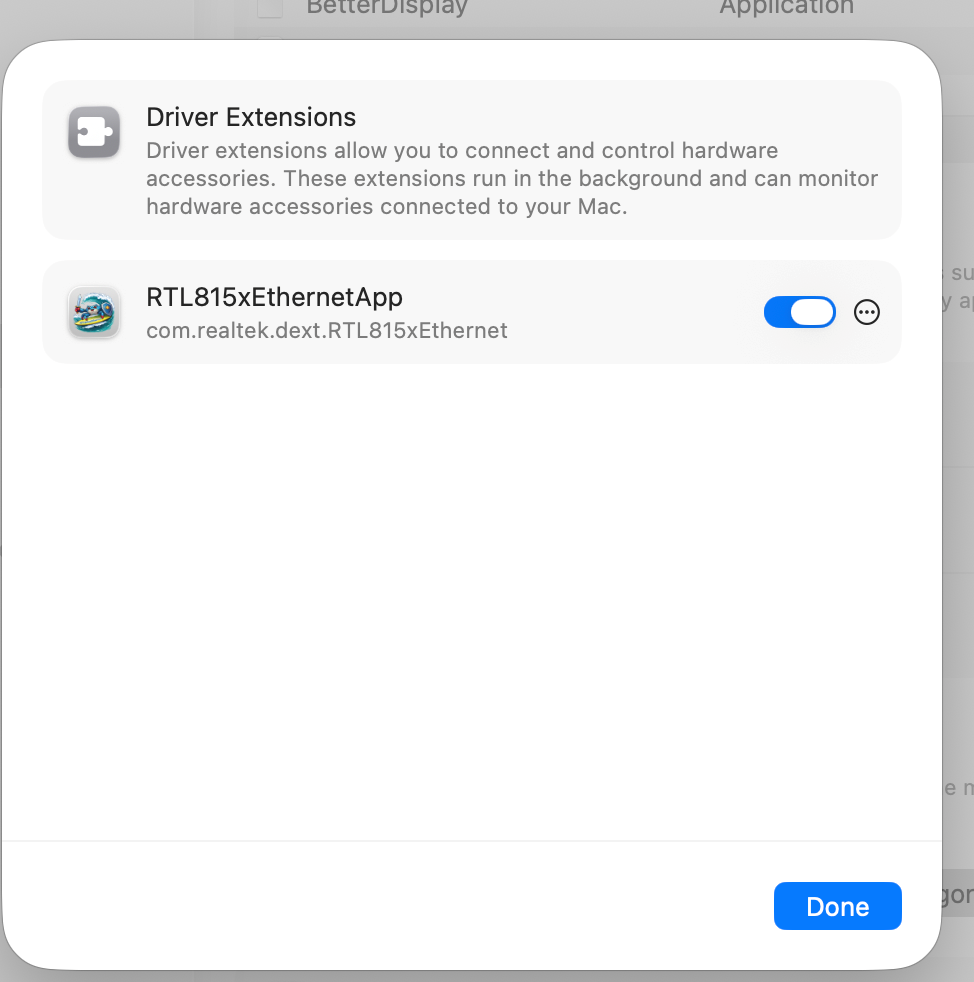
- Enable "RTL815xEthernetApp" permissions.
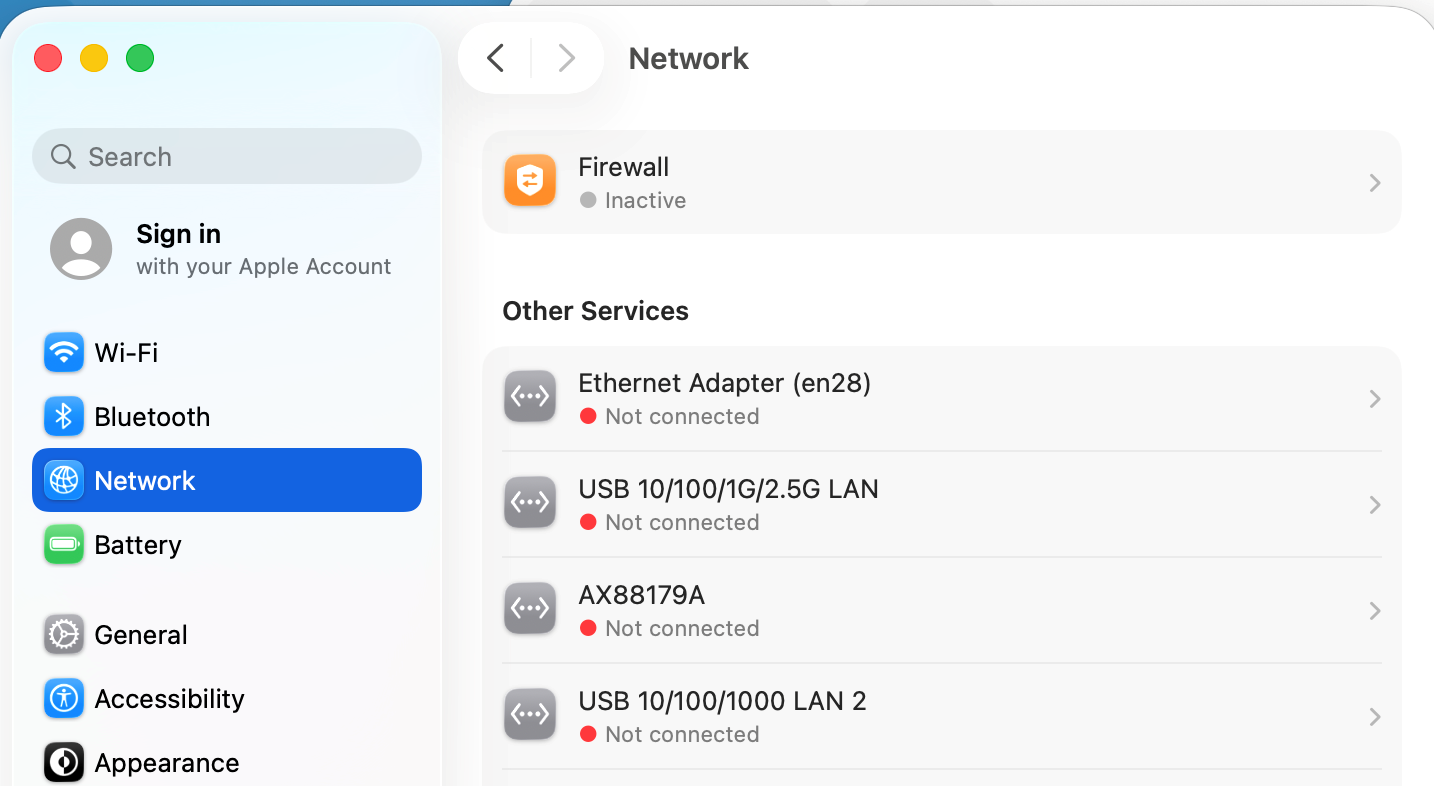
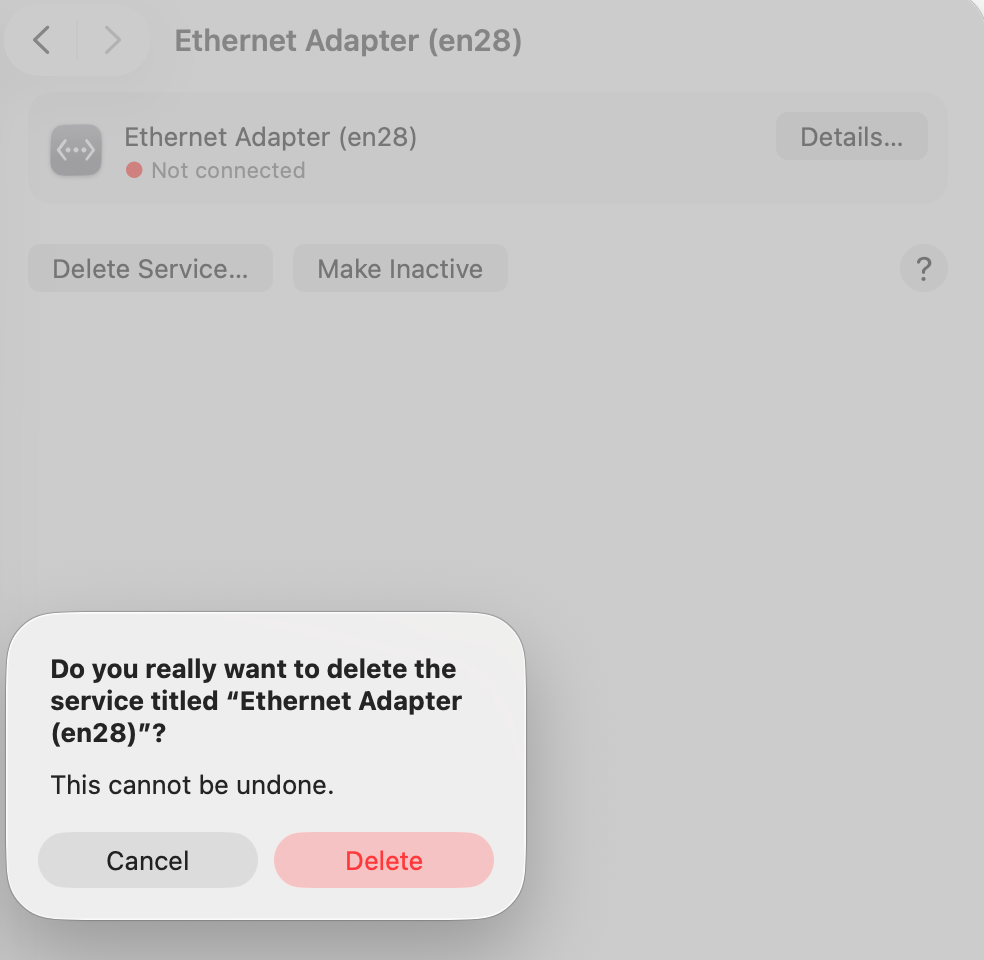
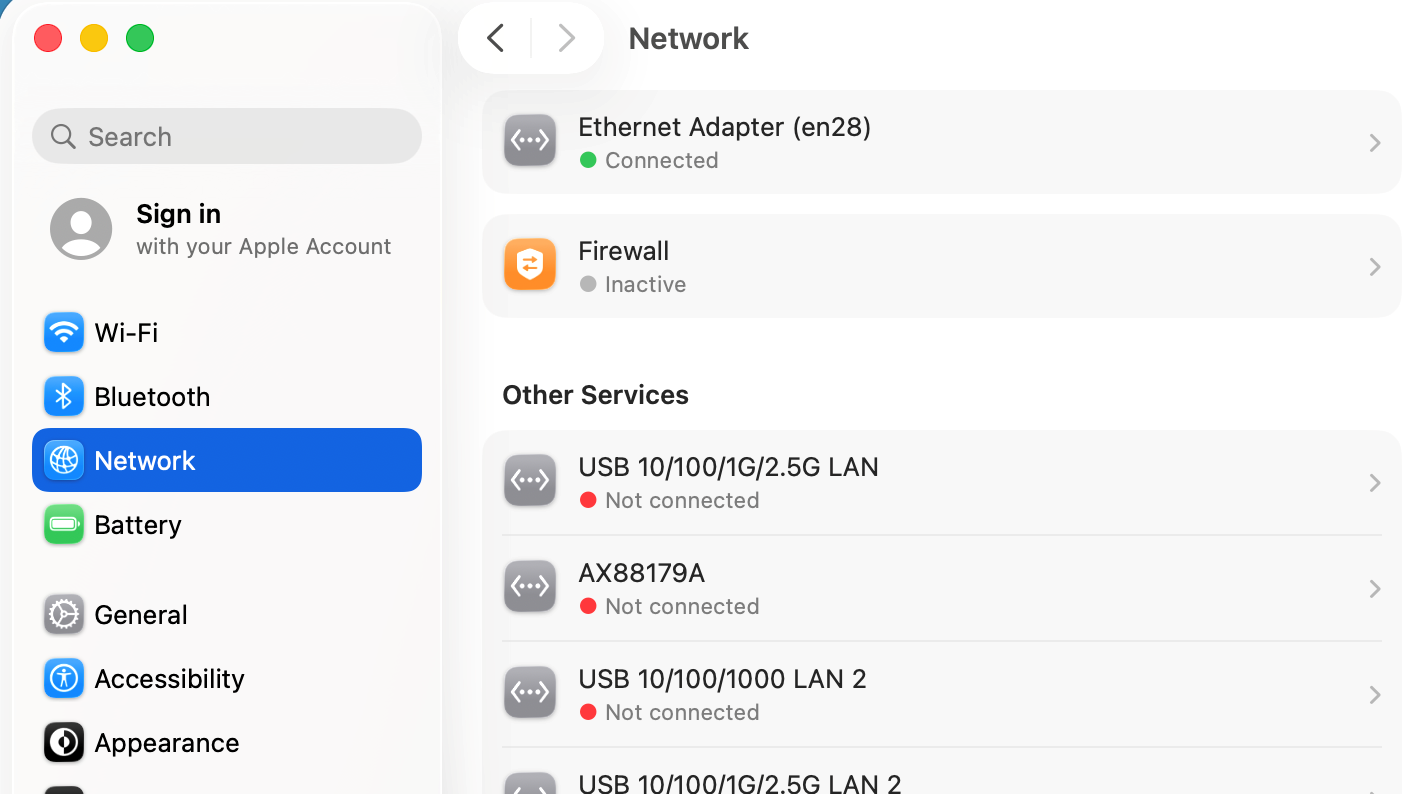
- Access Network>Ethernet Adapter (enxx), and then click “Delete”.
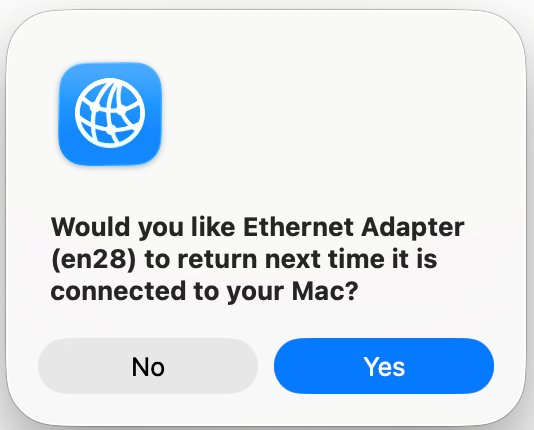
- Click “Yes”.
- Reinsert the Ethernet adapter. Wait for about 30 seconds. The Ethernet Adapter (enxx) is connected.
Jumbo Frames Configuration
To achieve the performance of the 2.5G/5G/10G network card, you need to enable and configure the Jumbo Frames for the 2.5G/5G/10G network card.
- In Windows, open Settings.
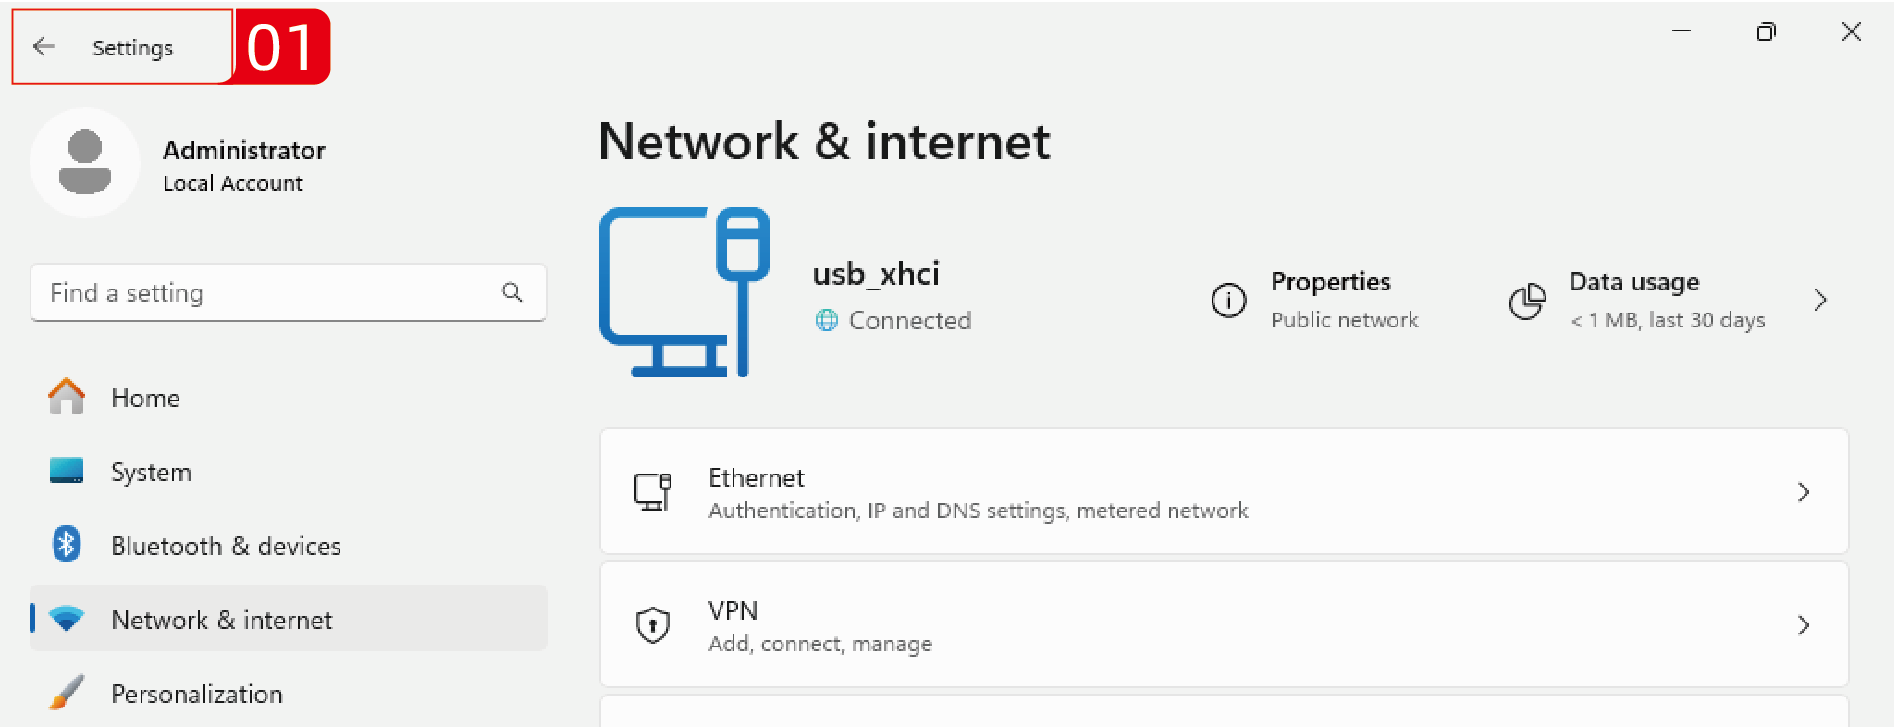
- Click on Network & internet.
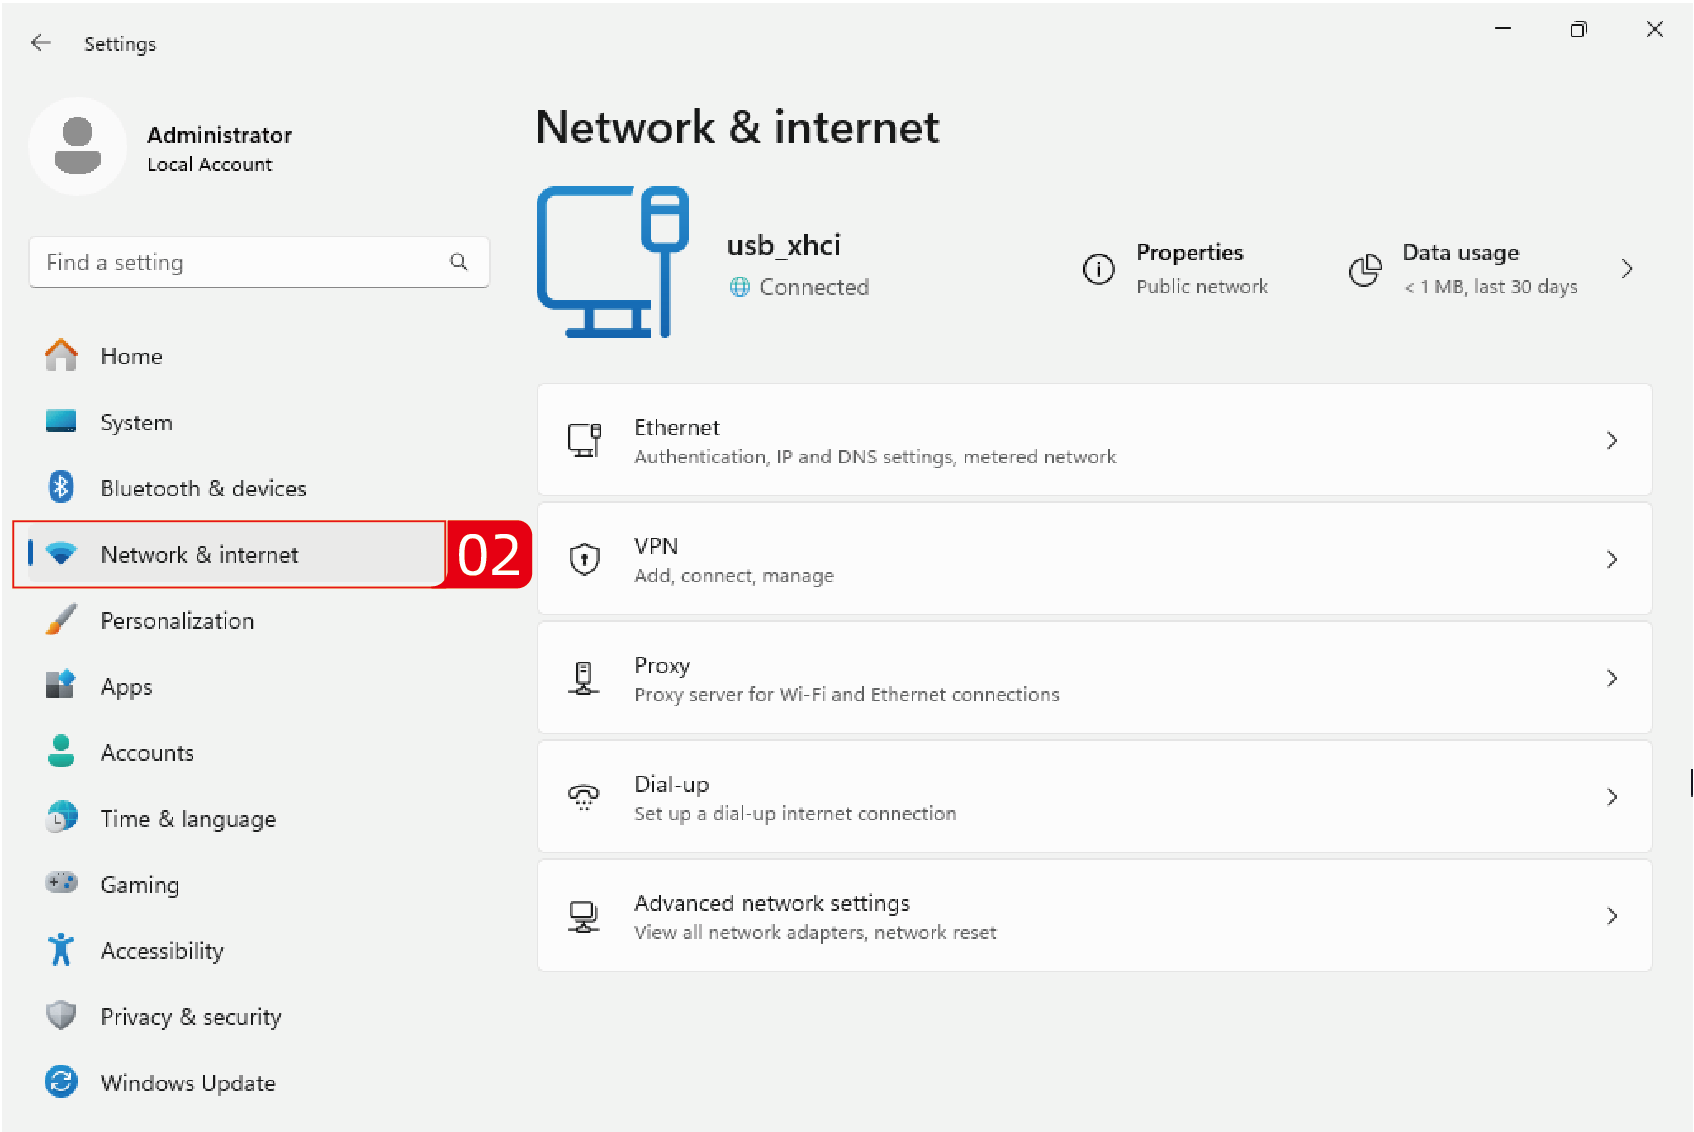
- Click on Advanced network settings.
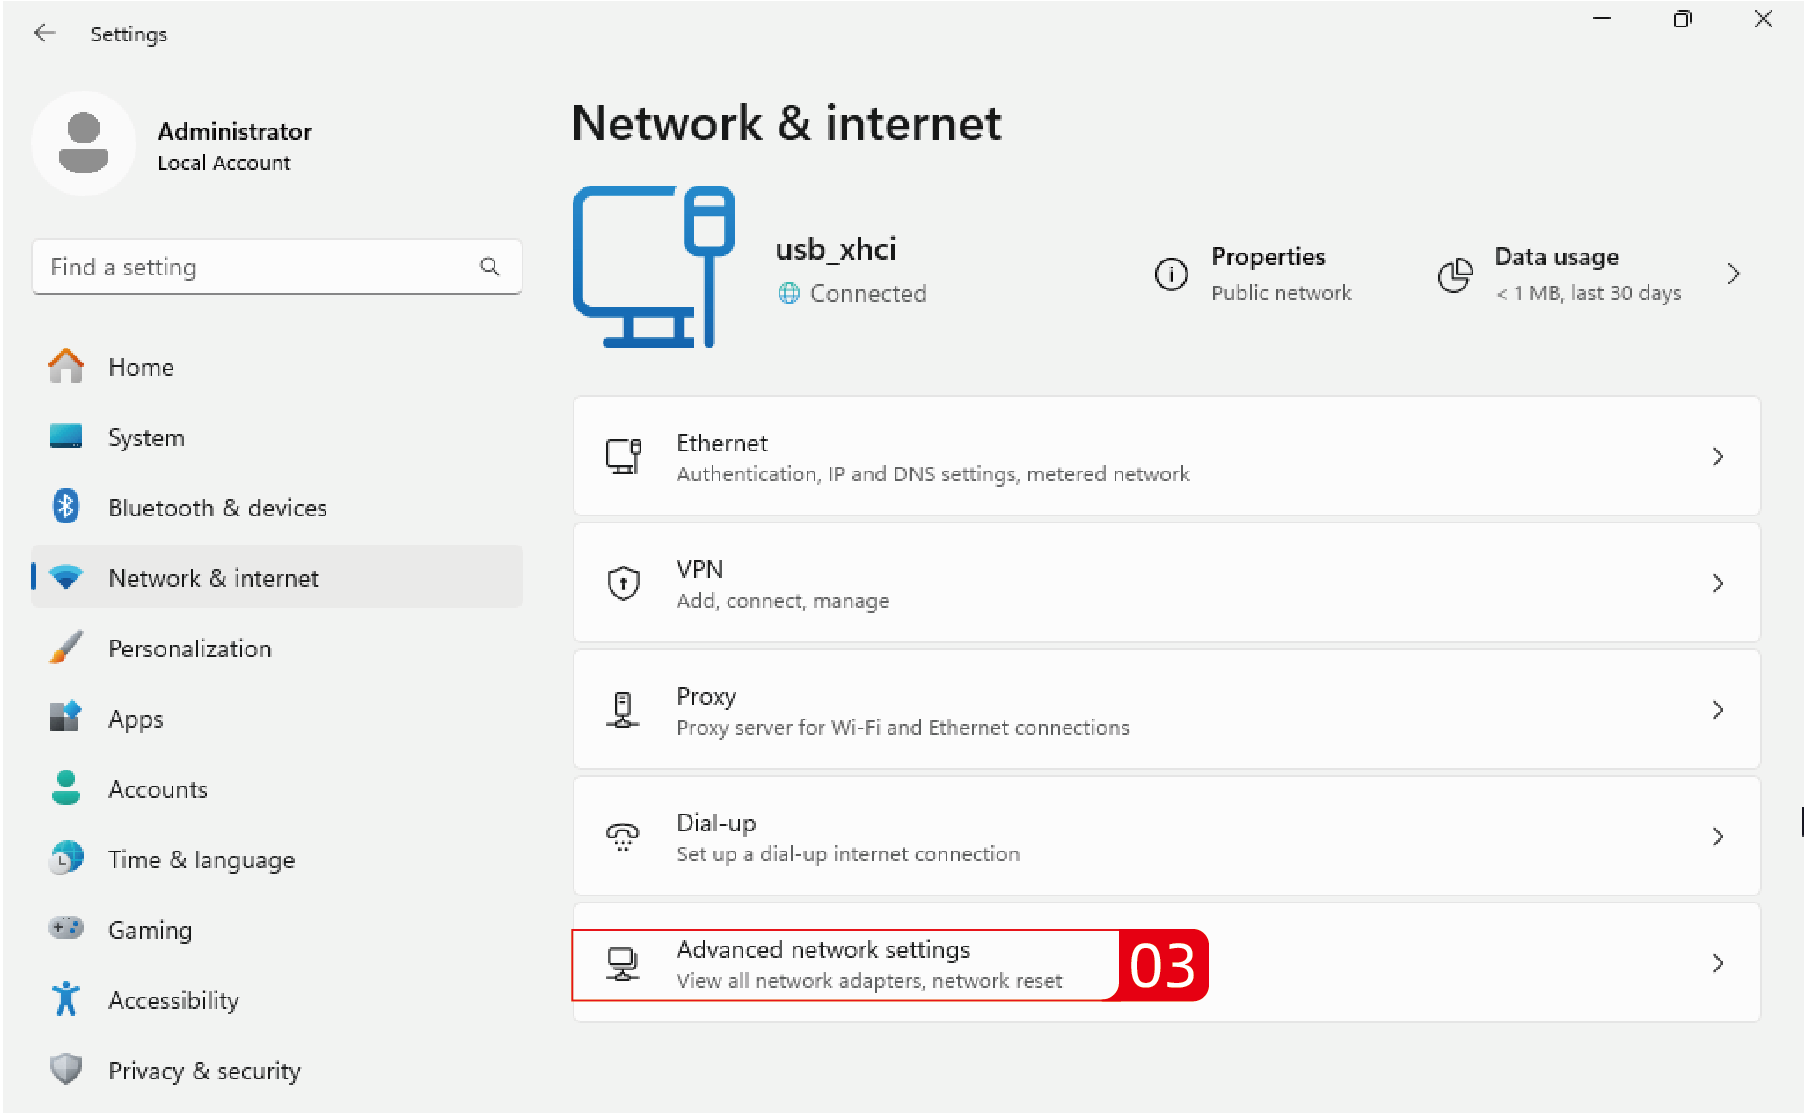
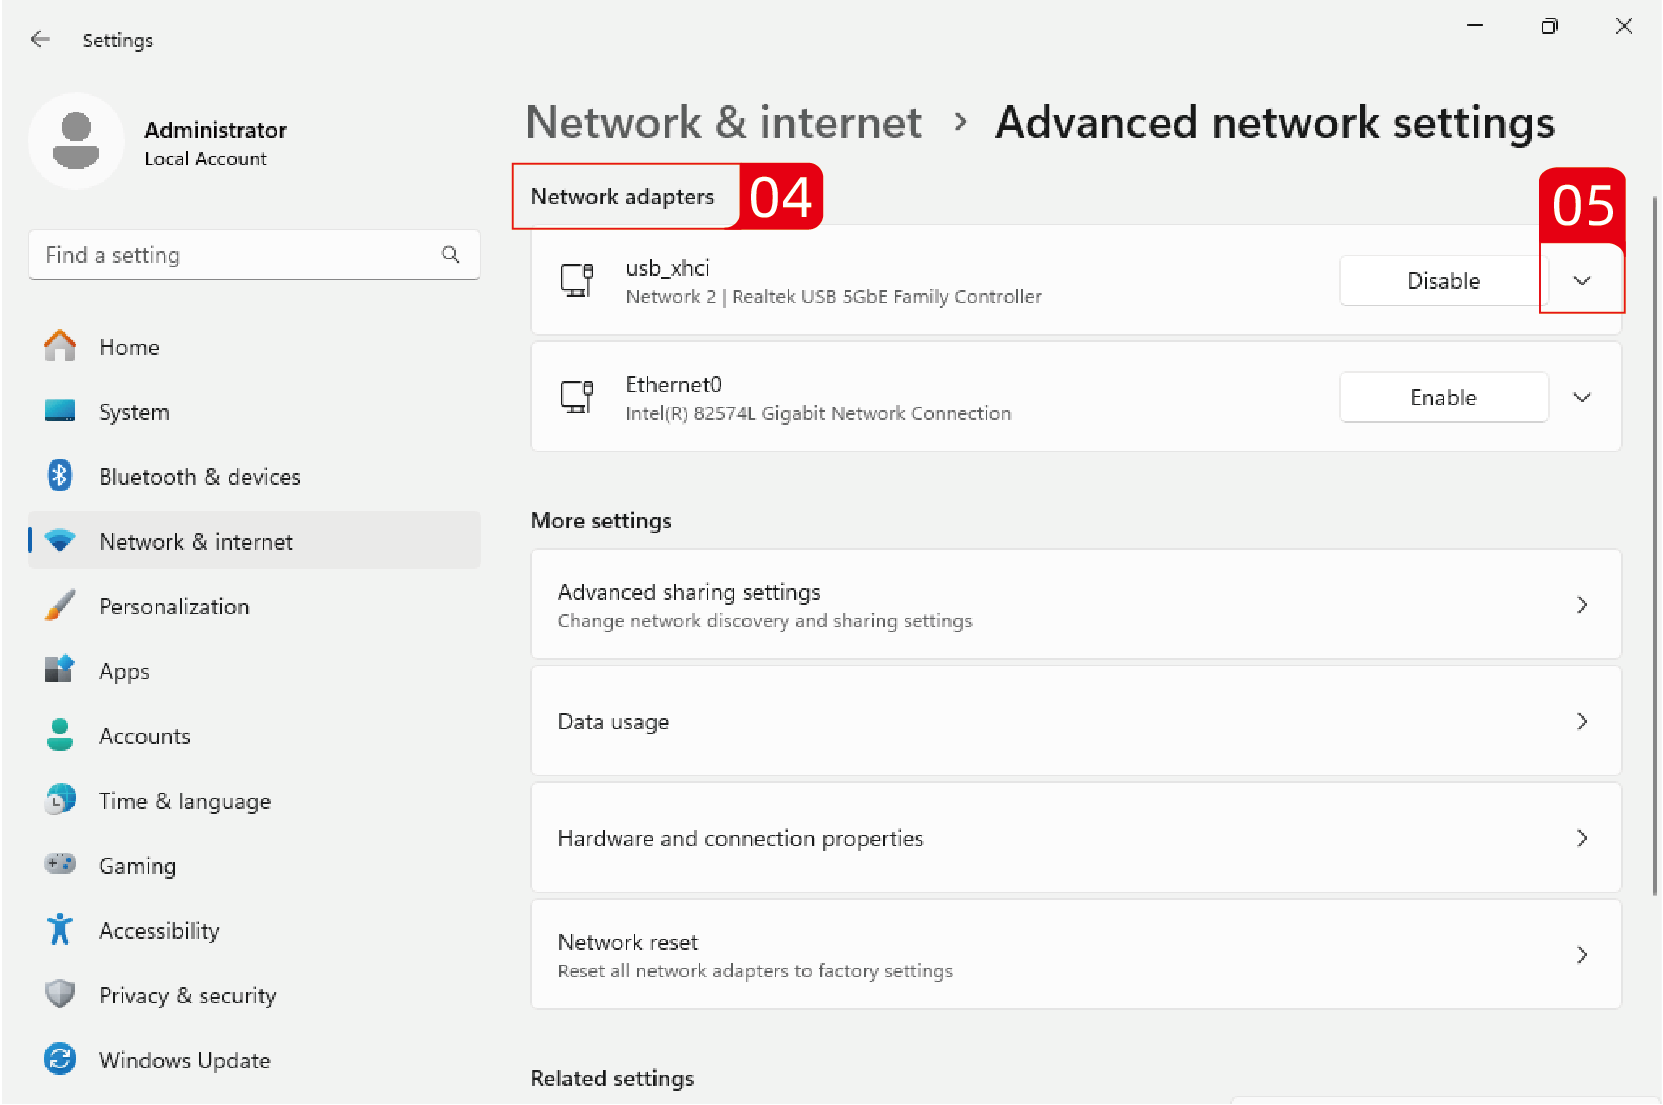
- Locate the Network adapters and find the 10G network card, then click the drop-down arrow icon on the right.
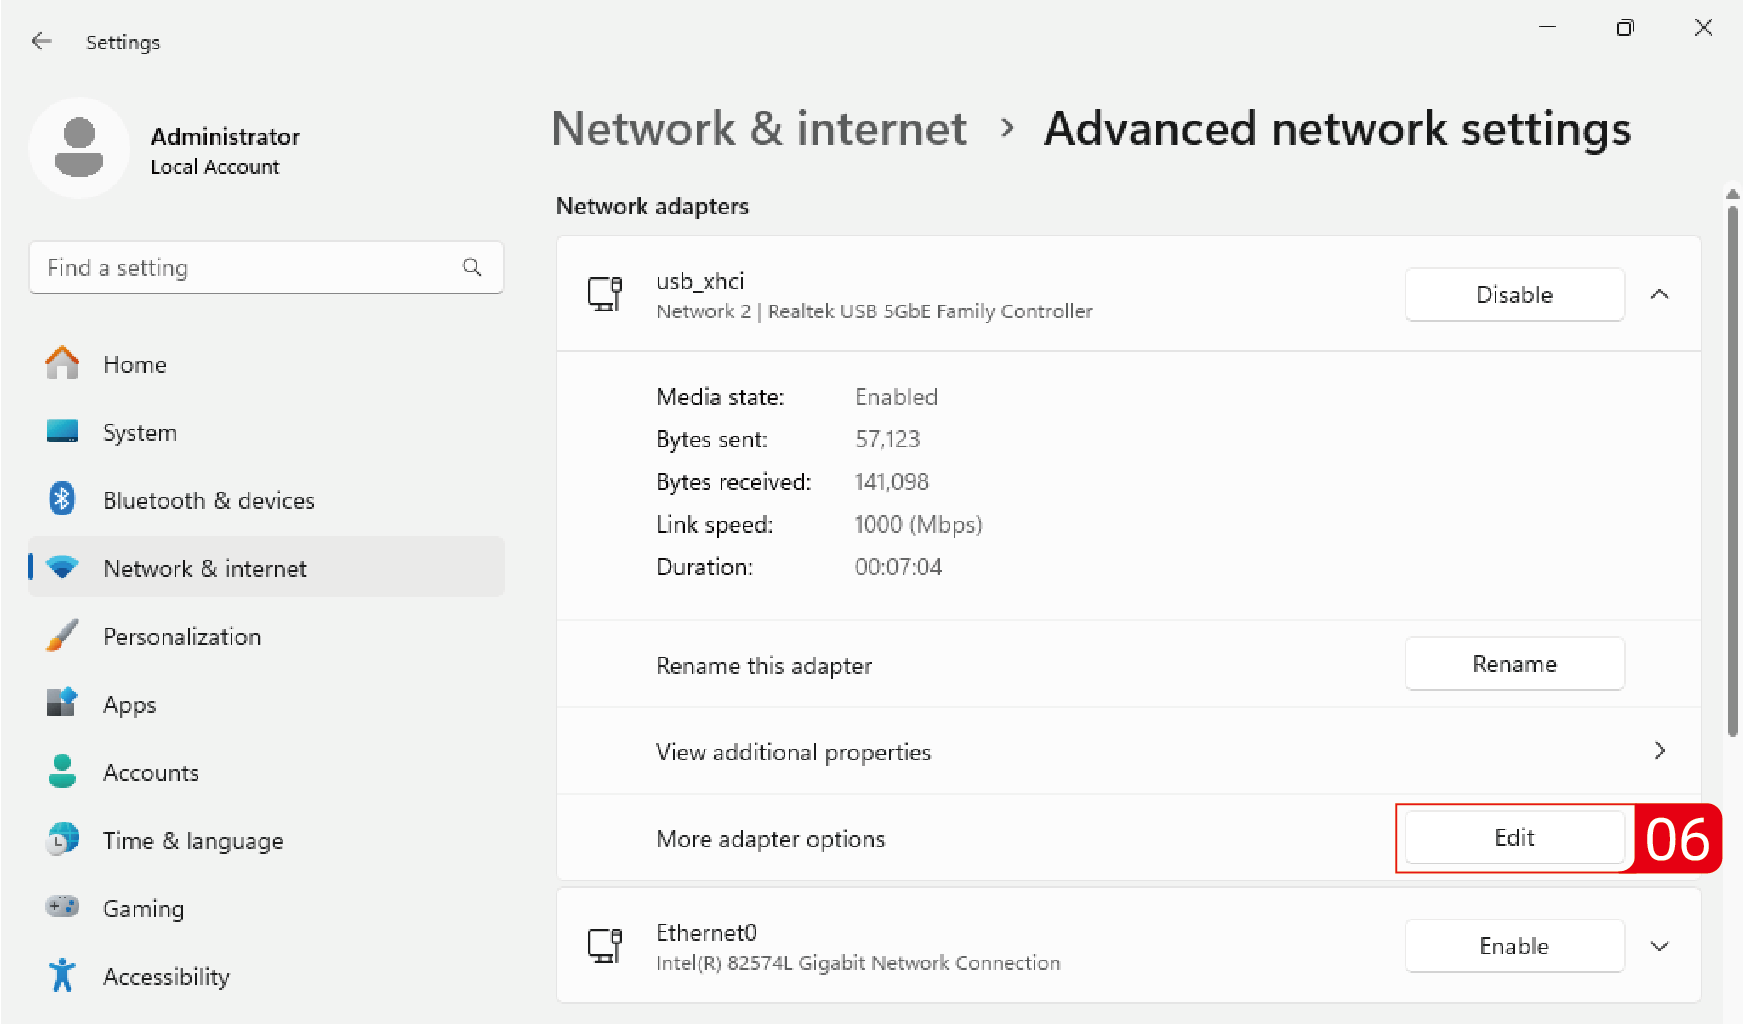
- Locate More adapter options, and click on Edit to configure the properties of the network adapter.
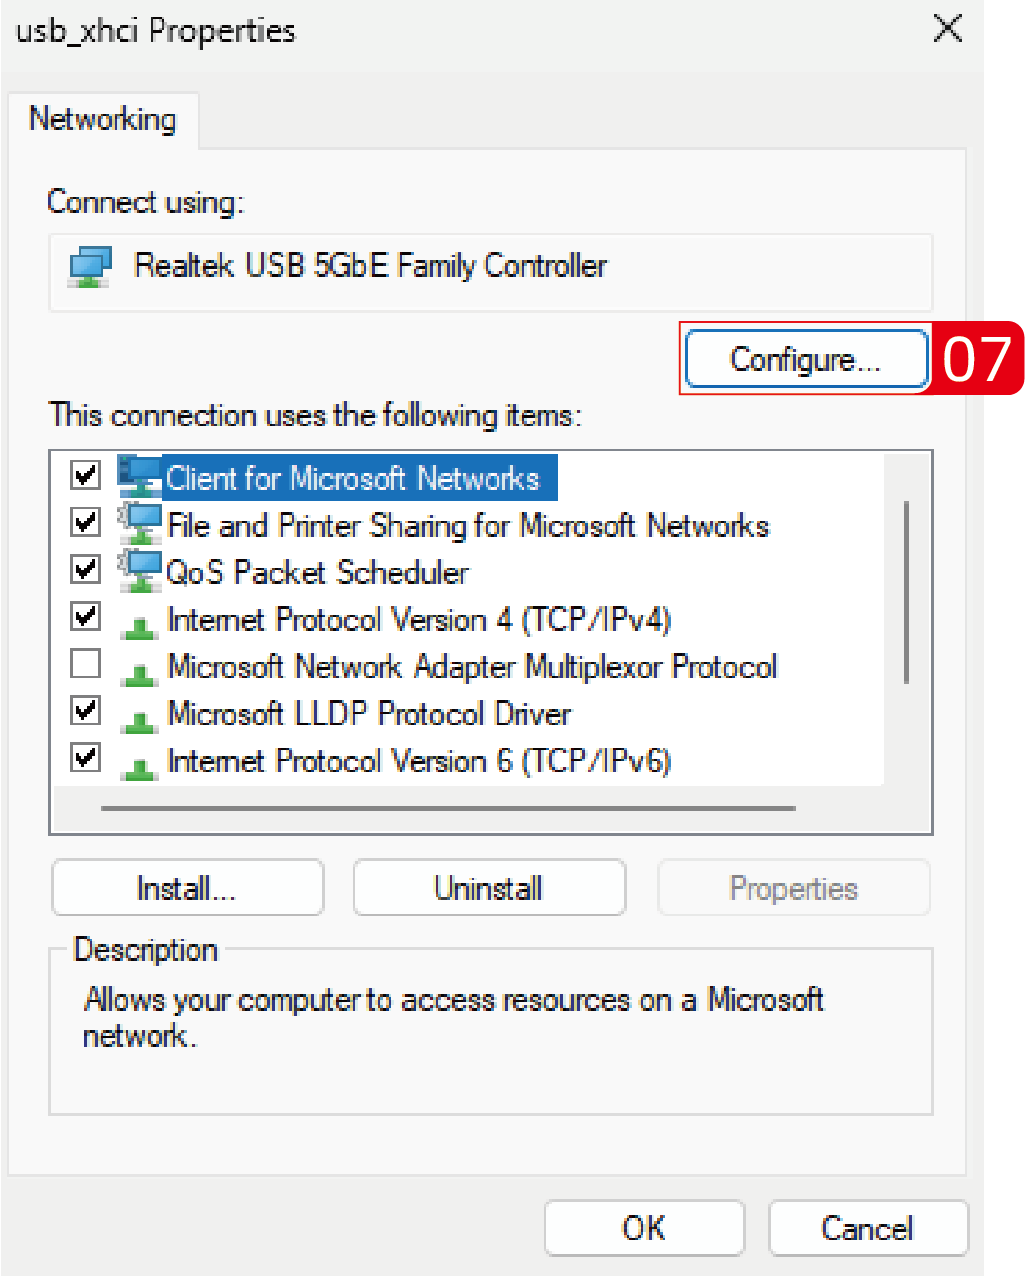
- Click on Configure..., then choose Advanced.
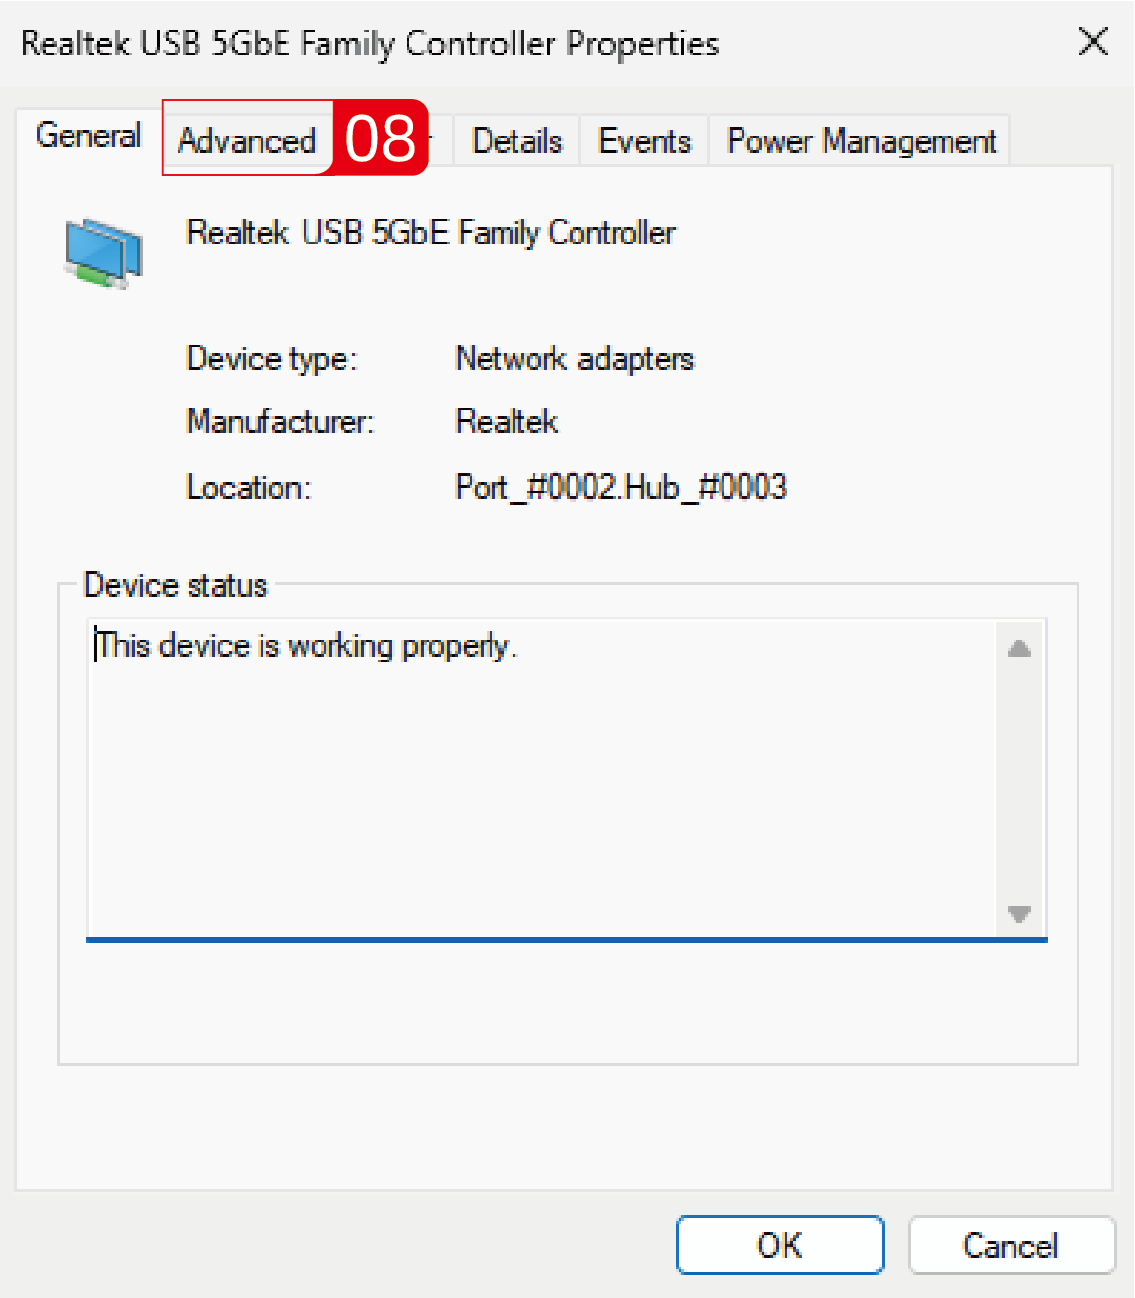
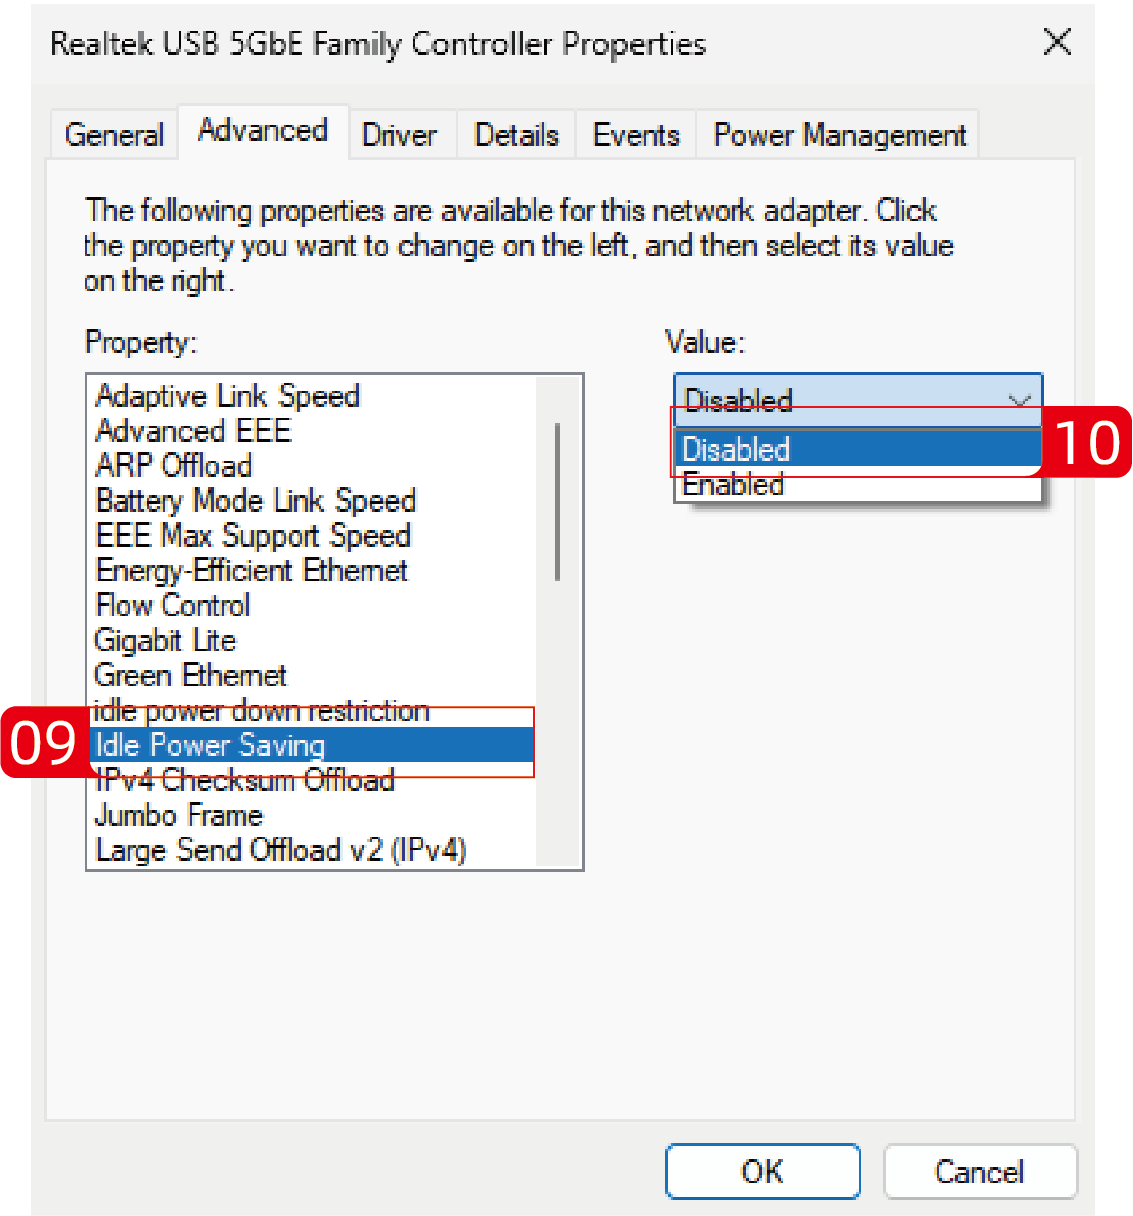
- Disable the Idle Power Saving mode in Property.
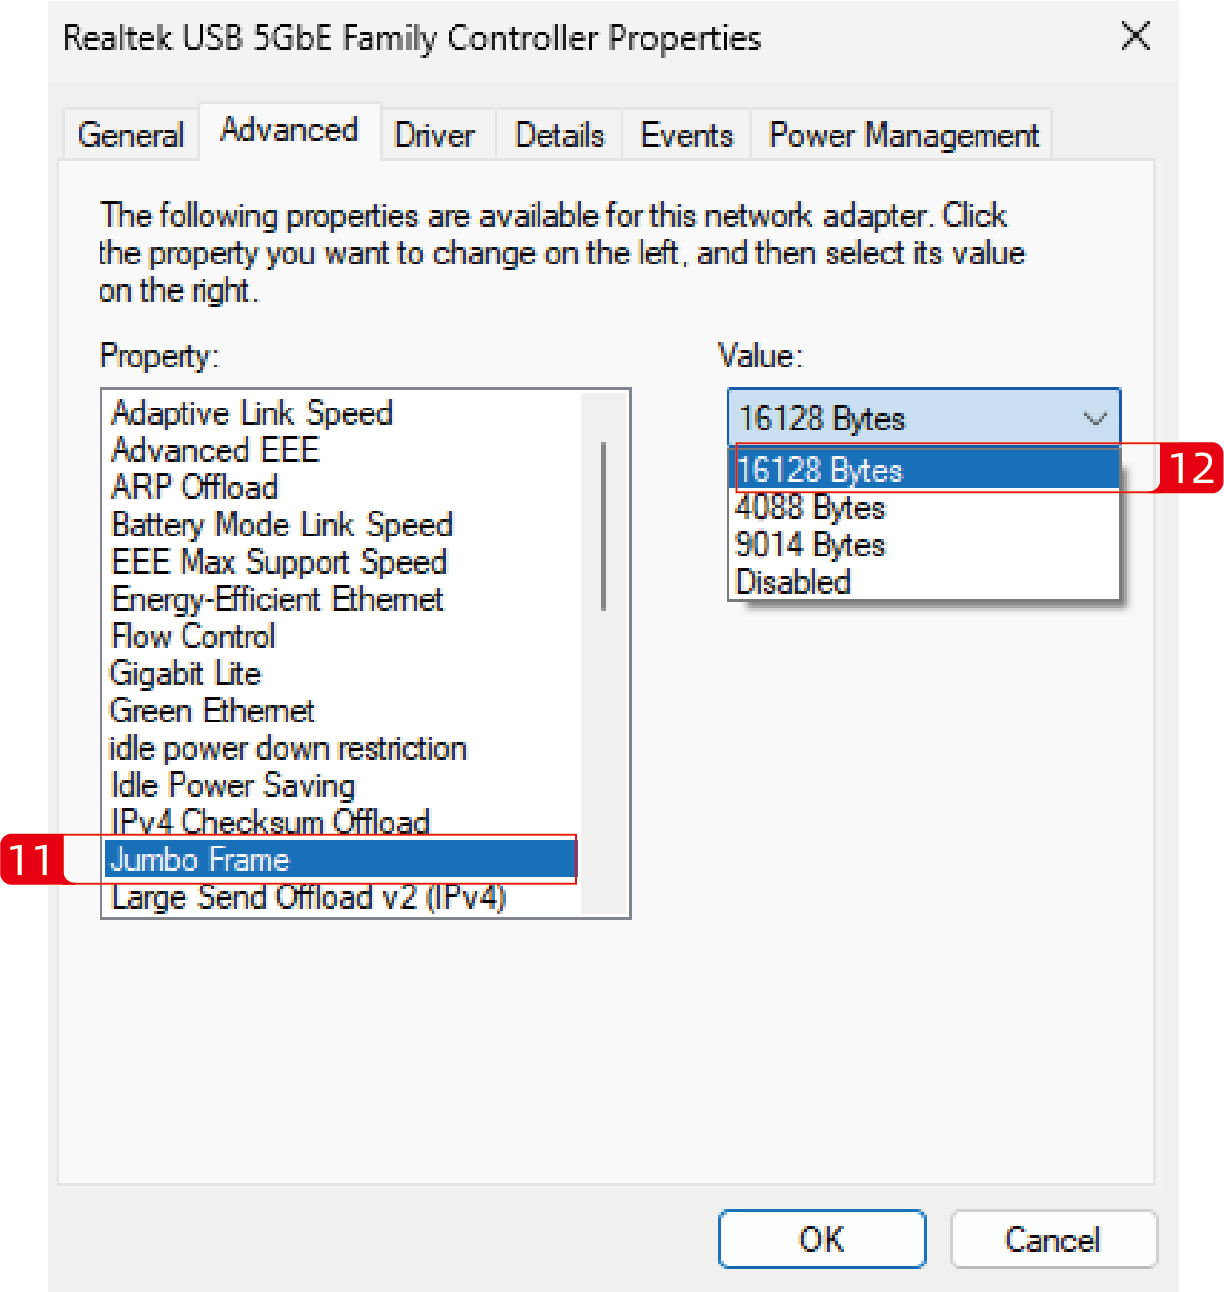
- Set the value of Jumbo Frame to 16128 Bytes.