Chapter 2 How to Connect
1.Prepare the Modem
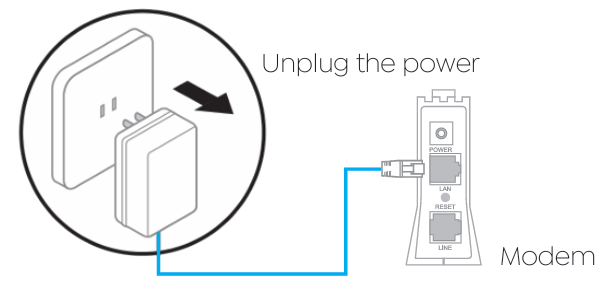
① Unplug the power adapter from your DSL modem. If the modem has backup battery, please remove it.
If using a DSL Internet connection, obtain the login credentials (username/password) from your Internet Service Provider (ISP) to properly configure your wireless router.
② Use the provided Ethernet cable to connect the modem to the WAN port of the router. ③ Plug the modem into a power outlet and turn it on.
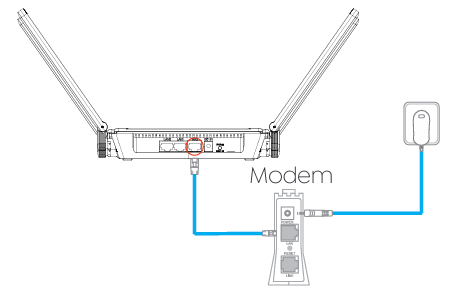
④ Check the indicator lights on the modem to confirm a stable Internet connection.
2. Install Your Router
① Insert the power adapter into the router's DC IN port and press the power switch (if applicable; some models lack a physical switch).
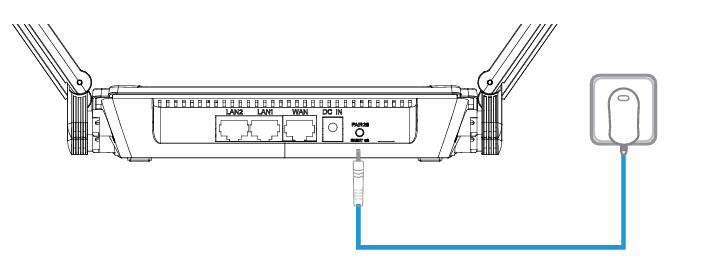
② Wait for about 2-3 minutes, then the router is ready.
3. Configure the Router via Web Browser
① Wired Connection: Use another Ethernet cable to connect your computer to one of the LAN ports on the router.
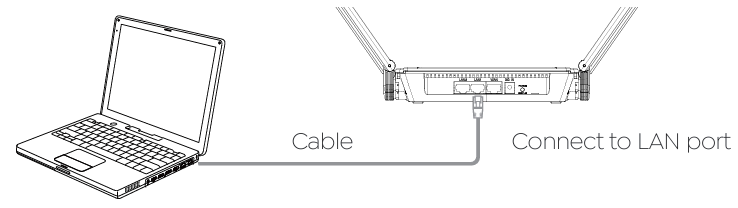
② Wireless Connection: On your laptop or smartphone, connect to the default SSID printed on the router: WAVLINK-Mesh_XXXX.
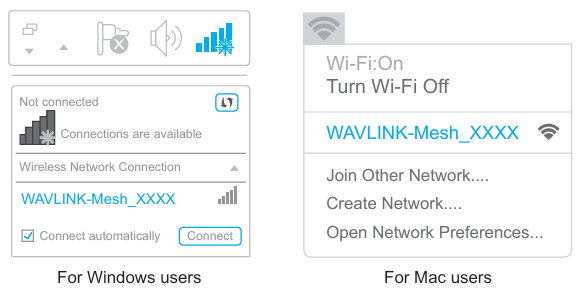
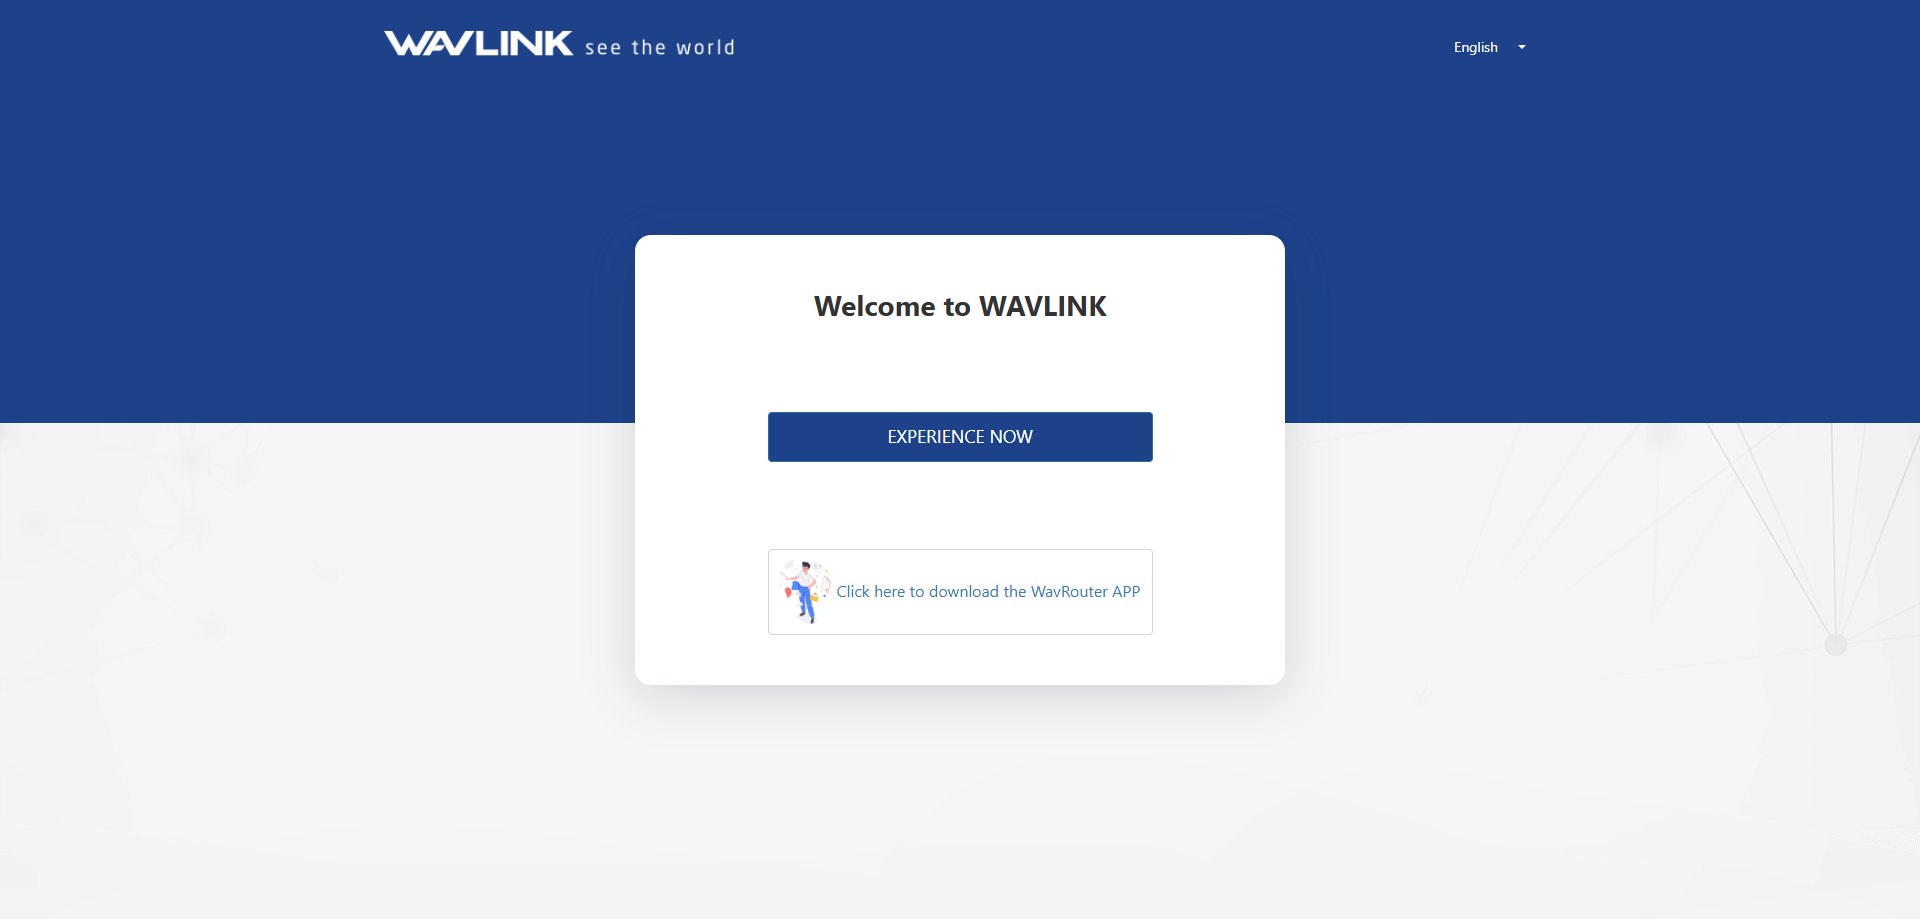
③ Open a web browser (via wired or wireless connection) and enter http://wavlogin.link in the address bar. You will automatically enter the WAVLINK router initial setup page. lf not, manually enter 192.168.20.1 in the browser's address bar and follow the instructions. Please set a new administrator password and then enter the password you set to log in.
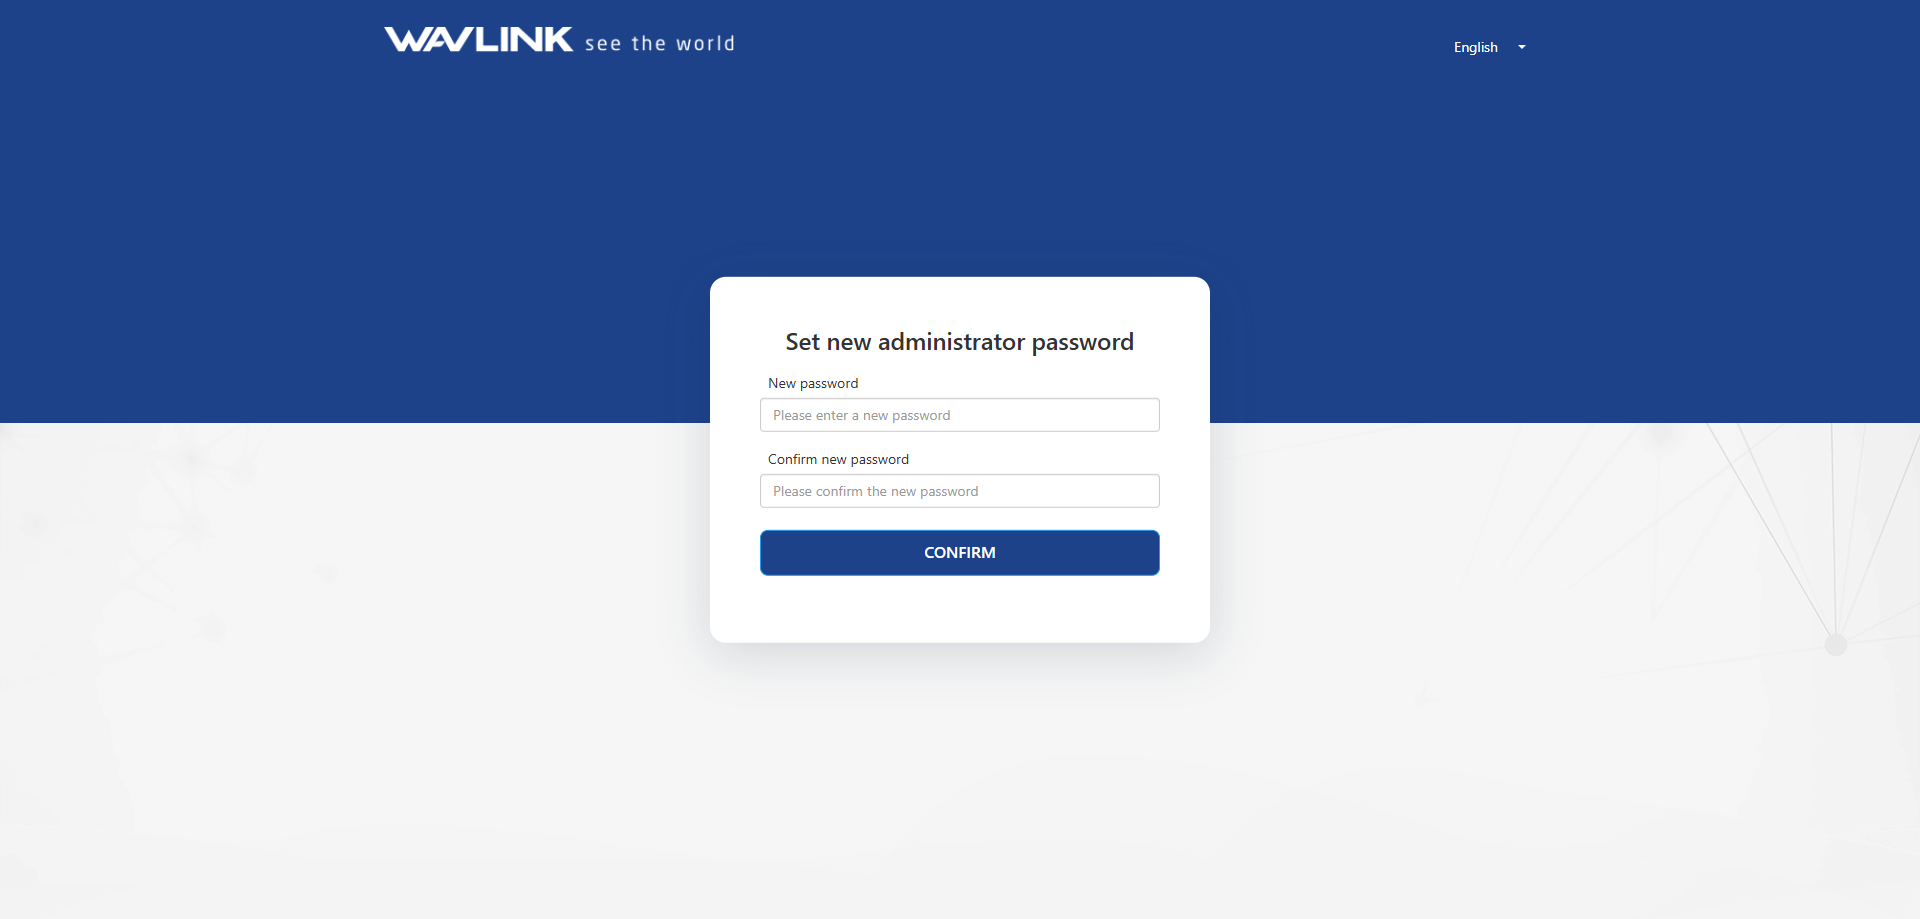
④ Please set a new administrator password and then enter the password you set to log in.
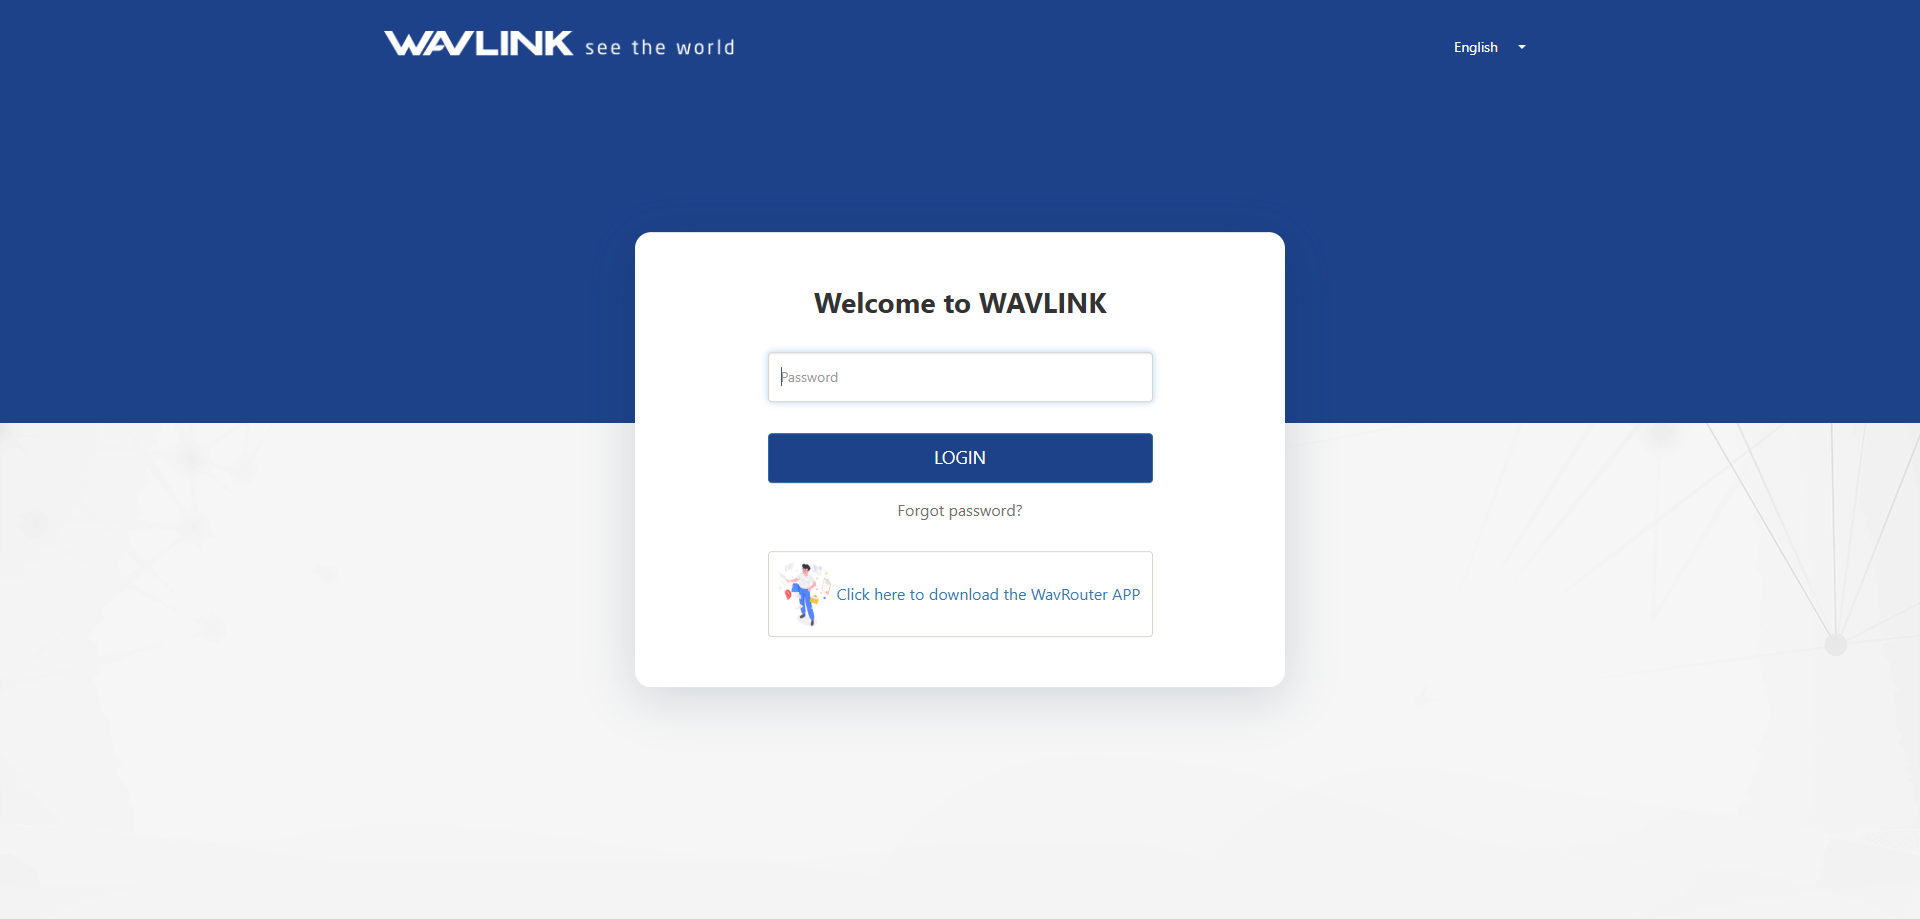
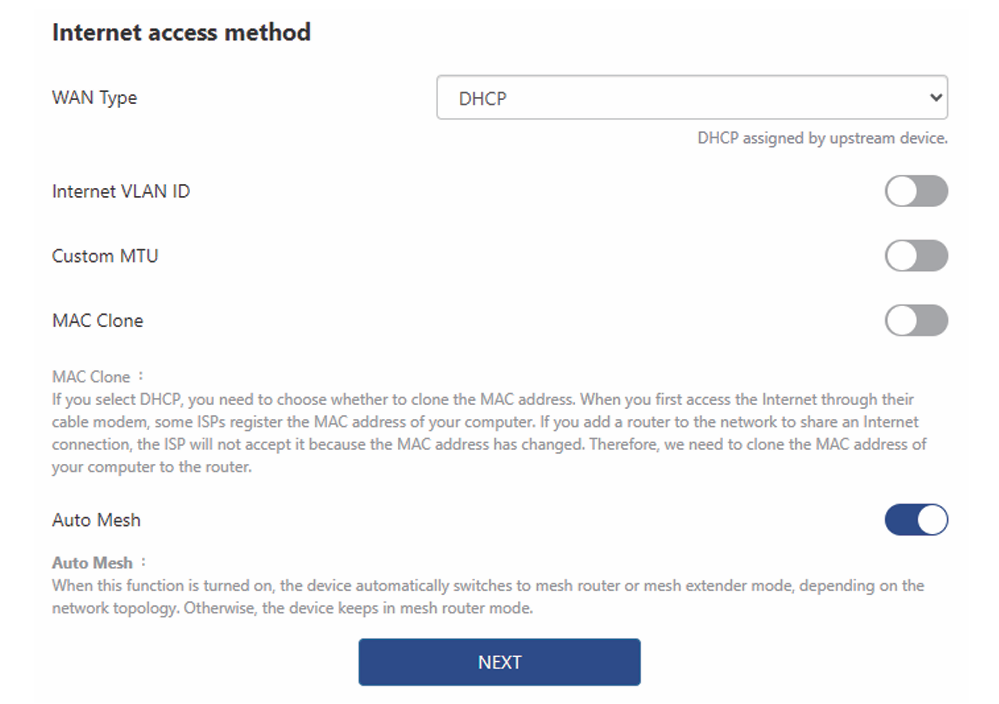
⑤ Please choose a WAN Type.
-
If you choose “DHCP", you will need to select whether to clone the MAC address.Some ISPs register the MAC address of your computer when you first access the Internet through their cable modem, we need to clone the MAC address of your computer to the router.
-
If you choose "PPPoE", enter the "Username" and "Password" provided by your ISP.PPPoE is usually designed for such as DSL or fiber optics.
-
If you choose "Static IP", enter a specified IP parameters including IP address, Subnet Mask, Gateway, DNS1 and DNS2 provided by your ISP.
⑥ Select your Country/Region and Time Zone. For your network security, please set passwords for 2.4G and 5G Wi-Fi.
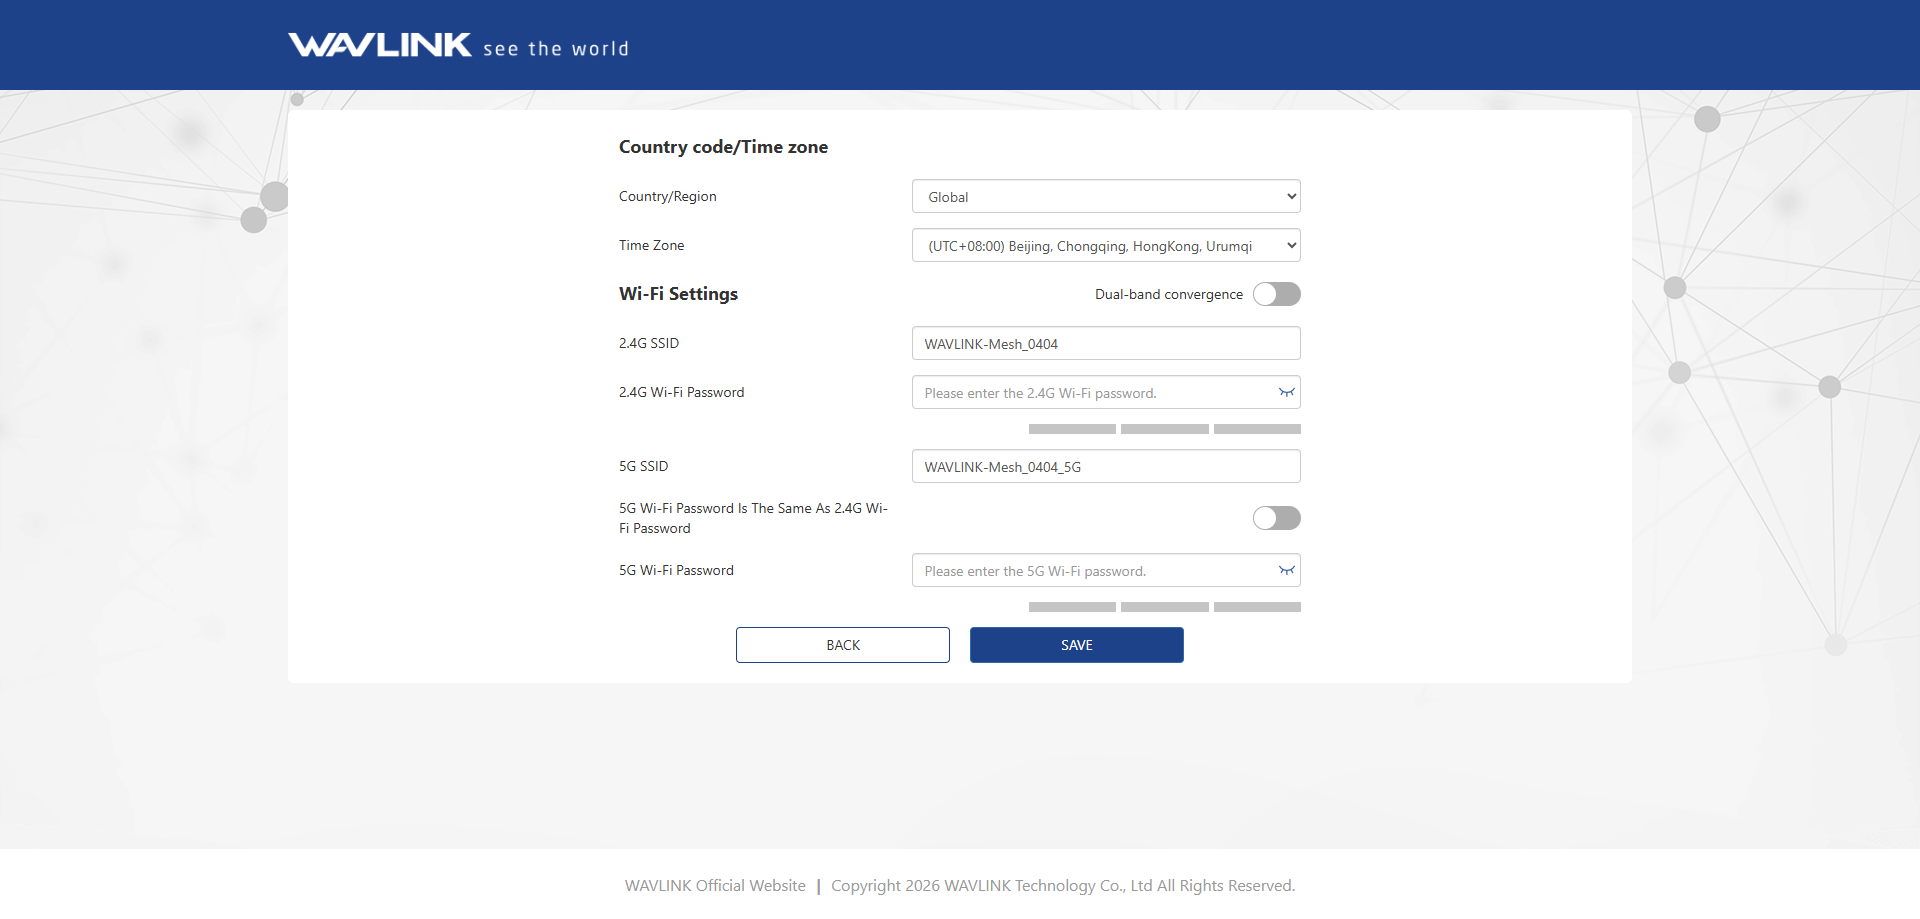
The Dual-Band convergence switch is on by default. 2.4G WiFi and 5G WiFi use the same SSID and password. Turning off the Dual-Band convergence switch allows you to set the SSID and password for 2.4G WiFi and 5G WiFi separately.
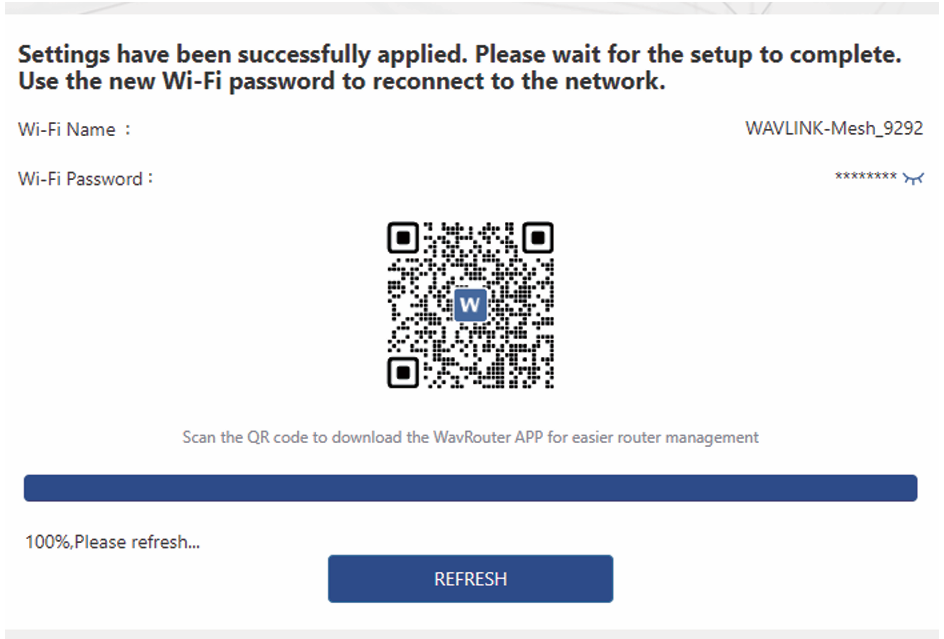
⑦ Setting is successful, wait for the setup to complete.
Mode Selection
Configure router's working mode according to your actual requirement.
1 . Enter More>Network>Mode Selection.
2 . Select appropriate working mode from the Mode Selection list: Router Mode, LAN Bridge (AP Mode) or Repeater Mode。
Router Mode
- In routing mode, the router converts Wi-Fi signals to wireless Internet access for devices by connecting to the network operator's wired network, and provides wired Internet access for devices through a wired port.
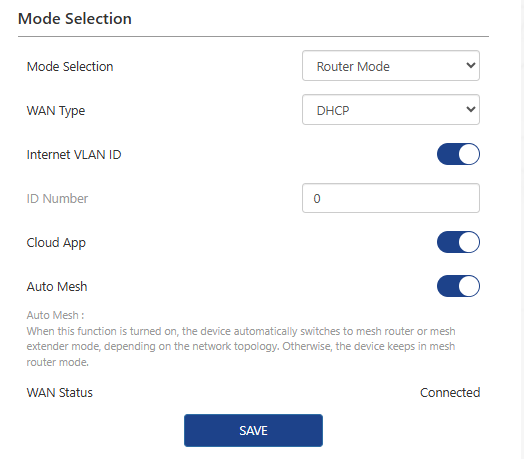
- WAN Type: DHCP, PPPoE or Static IP, inputting the corresponding parameters is required for PPPoE or Static IP.
- Internet VLAN ID: After enabling it, input ID Number.You should consult the ISP about the detailed configurations.
- Cloud App: It allows you to control devices remotely from the cloud using the APP.
- Auto Mesh: If it is enabled, the device will automatically switch to Mesh Router Mode or Mesh Extender Mode depending on the network topology; If it is diabled, the device will keep Mesh Router Mode.
- WAN Type: DHCP, PPPoE or Static IP, inputting the corresponding parameters is required for PPPoE or Static IP.
LAN Bridge (AP Mode)
- In the AP mode of extending the existing network, you should confirm your device's WAN port has connected to the Internet using the Ethernet cable. One note is that some functions are not available in this mode.

- Smart DHCP Service: If it is enabled, the router will configure IP service without connecting to the upper router. Please disable it if it is not required.
Repeater Mode
-
In the repeater mode, to extend the Wi-Fi coverage, this router works as a wireless repeater of the upper router. One note is that some functions are not available in this mode.

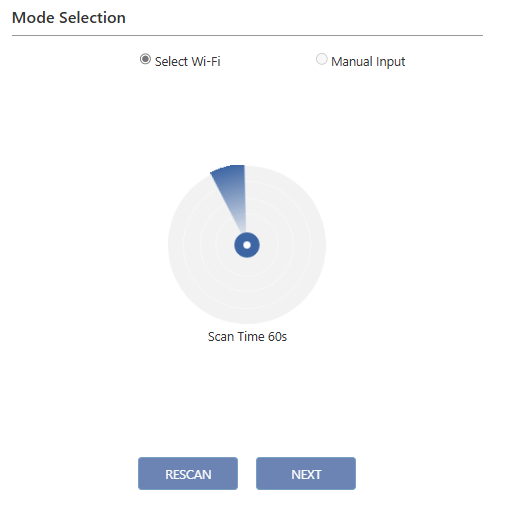
- 1)Click NEXT to rescan the Wi-Fi signal.
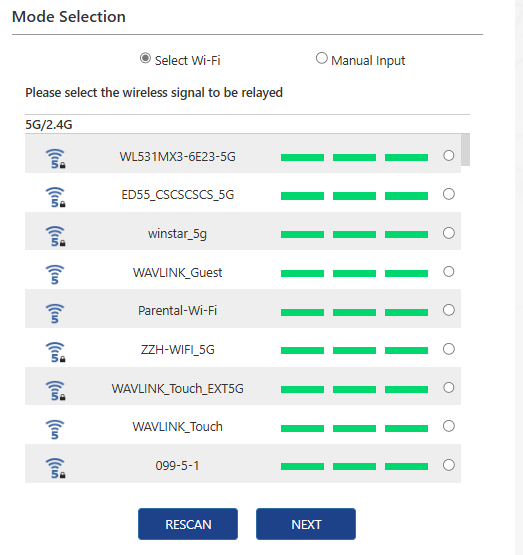
- 2) Select the wireless signal to be relayed, click NEXT.
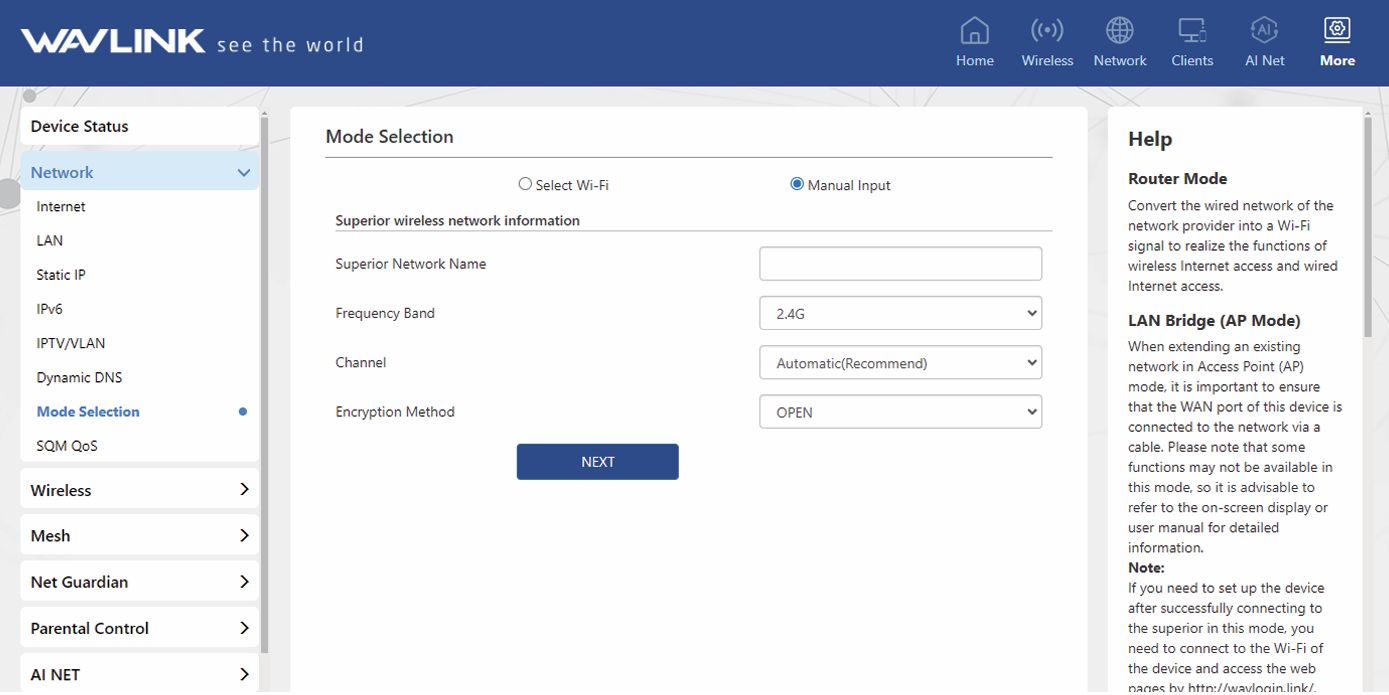
- 3) If the network to be added is not found, click RESCAN to rediscover the network.Or select Manual Input to set it up.
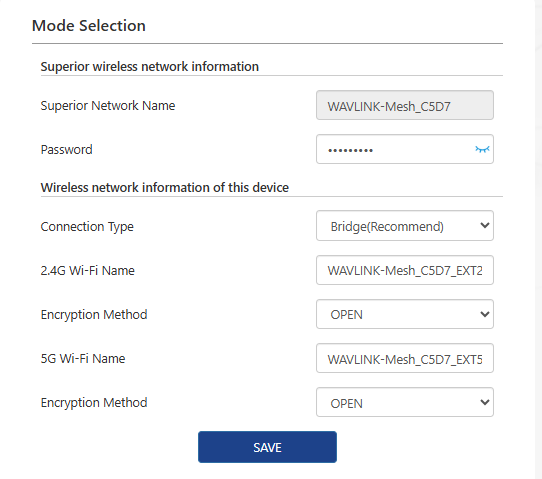
- 4)Enter the password of the superior wireless network and the wireless network information of this device. Click SAVE to complete the setup.
- 1)Click NEXT to rescan the Wi-Fi signal.