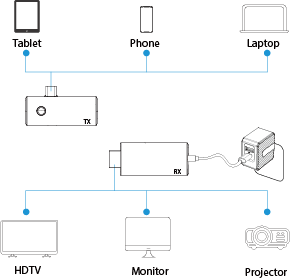
Chapter 2 How to Connect
- Connect the RX's HDMI to the HDMI IN port on monitor (TV, Projector).
- Connect RX’s USB-C port to the USB-C power supply (5V/2A).
- Ensure the monitor’s video source is set to the HDMI input connected to the RX. If not, manually switch it using the monitor’s controls or connect the RX to the correct HDMI port.
- Connect TX’s USB-C port to the video source(laptop, smartphone, tablets).
- Once the LED indicator flashes blue rapidly, wait 10s+ for the projection to stabilize. The devices will pair automatically by default. Please refer to the notes if pairing fails.
Note:
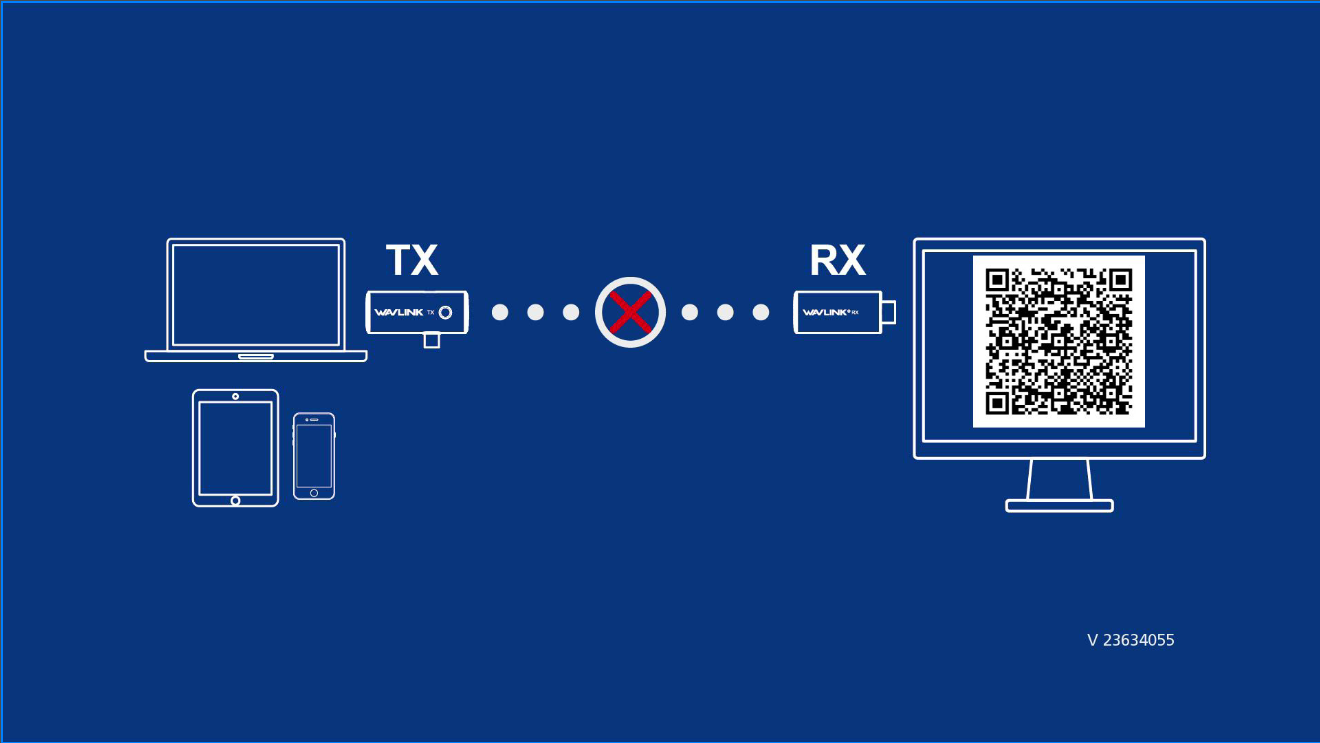
- The TX and RX are factory configured for automatic pairing. If pairing has failed due to incorrect configuration or other reasons, do as the following to restore:
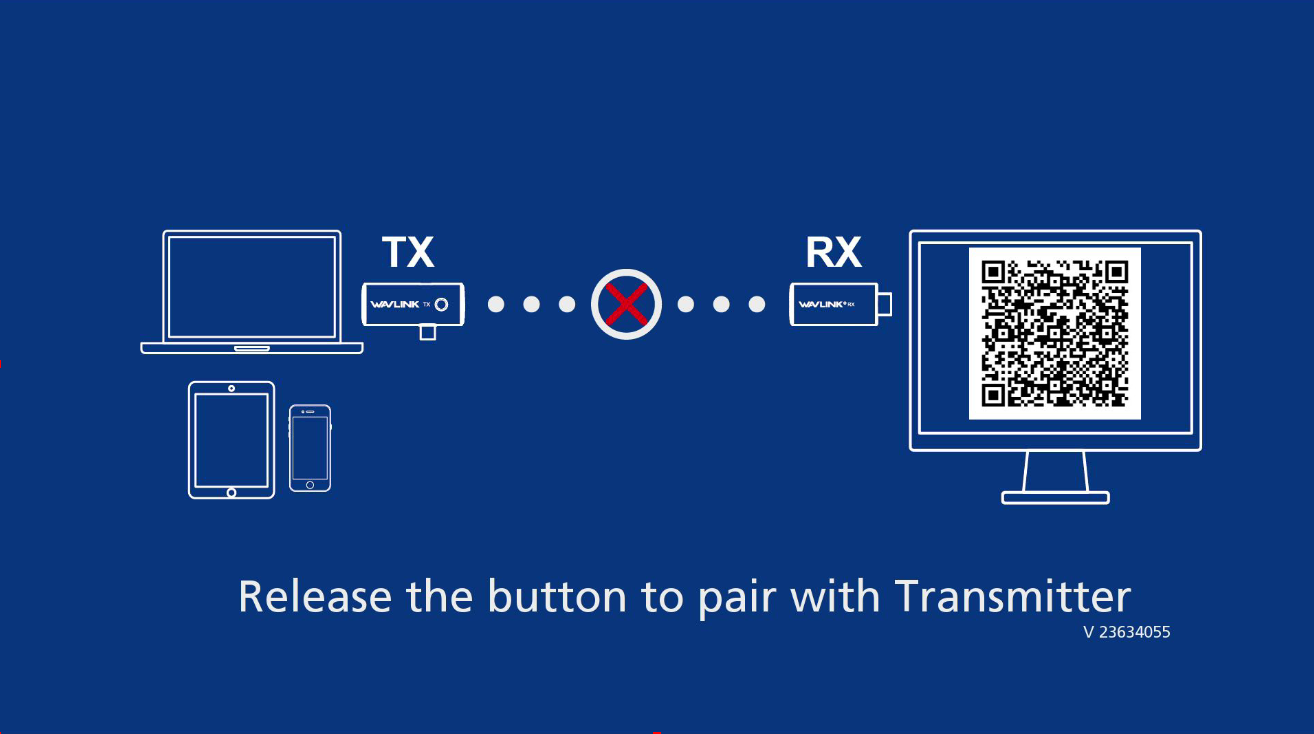
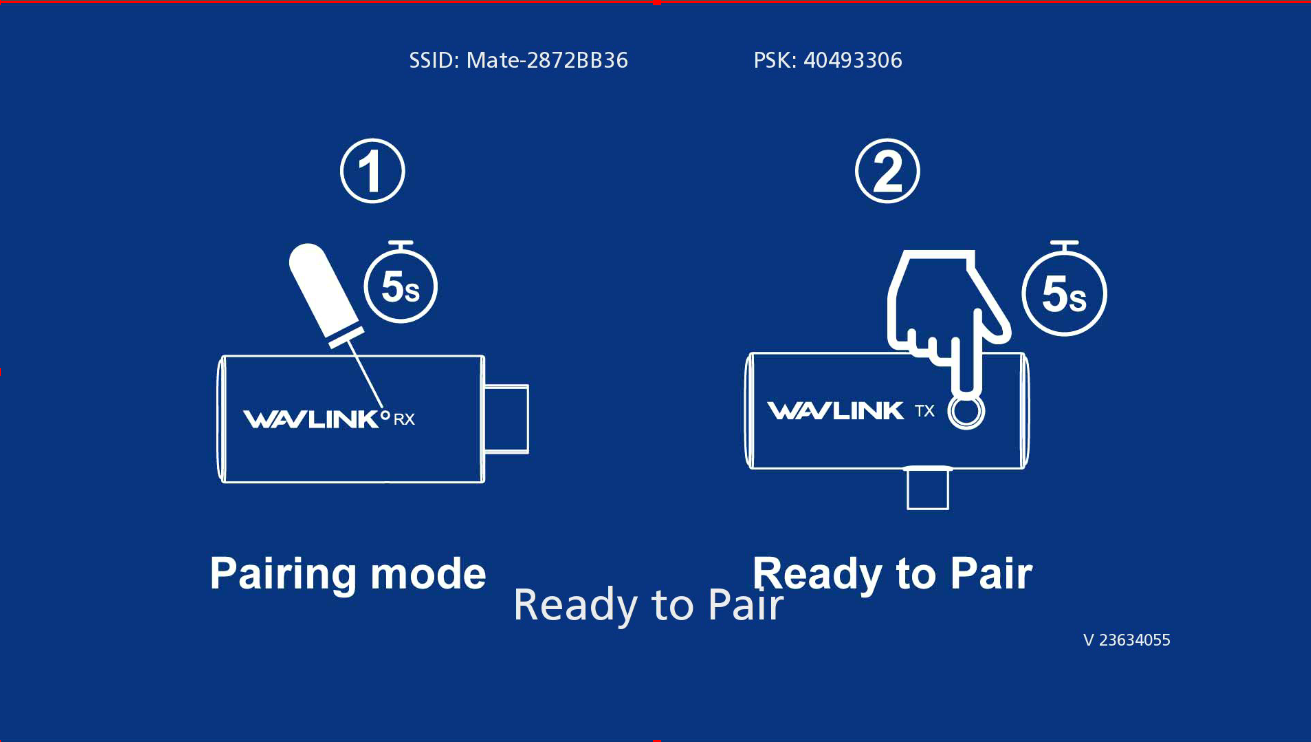
(1) Long press the pinhole on RX for 5s using the ejector pin, there will be a prompt of Release the button to pair with Transmitter displaying on monitor, then release it.
 (2) After releasing the RX button, hold the TX button for 5 seconds until its LED briefly turns off and then returns to flashing at its original rate.
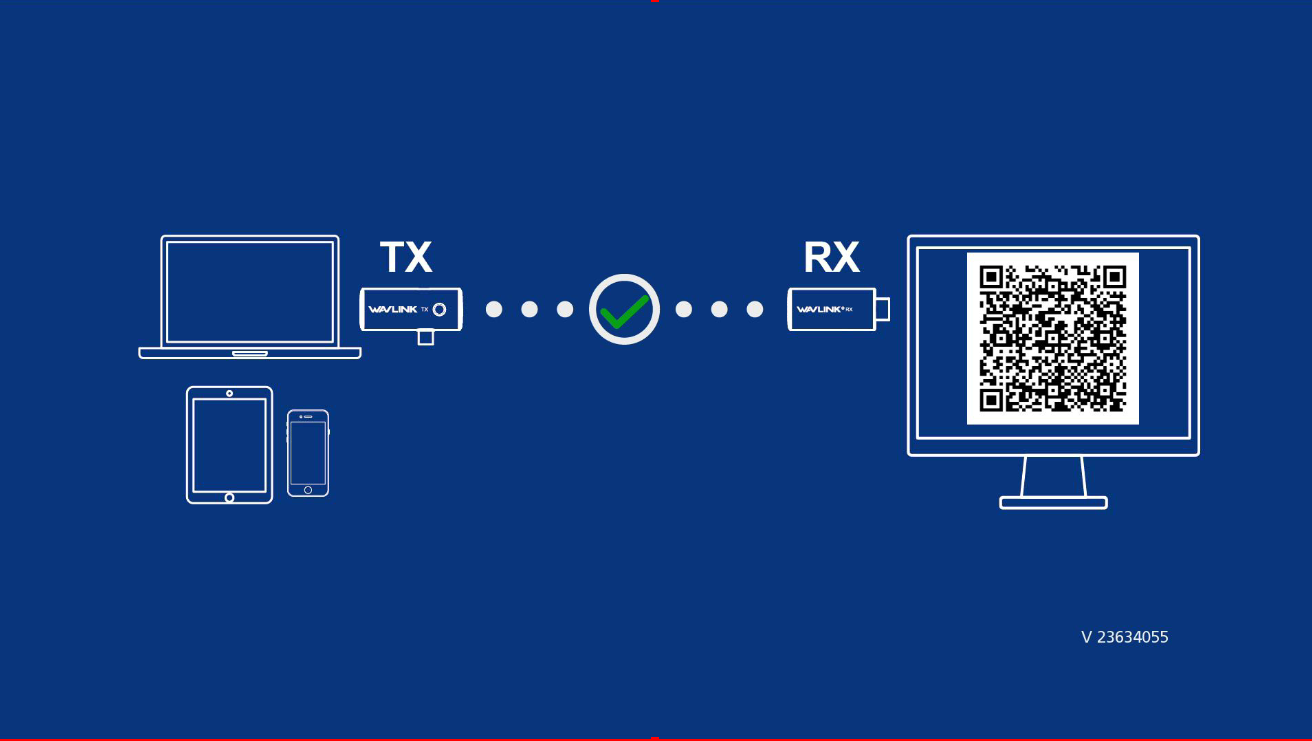
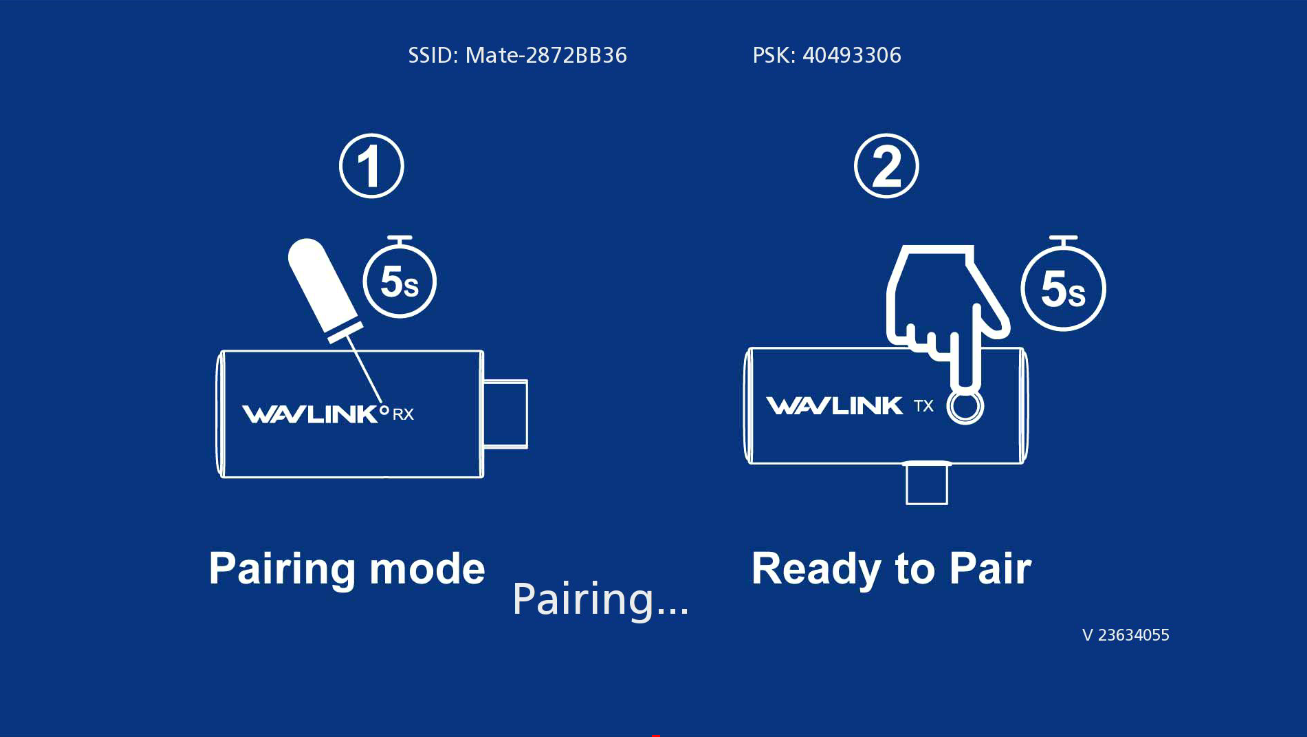
 (3) Release TX and the interface will appear after nearly 2s, indicating pairing is in progress.
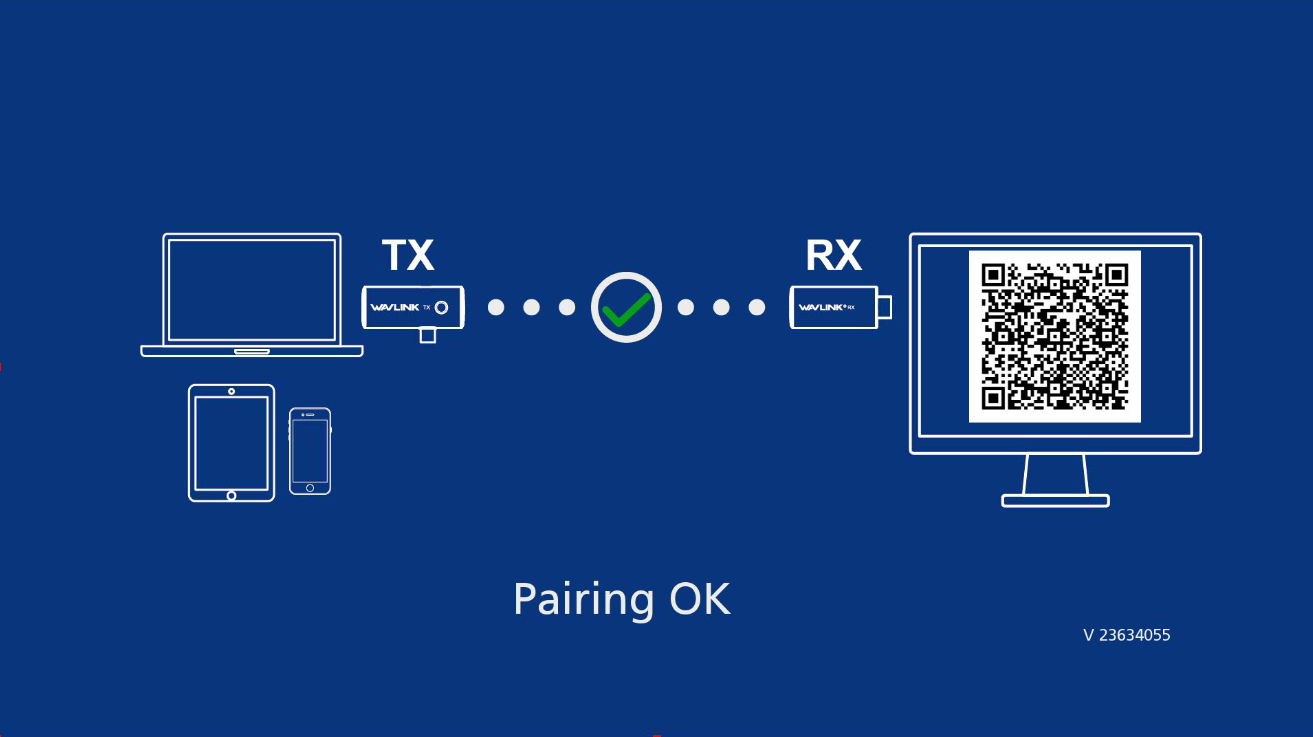
 (4) It will mirror the screen after successful pairing.
 (5) After successfully pairing with the TX, keep pressing the pinhole using the ejector pin. Enter the Web interface after connecting to the WiFi via SSID and PSK, more details in Chapter 3 Online Upgrade.