Chapter 2 How to Connect
This chapter contains the following sections:
How to Connect
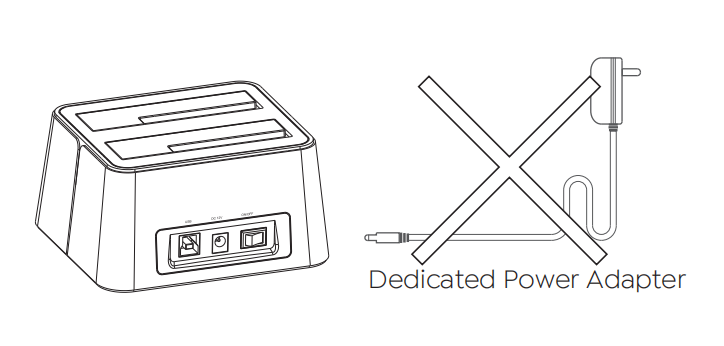
Step 1: Make sure the power is off
Please unplug the DC power adapter.
Note: The HDD/SSD plugging/unplugging under power supply will damage the HDD/SSD.
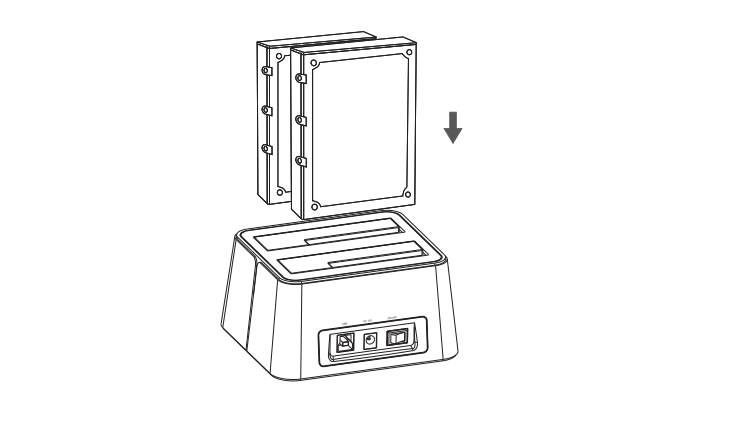
Step 2: Install the HDD/SSD
Place the connector of HDD down in line with the SATA connector of the device, vertically and slowly insert the HDD/SSD to slot until it sticks.
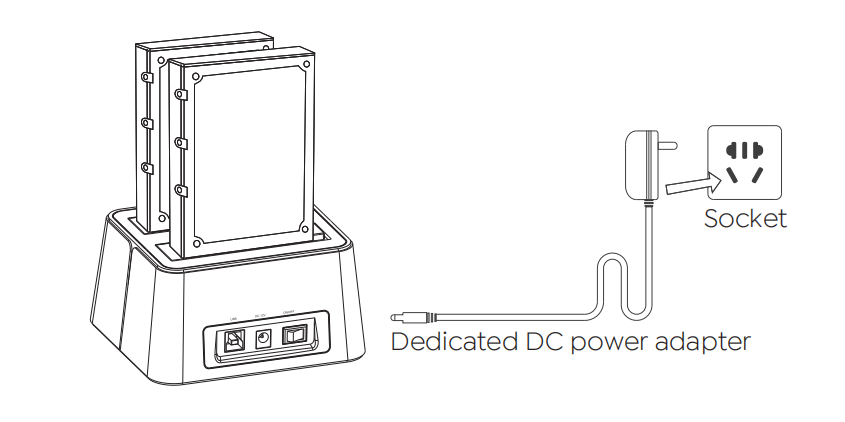
Step 3: Connect the DC adapter (power adapter)
Connect the dedicated DC power adapter and switch the power of device to “on” to turn on the power.
Step 4: Install the USB cable
Please connect the USB cable to the computer you are using.
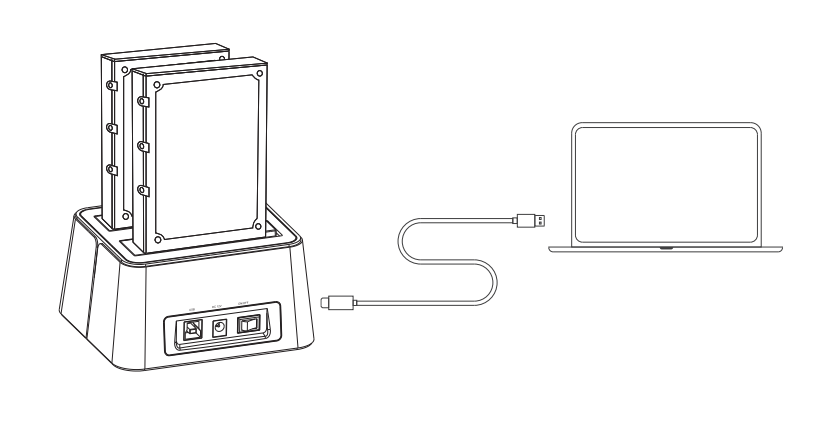
Step 5: Use it as your computer's external hard drive
Power on the device, the computer will automatically identify and get ready for the product.
The HDD/SSD installed in this docking station can become external hard disks(removable disks) for the PC.
LED Indicator
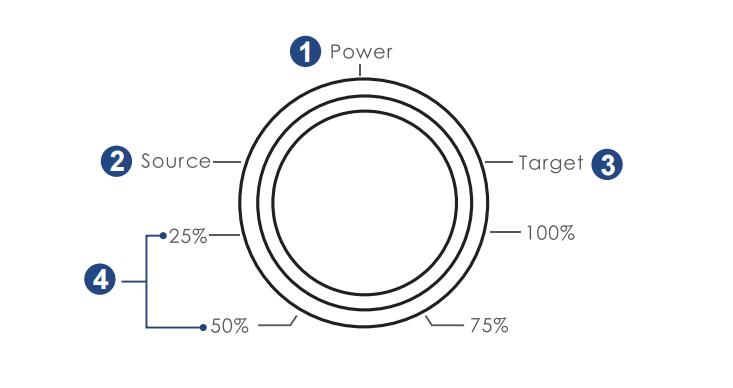
① Power: Lights up to indicate the device is powered on.
② Source: Lights up to indicate the status of the source hard disk (HDD A).
③ Target: Lights up to indicate the status of the target hard disk (HDD B).
④ Cloning Progress: 25%, 50%, 75%, and 100% lights up respectively to indicate 25%, 50%, 75%, and 100% completion of hard disk cloning.
More Translations Download PDF