章节二 驱动程序安装与显示模式设置
本章节包含以下部分:
• 显示分辨率
• 驱动程序安装
• 显示模式设置
显示分辨率
| 显示屏 | 系统 | 连接至 DP1.4(带 DSC1.2)、DP1.4(无 DSC1.2)或 DP1.2 标准 |
|---|---|---|
| 单屏/双屏/三屏/四屏显示器 | Windows | HDMI1:1920x1080@60Hz;HDMI2: 3840x2160@30Hz;HDMI3: 1920x1080@60Hz;HDMI4: 3840x2160@30Hz |
| 单屏/双屏/三屏/四屏显示器 | macOS | HDMI1:1920x1080@60Hz;HDMI2: 3840x2160@30Hz�;HDMI3: 1920x1080@60Hz;HDMI4: 3840x2160@30Hz |
驱动程序安装
使用本适配器前,请确保已安装最新PC/笔记本电脑驱动程序。若驱动程序无法自动安装,请访问 https://www.siliconmotion.com/downloads/ 或者 www.wavlink.com/en_us/WL-UG7607H。
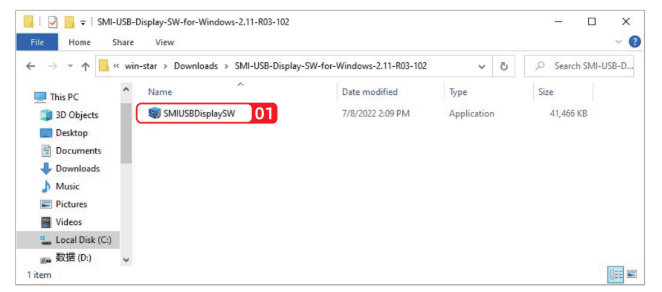
适用于 Windows 系统
1.解压下载的文件后,请在解压后的文件中点击 SMIUSBDisplaySW(.exe)。
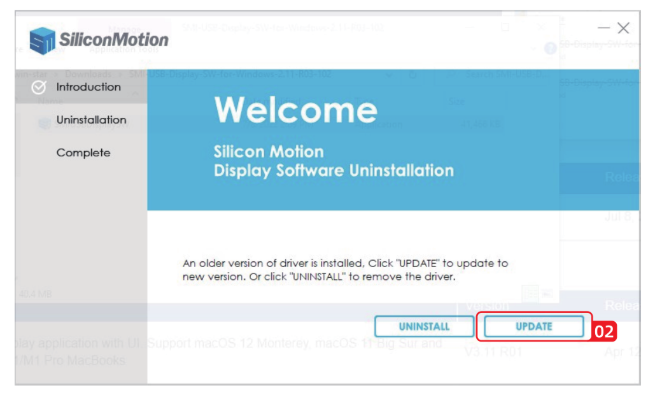
2.点击“更新”。
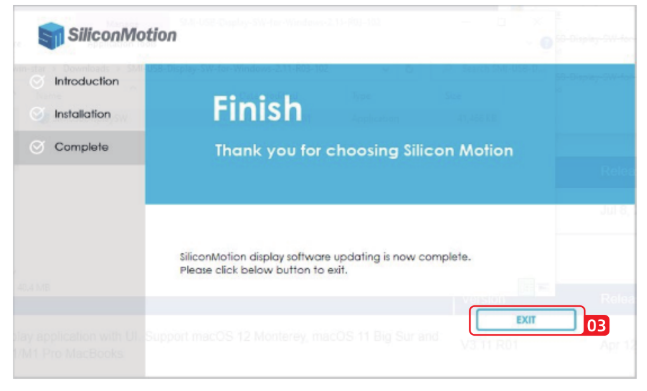
3.点击“退出”完成安装过程。
适用于 macOS 系统
请在此处下载适用于 macOS 的 Silicone Motion InstantView 应用程序:www.wavlink.com/en_us/WL-UG7607H, 以便查找并手动安装。
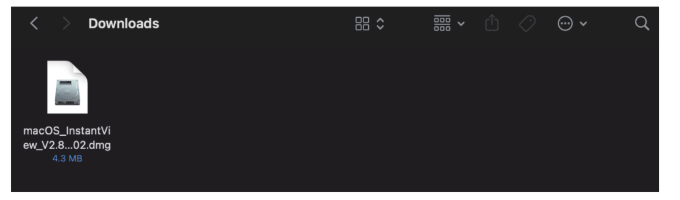
1.双击您下载的文件以启动应用程序安装程序。
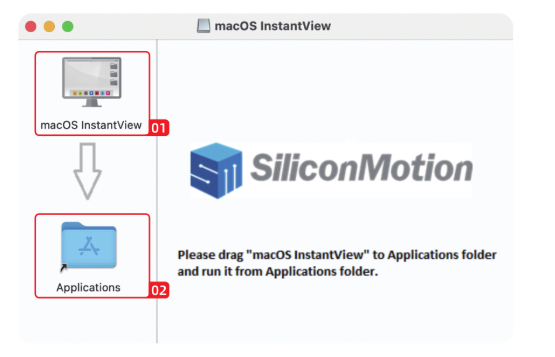
2.将 macOS InstantView 应用程序图标拖到打开窗口中的“应用程序”文件夹内。
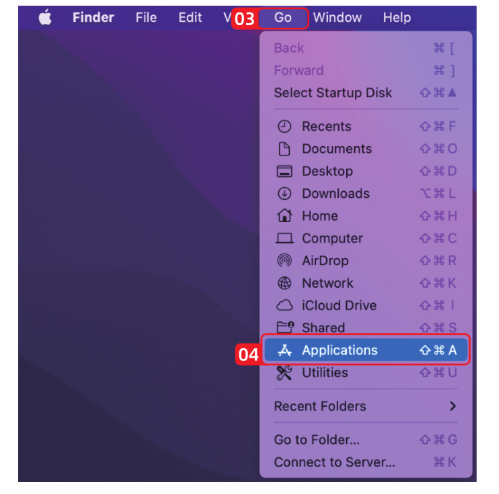
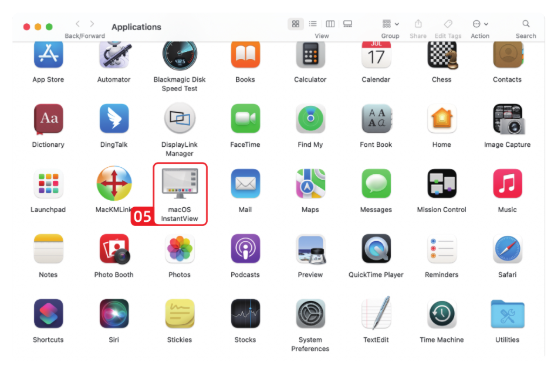
3.前往启动板或应用程序文件夹找到 macOS InstantView,双击启动它。
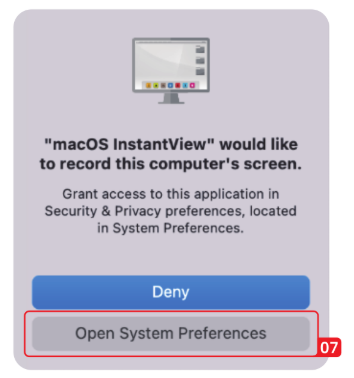
4.点击打开。

5.点击打开系统设置。(注:此操作应自动打开安全与隐私选项卡,若未打开,可手动进入安全与隐私设置。)
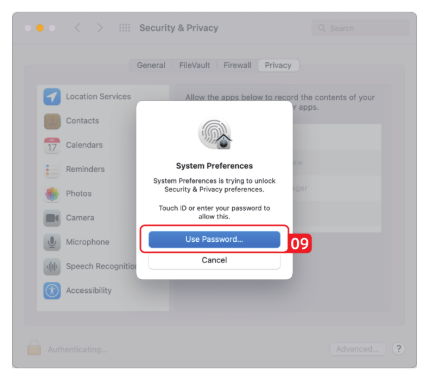
6.点击应用程序窗口底部的金色挂锁图标以启用更改功能。

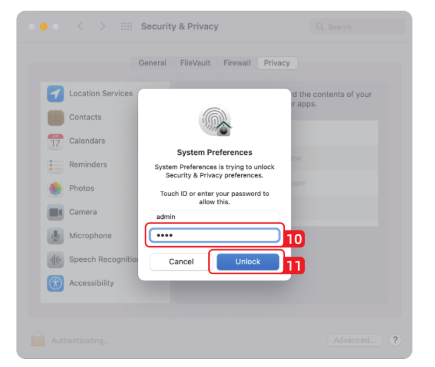
7.若被提示解锁,请输入您的密码并点击“解锁”按钮。
8.点击并勾选macOS InstantView条目旁的复选框。
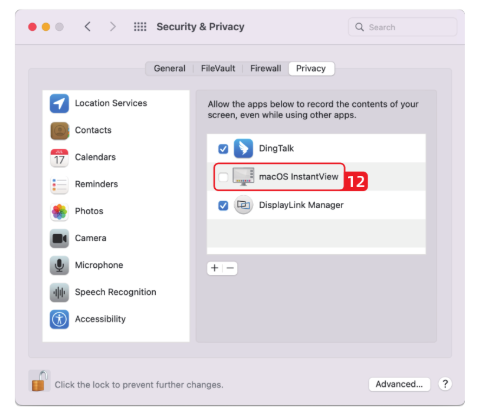
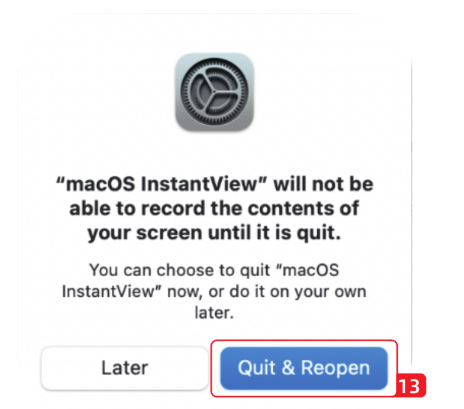
9.系统将提示您退出并重新打开InstantView应用程序,以便更改生效。请执行此操作:
10.软件现已安装完毕,您可连接显卡适配器或扩展坞。
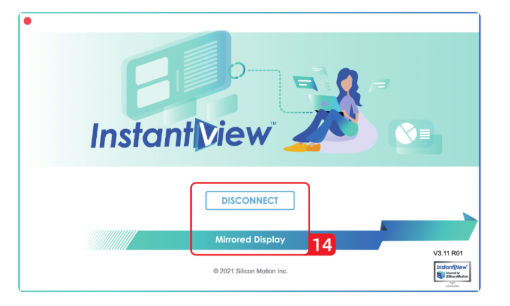
11.首次将电脑连接至扩展坞时,驱动程序启动后将出现以下窗口。您可根据个人使用需求选择断开连接或镜像显示。此外,您也可关闭此窗口,转至系统设置进行屏幕配置。
显示模式设置
适用于 Windows 用户
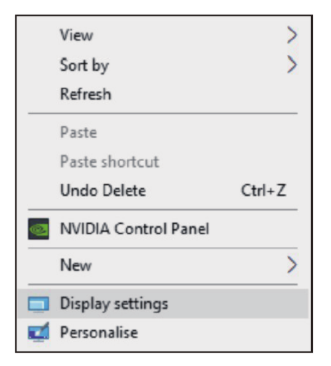
1.在桌面任意位置单击鼠标右键,然后选择“显示设置”。
2.在“显示”部分,请选择显示器1、显示器2、显示器3或显示器4。

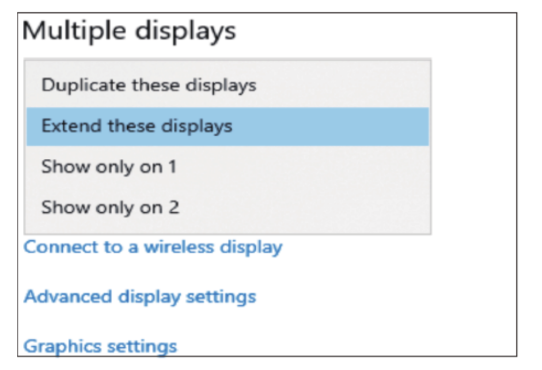
3.向下滚动至“多显示器”选项,在下拉列表中选择符合您需求的模式。
适用于 Mac 用户
1.选择“系统设置”,然后选择“显示器”。
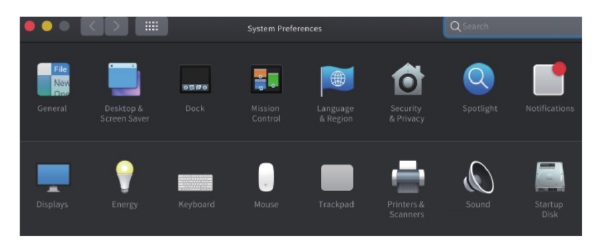
2.点击“排列”可更改当前连接显示器的排列位置。
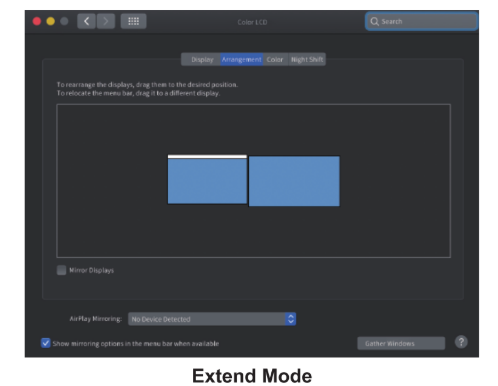
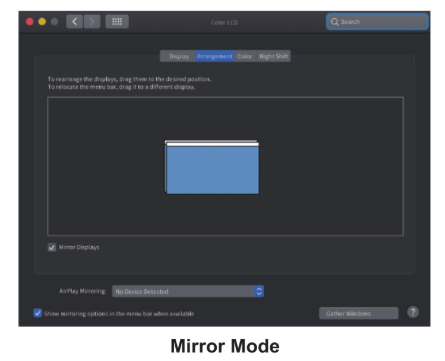
3.要使用镜像模式,您需要勾选中央图标下方的“镜像显示”选项框。
提示:
由于Mac系统采用的隐私政策,您可能会遇到以下问题。
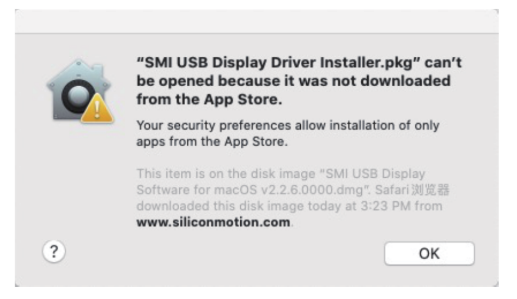
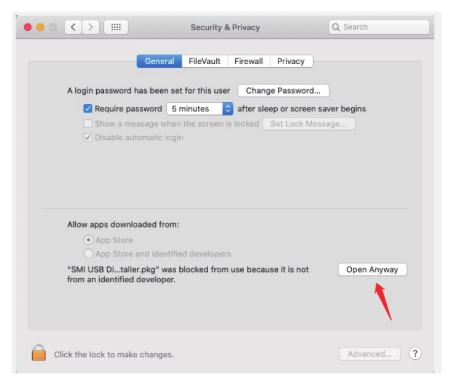
选择“系统设置”,进入“安全与隐私”选项,点击“仍要打开”以批准驱动程序安装。