Chapter 2 Driver Installation and Connection
This chapter introduces how to install driver and connect this docking station.
It contains the following sections :
Connection
Before connection, please make sure that the graphic driver has been installed.
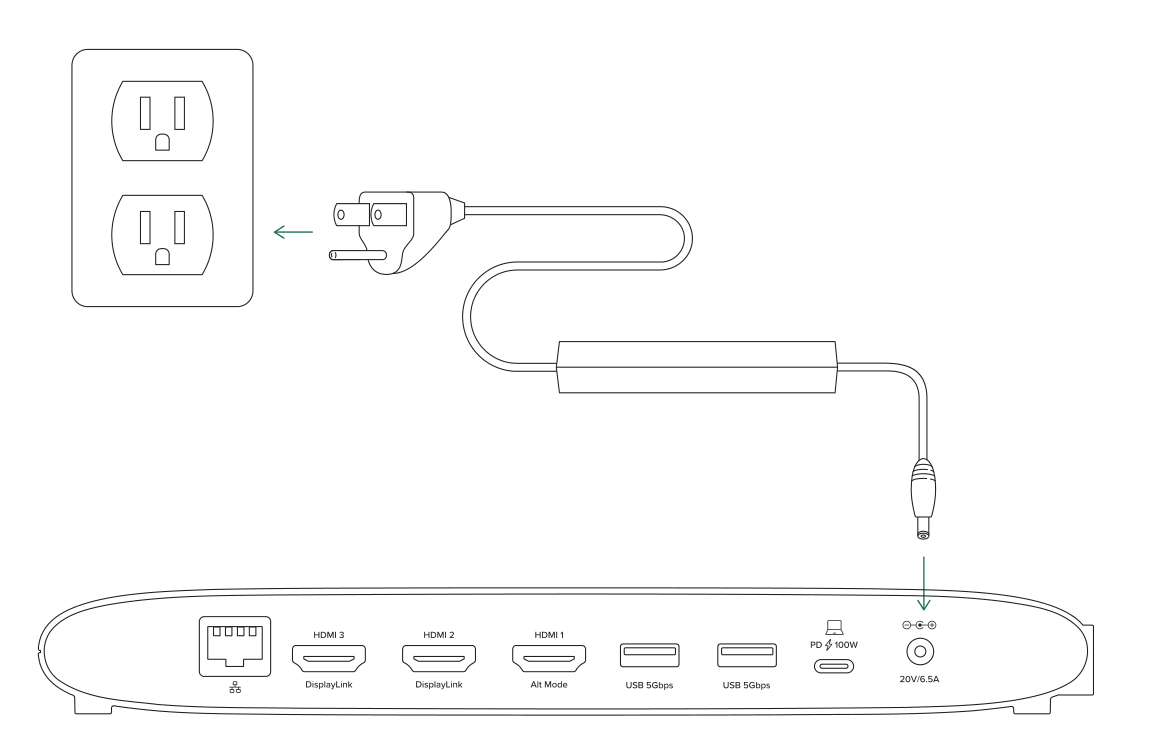
1.Connect to Power
1.1 Plug one end of the equipped Power Adapter into the DC IN 20V port on the Docking Station.
1.2 Plug the other end of the Power Adapter to a Power Outlet.
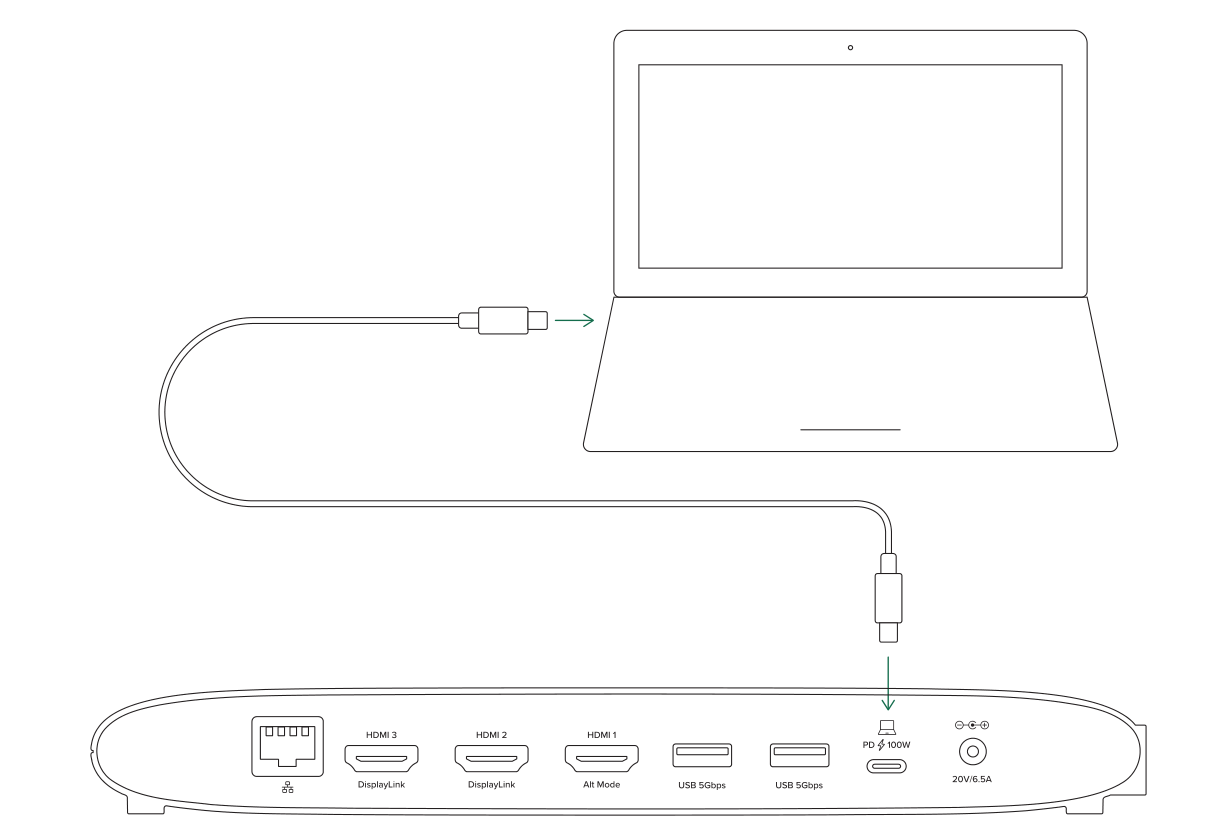
2.Connect to laptop
2.1 Use the provided USB-C cable to connect the USB-C Host port on the Docking Station to the USB-C port on your laptop.
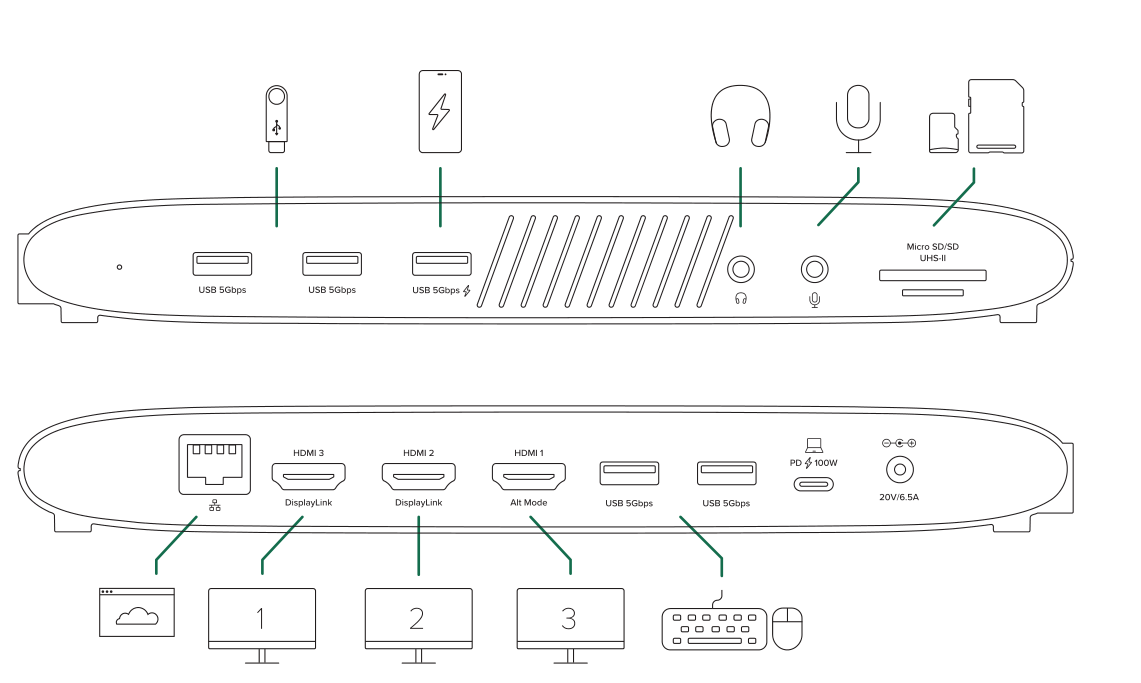
3.Connect to Monitors
3.1 This docking station can connect up to 3 monitors.
Driver Installation
Before connection, please make sure that the graphic driver has been installed.
The docking station is based on DisplayLink USB graphics technology which manages the graphics function. It requires downloading and installing DisplayLink graphics driver to make it work, found here: www.wavlink.com/en us/WL-UG39PD11 or www.displaylink.com.
For Windows
1.Locate the downloaded folder and double-click the driver file you just downloaded.
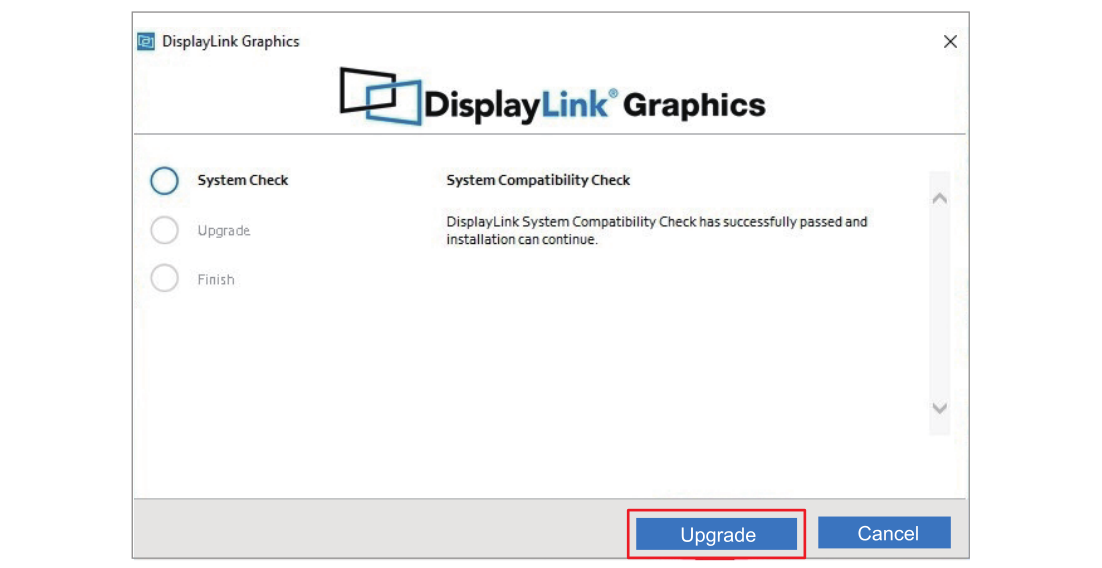
2.lf there is no DisplayLink Driver in your Windows computer, open the file and then follow guide to install the Driver; lf your Windows host has ever installed the Driver, open the file and then click Upgrade.
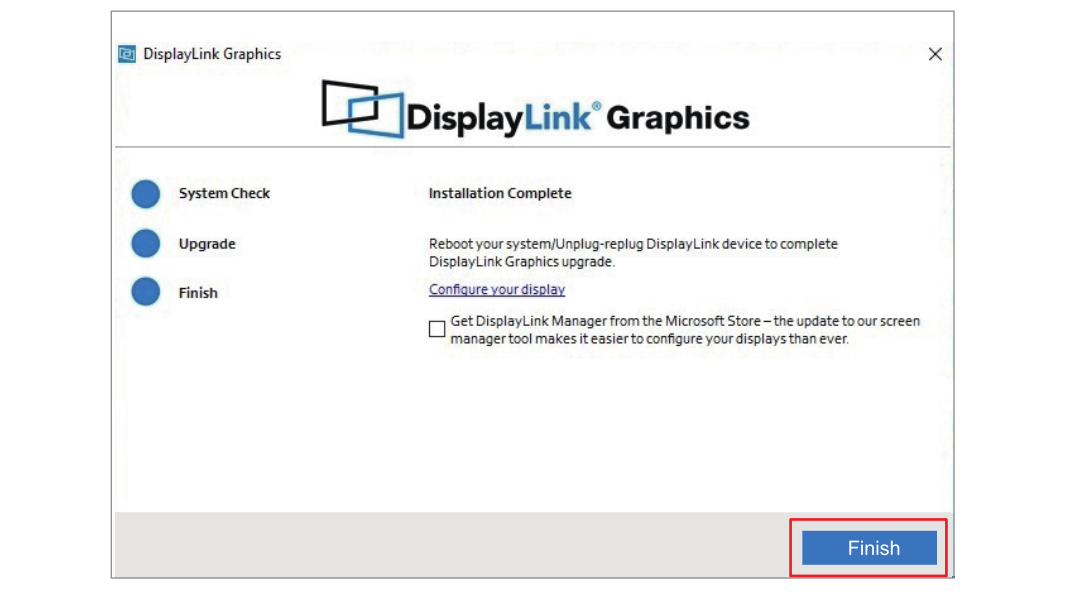
3.Please wait patiently for the completion of the installation. After finishing installation, click Finish.
For Mac
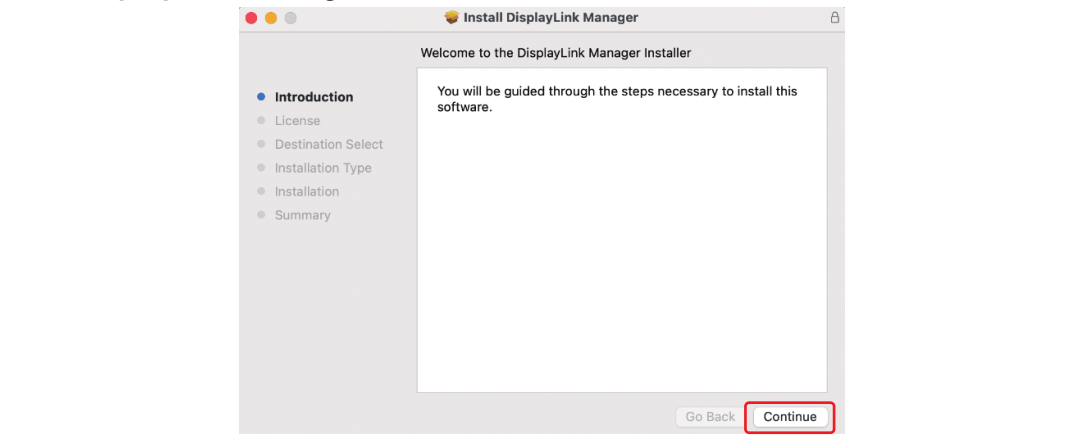
1.Double-click the driver file you just downloaded, navigate to the Install DisplayLink Manager window, click Continue.
2.Click Continue to the next window, then click Agree.

3.Click Install and choose Use Password, then enter the screen password and click Install Software.

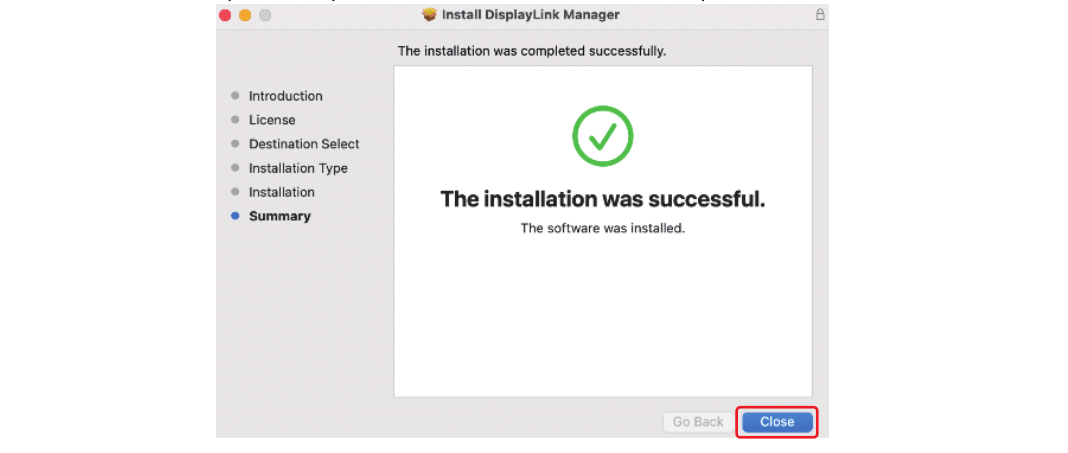
4.Please wait patiently for the installation to complete, then click Close.
5.If you have enabled notifications from DisplayLink Manager, it will remind you to allow screen recording when it detects that this permission is missing.

6.If you didn't get the notification from DisplayLink Manager, please click Go in the function bar at the top left of screen, then select Applications and click DisplayLink Manager.
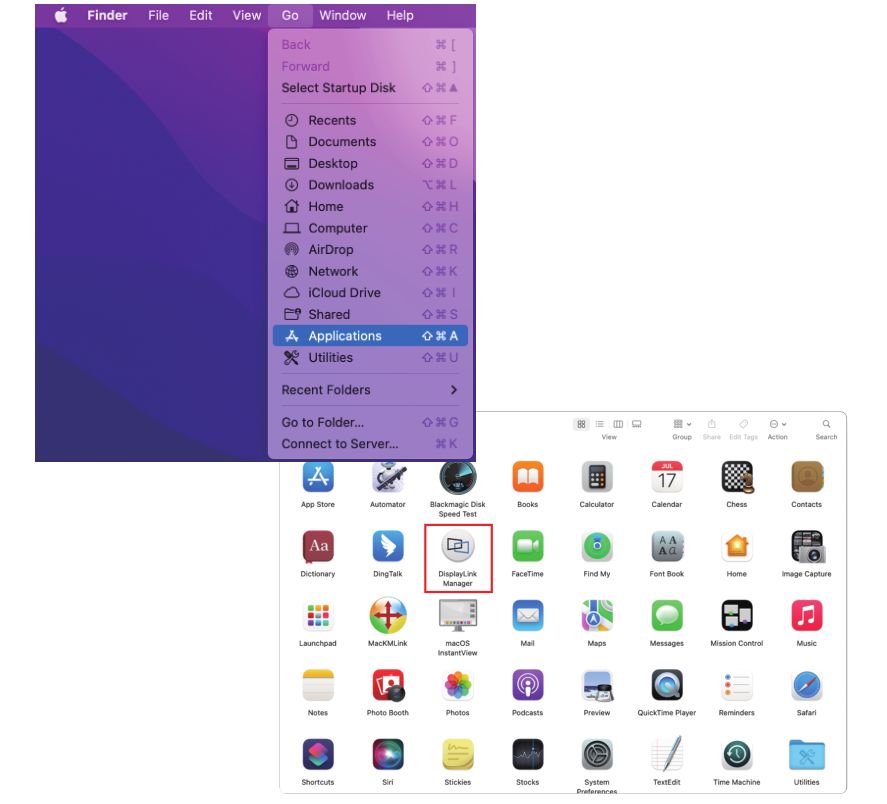
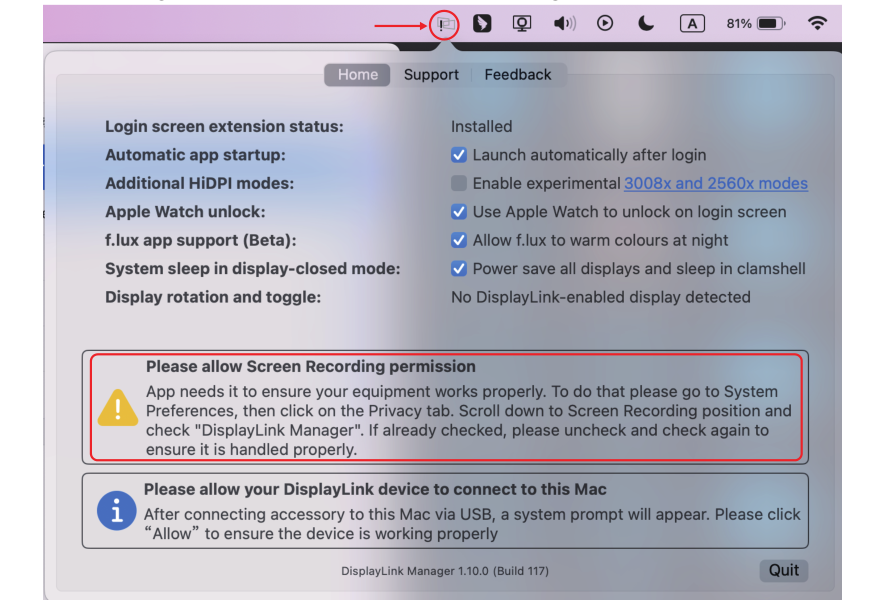
7.Click the DisplayLink Graphics icon in the function bar at the top right of the screen, and the notification will also appear in the DisplayLink Manager window. A warning is found here, you should allow the screen recording permission for DisplayLink Manager.
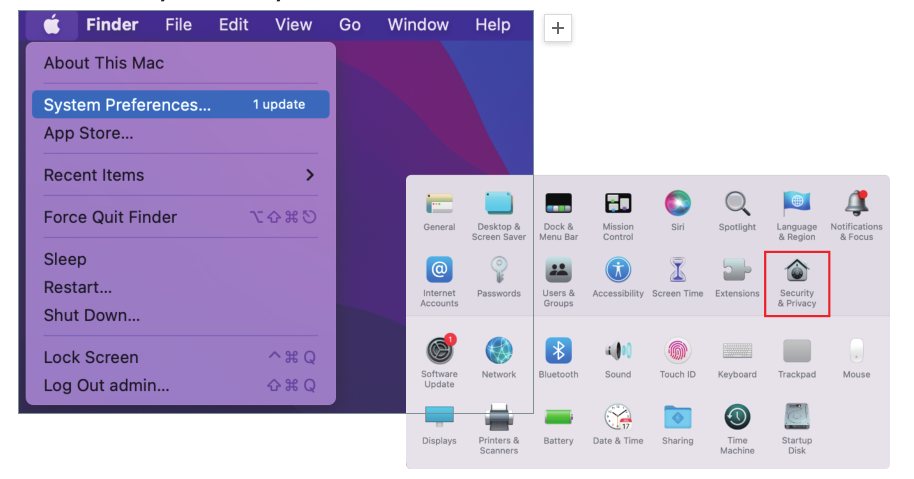
8.Click the Apple icon → System Preferences, then double click Security & Privacy.
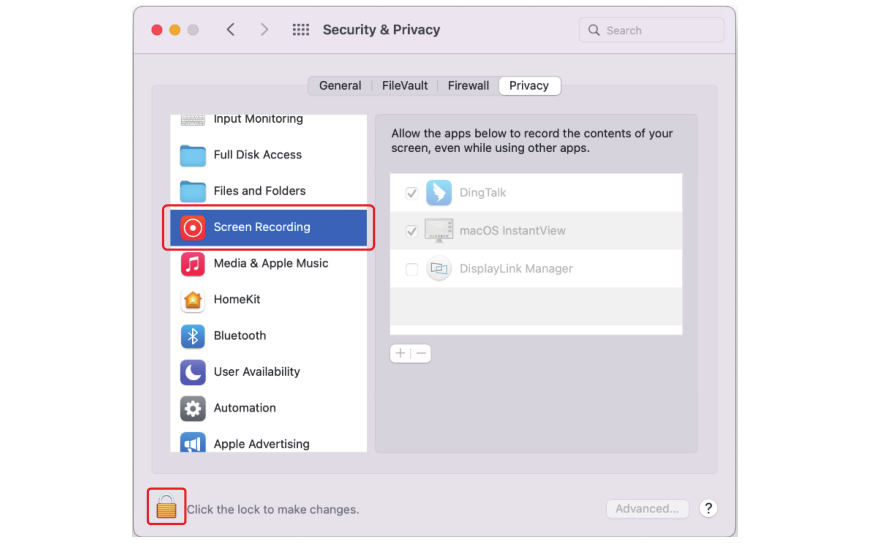
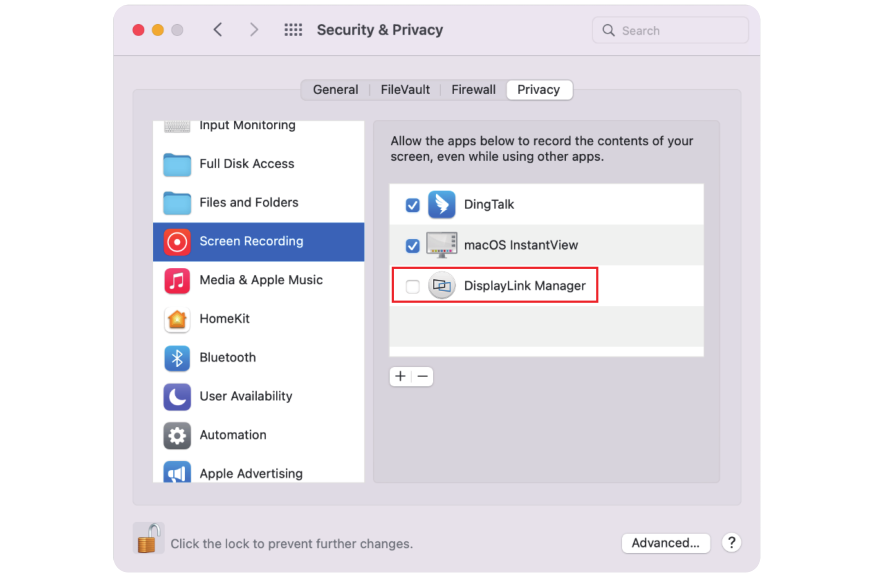
9.Enable Screen Recording to allow the DisplayLink Manager application to capture pixels and send them to your USB peripheral:
9.1 Select Screen Recording in Privacy tab.
9.2 Click the "lock" icon at the bottom left of the window to unlock.
10.When the small window pops up, choose a password or use your fingerprint to unlock.
10.1. lf you use password to unlock, and click Use Password, then enter your password and choose Unlock.
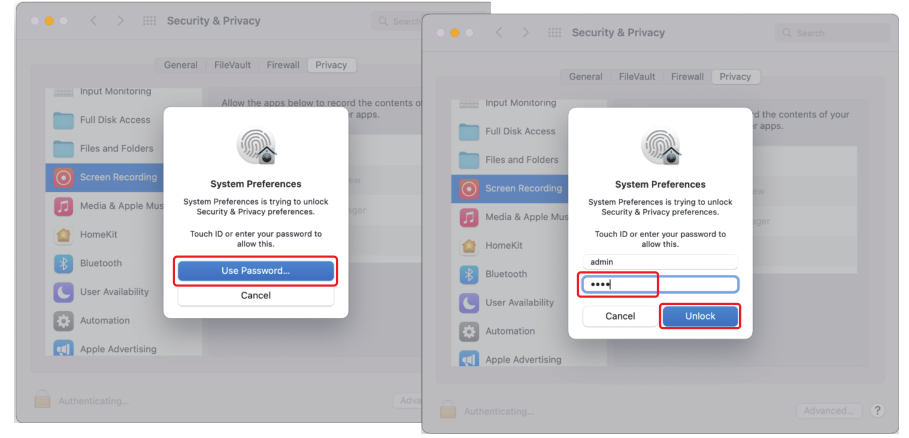
10.2. lf you use fingerprint to unlock, it will jump directly to the next step.
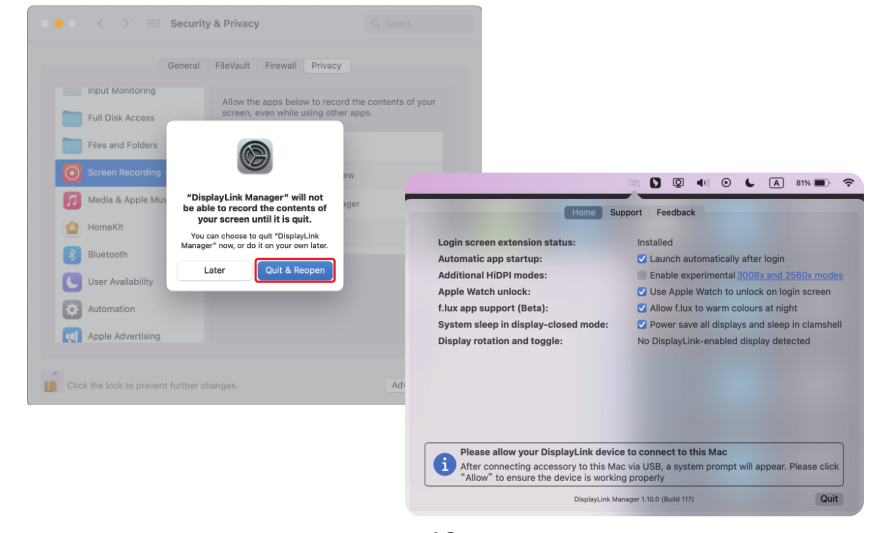
11.Check the DisplayLink Manager in the right list.
12.Click Quit & Reopen to restart the driver, then you can click the DisplayLink Graphics icon in the function bar at the top right of the screen to ensure whether the warning has been lifted and whether the driver can work properly.